Grafanaの認証にAmazon Cognitoを使う
この記事は公開されてから1年以上経過しています。情報が古い可能性がありますので、ご注意ください。
Grafanaの認証にAmazon Cognitoを使う方法を説明します。
CognitoのGroupによって、GrafanaのRoleを制御する方法も併せて説明します。
前提知識
GrafanaとCognitoを連携させて認証する場合は、Grafanaのgeneric OAuth2 authenticationを使います。
事前準備(Cognito)
CognitoのセットアップはCDKのコードで説明します。
以下がCDKのコードです。
app clientの設定は以下のとおりです。
userPool.addClient(`${prefix}UserPoolClientGrafana`, {
  userPoolClientName: `${prefix}Grafana`,
  generateSecret: true,
  authFlows: {
    userPassword: true,
    adminUserPassword: true,
  },
  oAuth: {
    flows: {
      authorizationCodeGrant: true,
    },
    scopes: [
      cognito.OAuthScope.OPENID,
      cognito.OAuthScope.EMAIL,
      cognito.OAuthScope.PROFILE,
      cognito.OAuthScope.COGNITO_ADMIN,
    ],
    callbackUrls: ["http://localhost:3010/login/generic_oauth"],
    logoutUrls: ["http://localhost:3010/login"],
  },
  preventUserExistenceErrors: true,
});
generateSecret: true: secretは必須であるため、trueを指定します。authFlows.userPassword: true: generic OAuth2 authenticationはServer-side authentication flowにあたるため、trueを指定します。
詳しくは以下を参照してください。
https://docs.aws.amazon.com/cognito/latest/developerguide/amazon-cognito-user-pools-authentication-flow.htmloAuth.flows: generic OAuth2 authenticationは認可コードgrantで認証するため、authorizationCodeGrantにtrueを指定します。oAuth.scopes: generic OAuth2 authenticationはOIDCの定めるUserInfoエンドポイントが必要であるため、cognito.OAuthScope.OPENIDを設定します。
user groupの設定は以下のとおりです。
new cognito.CfnUserPoolGroup(this, `${prefix}GrafanaAdminGroup`, {
  groupName: "grafana-admin",
  userPoolId: userPool.userPoolId,
});
new cognito.CfnUserPoolGroup(this, `${prefix}GrafanaEditorGroup`, {
  groupName: "grafana-editor",
  userPoolId: userPool.userPoolId,
});
これらのuser groupにuserを紐づけによってGrafanaのRoleが制御されるように、Grafanaを設定していきます。
grafana.ini
grafanaではgrafana.iniを使って設定を行います。
以下がgrafana.iniファイルの内容です。
app_mode = development

[log]
level = warn

[server]
http_port = 3010

[auth]
# Set to true to disable (hide) the login form, useful if you use OAuth, defaults to false
disable_login_form = true

[auth.generic_oauth]
enabled = true
name = OAuth
scopes = openid email profile aws.cognito.signin.user.admin
auto_login = true
signout_redirect_url = ${GF_AUTH_GENERIC_OAUTH_LOGOUT_URL}?client_id=${GF_AUTH_GENERIC_OAUTH_CLIENT_ID}&logout_uri=http://localhost:3010/login

# 環境変数で指定する
# client_id = xxxxx
# client_secret = xxxxx
# auth_url = xxxxx
# token_url = xxxxx
# api_url = xxxxx

# userをcognitoのgroup(`grafana-admin`, `grafana-editor`)に所属させるとgrafanaのroleが割り当てられる。
role_attribute_path = ("cognito:groups" | contains([*], 'grafana-admin') && 'Admin' || contains([*], 'grafana-editor') && 'Editor' || 'Viewer')
server.http_port: Grafanaのポート番号を指定します。今回は3010を指定しましたが、必要に応じて変更してください。デフォルトは3000です。auth.disable_login_form: login formを非表示にする設定です。今回はCognitoからのログイン以外を受け付けない設定にしています。auth.generic_oauth: generic OAuth2 authenticationのための設定です。scopes: OIDCの定めるUserInfoエンドポイントが必要であるため、openidを設定します。auto_login: 今回はCognitoからのログイン以外を許容しないため、Grafanaのログイン画面をスキップして、Cognitoのログイン画面にリダイレクトするよう設定します。signout_redirect_url: Grafanaからログアウトした際にCognitoのHosted UI上でも同じくログアウトされるようにするための設定です。role_attribute_path: コメントにあるとおり、userをcognitoのgroup(grafana-admin,grafana-editor)に所属させるとgrafanaのroleが割り当てられるようにするための設定です。- そのほかの設定: git上にコミットしないようにするため、環境変数で設定しています。
docker-compose.yml
docker-compose.ymlの設定は以下のとおりです。
services:
  grafana:
    image: grafana/grafana:11.1.0
    ports:
      - '3010:3010'
    volumes:
      - ./grafana/grafana.ini:/etc/grafana/grafana.ini
      - grafana-config-data:/var/lib/grafana
    environment:
      GF_AUTH_GENERIC_OAUTH_CLIENT_ID: ${AUTH_GENERIC_OAUTH_CLIENT_ID}
      GF_AUTH_GENERIC_OAUTH_CLIENT_SECRET: ${AUTH_GENERIC_OAUTH_CLIENT_SECRET}
      GF_AUTH_GENERIC_OAUTH_AUTH_URL: ${AUTH_GENERIC_OAUTH_USER_POOL_DOMAIN}/oauth2/authorize
      GF_AUTH_GENERIC_OAUTH_TOKEN_URL: ${AUTH_GENERIC_OAUTH_USER_POOL_DOMAIN}/oauth2/token
      GF_AUTH_GENERIC_OAUTH_API_URL: ${AUTH_GENERIC_OAUTH_USER_POOL_DOMAIN}/oauth2/userInfo
      GF_AUTH_GENERIC_OAUTH_LOGOUT_URL: ${AUTH_GENERIC_OAUTH_USER_POOL_DOMAIN}/logout

volumes:
  grafana-config-data:
volumes: iniファイル(後述)をマウントし、加えてデータを永続化するためのvolumeを設定します。environment.GF_AUTH_GENERIC_OAUTH_XXXXX: grafana.iniでの設定を上書きするための環境変数です。
ref: https://grafana.com/docs/grafana/latest/setup-grafana/configure-grafana/#override-configuration-with-environment-variables
gitコミットに含めたくない内容を.envに逃すための設定です。
環境変数(.env)
環境変数からは以下の値を設定します。それぞれdocker-compose.ymlで参照されます。
AUTH_GENERIC_OAUTH_CLIENT_ID: cognito User Poolのclient idAUTH_GENERIC_OAUTH_CLIENT_SECRET: cognito User Poolのclient secretAUTH_GENERIC_OAUTH_USER_POOL_DOMAIN: cognito User Poolに設定するドメイン。https://${domain_prefix}.auth.${region}.amazoncognito.com
結果
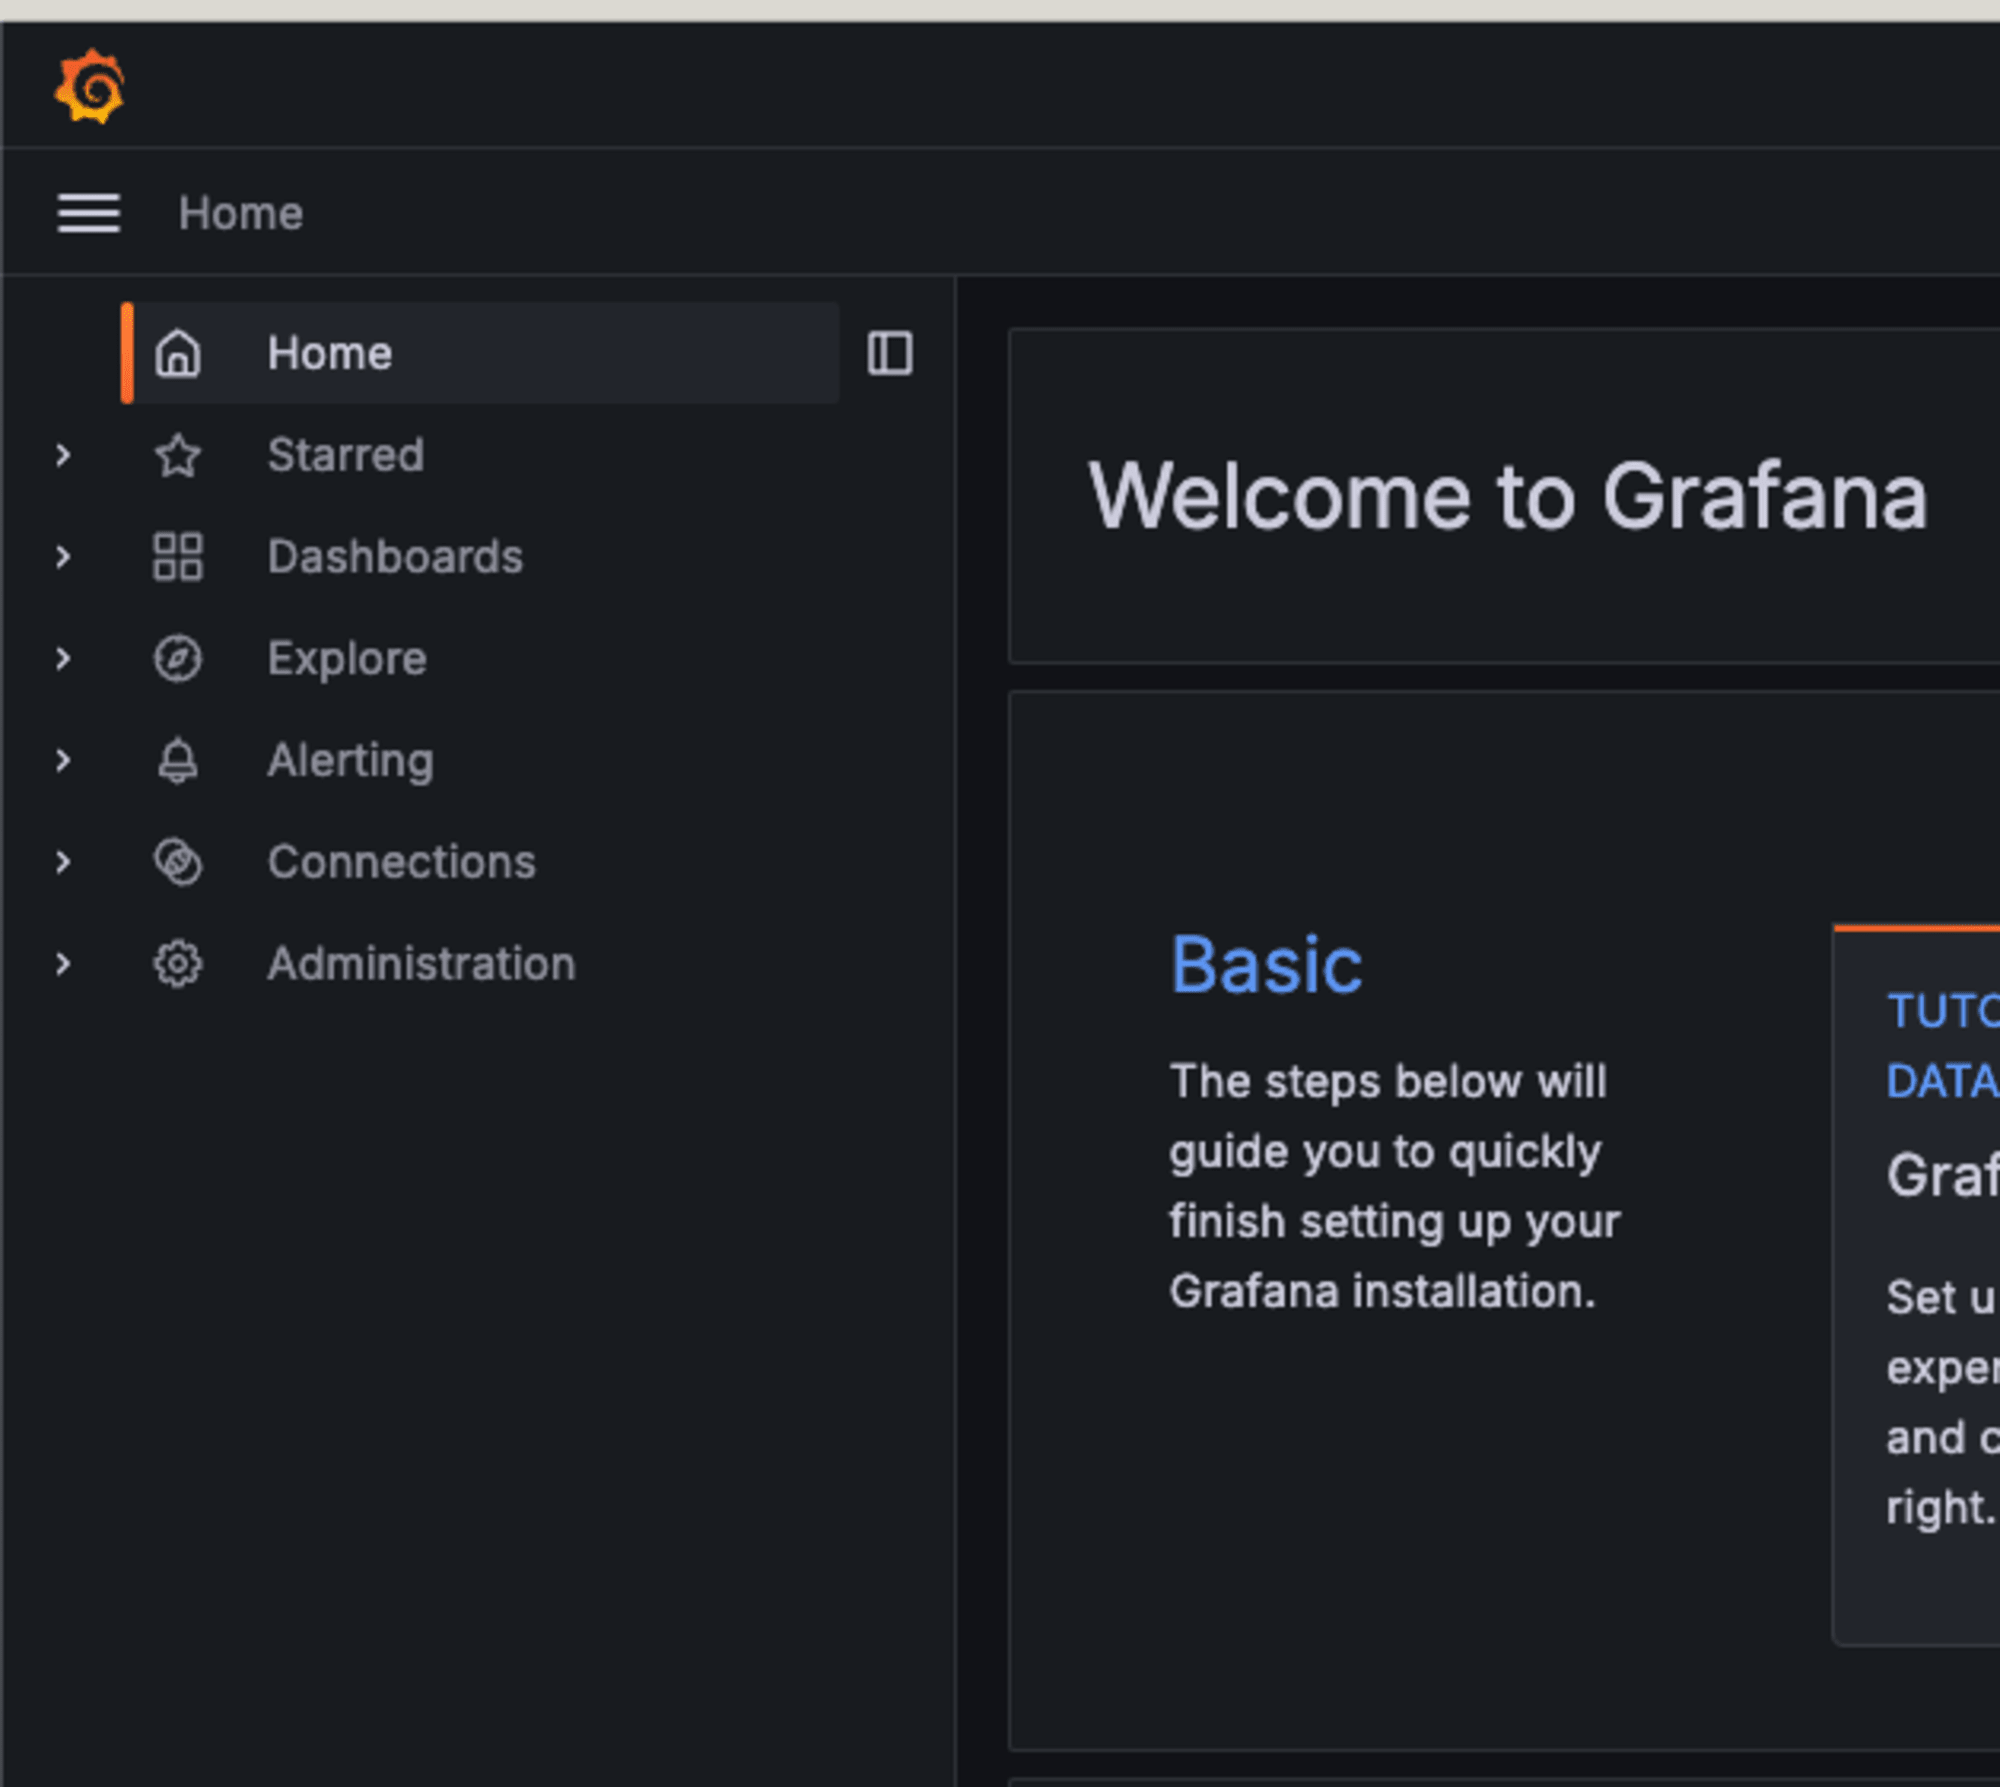
以上の設定でdocker composeを実行すると、CognitoのHosted UIからGrafanaにログインできるようになります。
groupに所属していない場合:
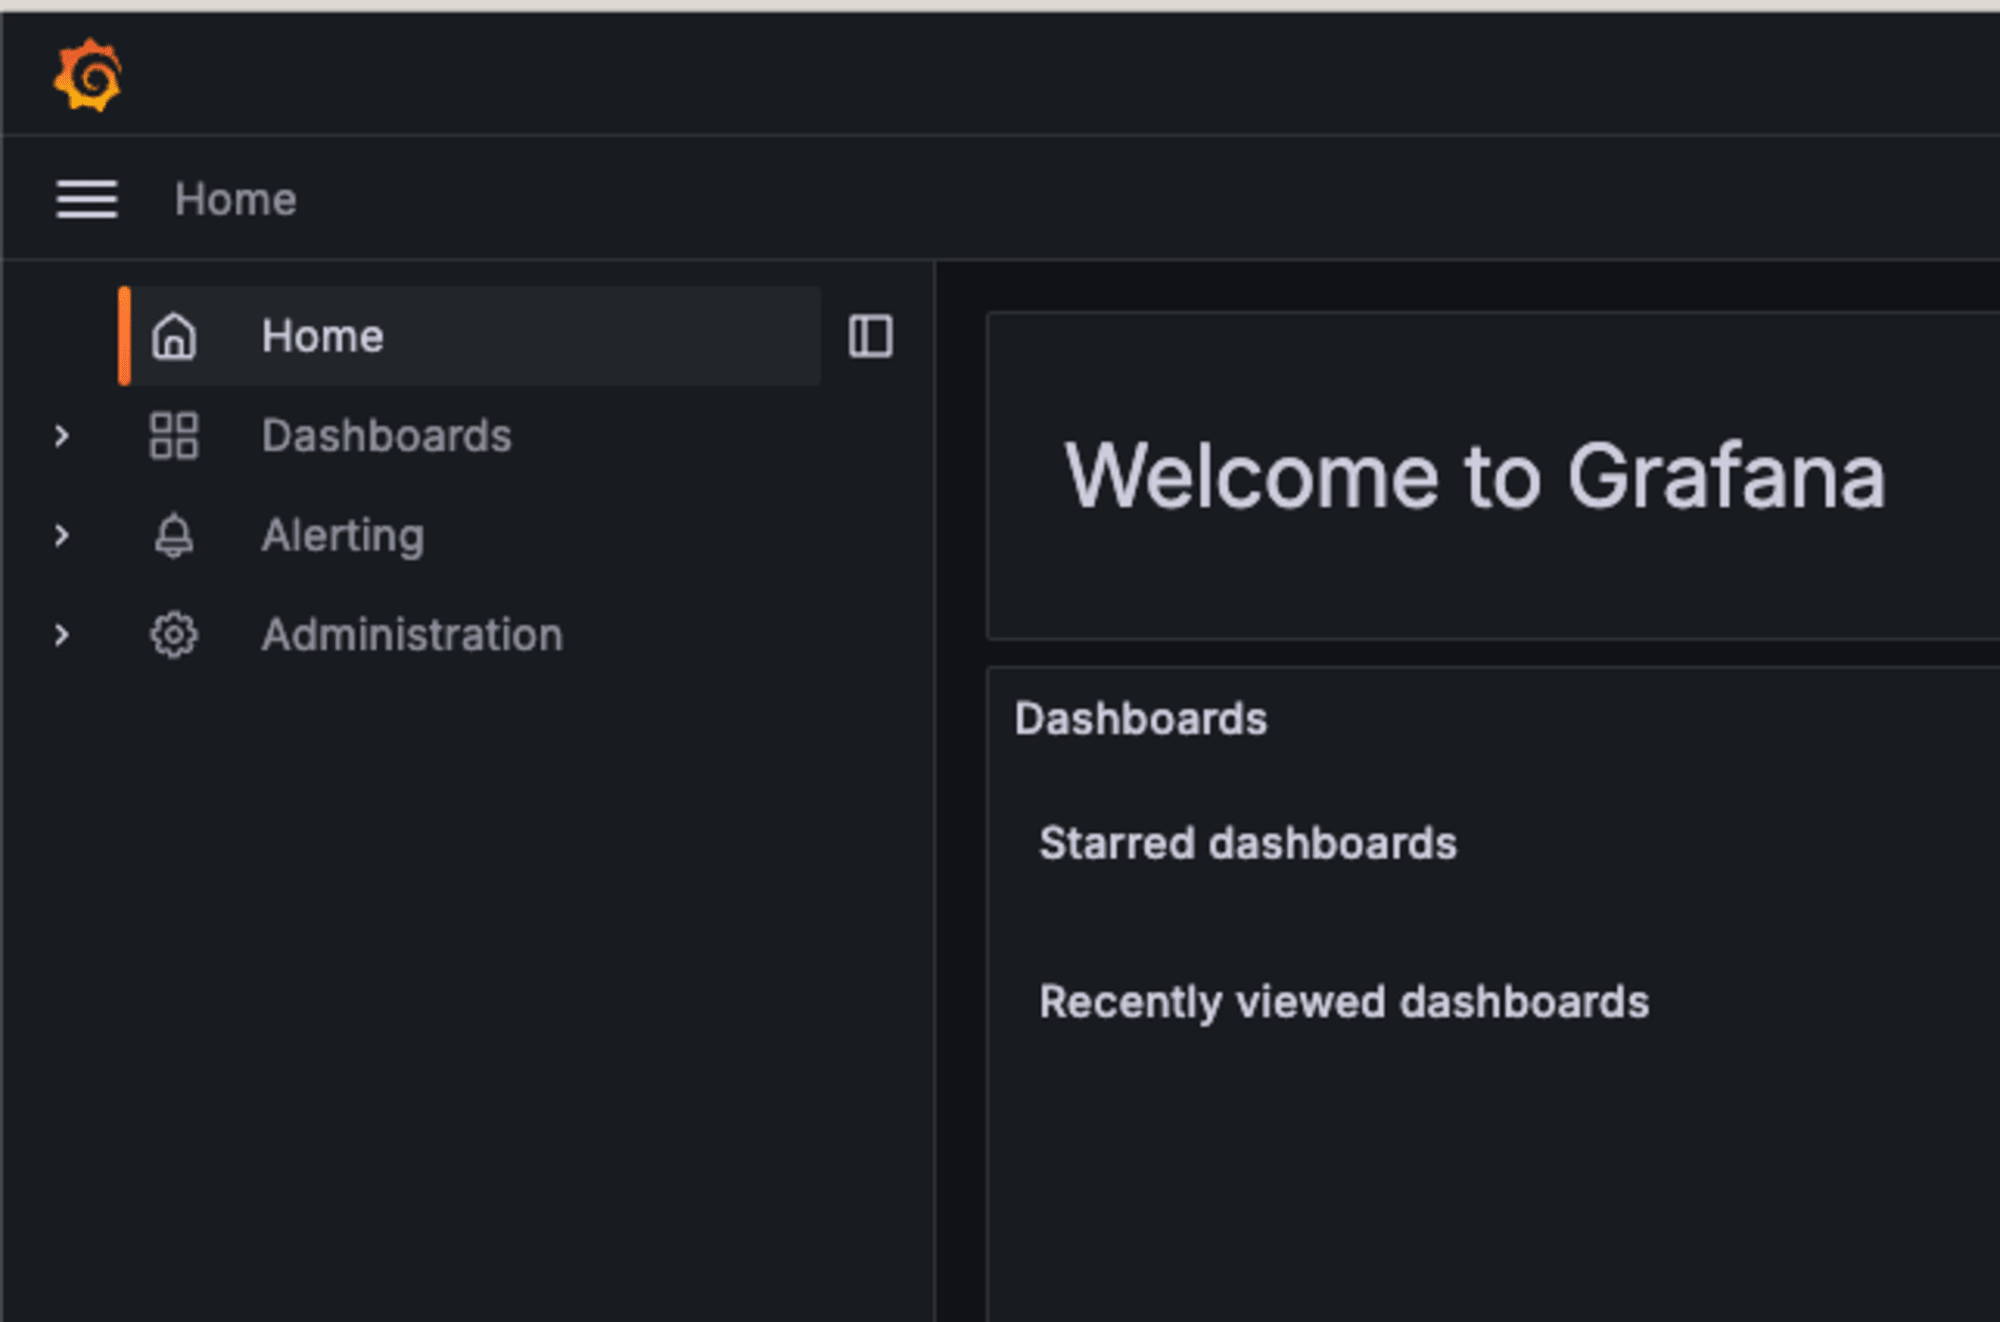
grafana-editorに所属している場合:
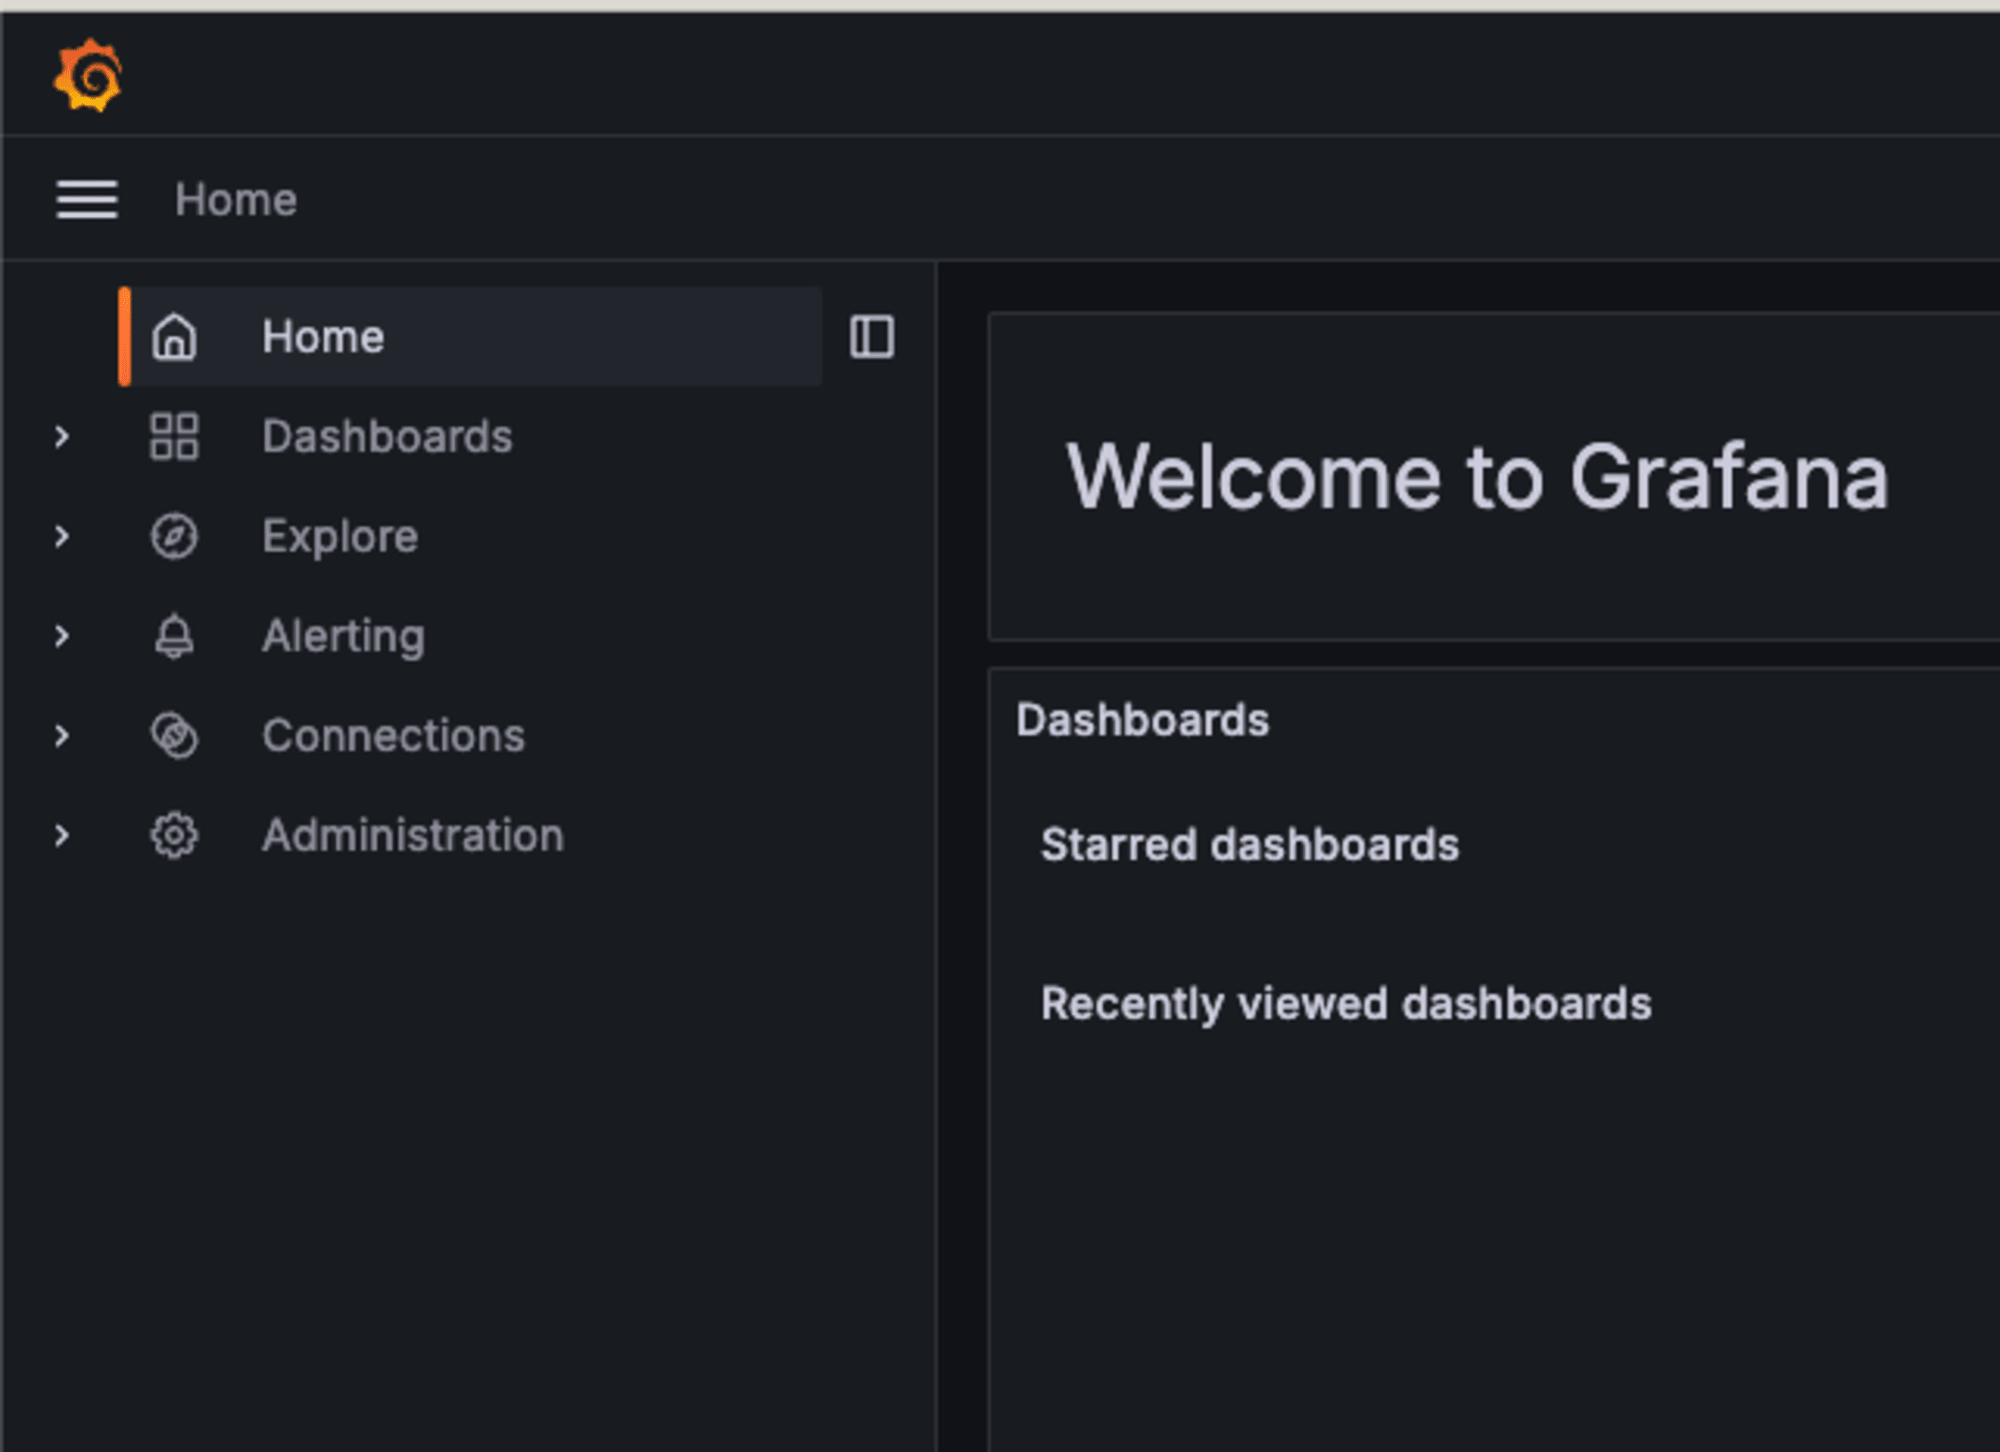
grafana-adminに所属している場合:
まとめ
Grafanaの認証にAmazon Cognitoを使う方法を説明しました。
CognitoのGroupによって、GrafanaのRoleを制御する方法も併せて説明しました。

