Amplify UIを使ってReactアプリにAmazon Cognitoの認証フォームを実装する
この記事は公開されてから1年以上経過しています。情報が古い可能性がありますので、ご注意ください。
こんにちは、CX事業本部 IoT事業部の若槻です。
AWS Amplifyでアプリケーションを構築すると、WebサイトホスティングからAPIバックエンド、CI/CD、認証機能までをまるっと構築できて便利ですが、AmplifyライブラリのうちAmplify UIだけを使用して、アプリケーションに認証機能やログインUIのみを追加することもできます。
今回は、Amplify UIを使ってReactアプリにAmazon Cognitoの認証フォームを実装してみました。
やってみた
主に次の公式ドキュメントを参考に実装してみます。
Cognito UserPoolの作成
下記エントリなどを参考に、Webアプリ(SPA)などからOAuth2.0認証により使用できるCognito UserPoolをあらかじめ作成しておきます。
これにより以下のリソースが作成されている状態とします。
- UserPool
- UserPool Domain
- UserPool Client
Reactアプリ初回作成
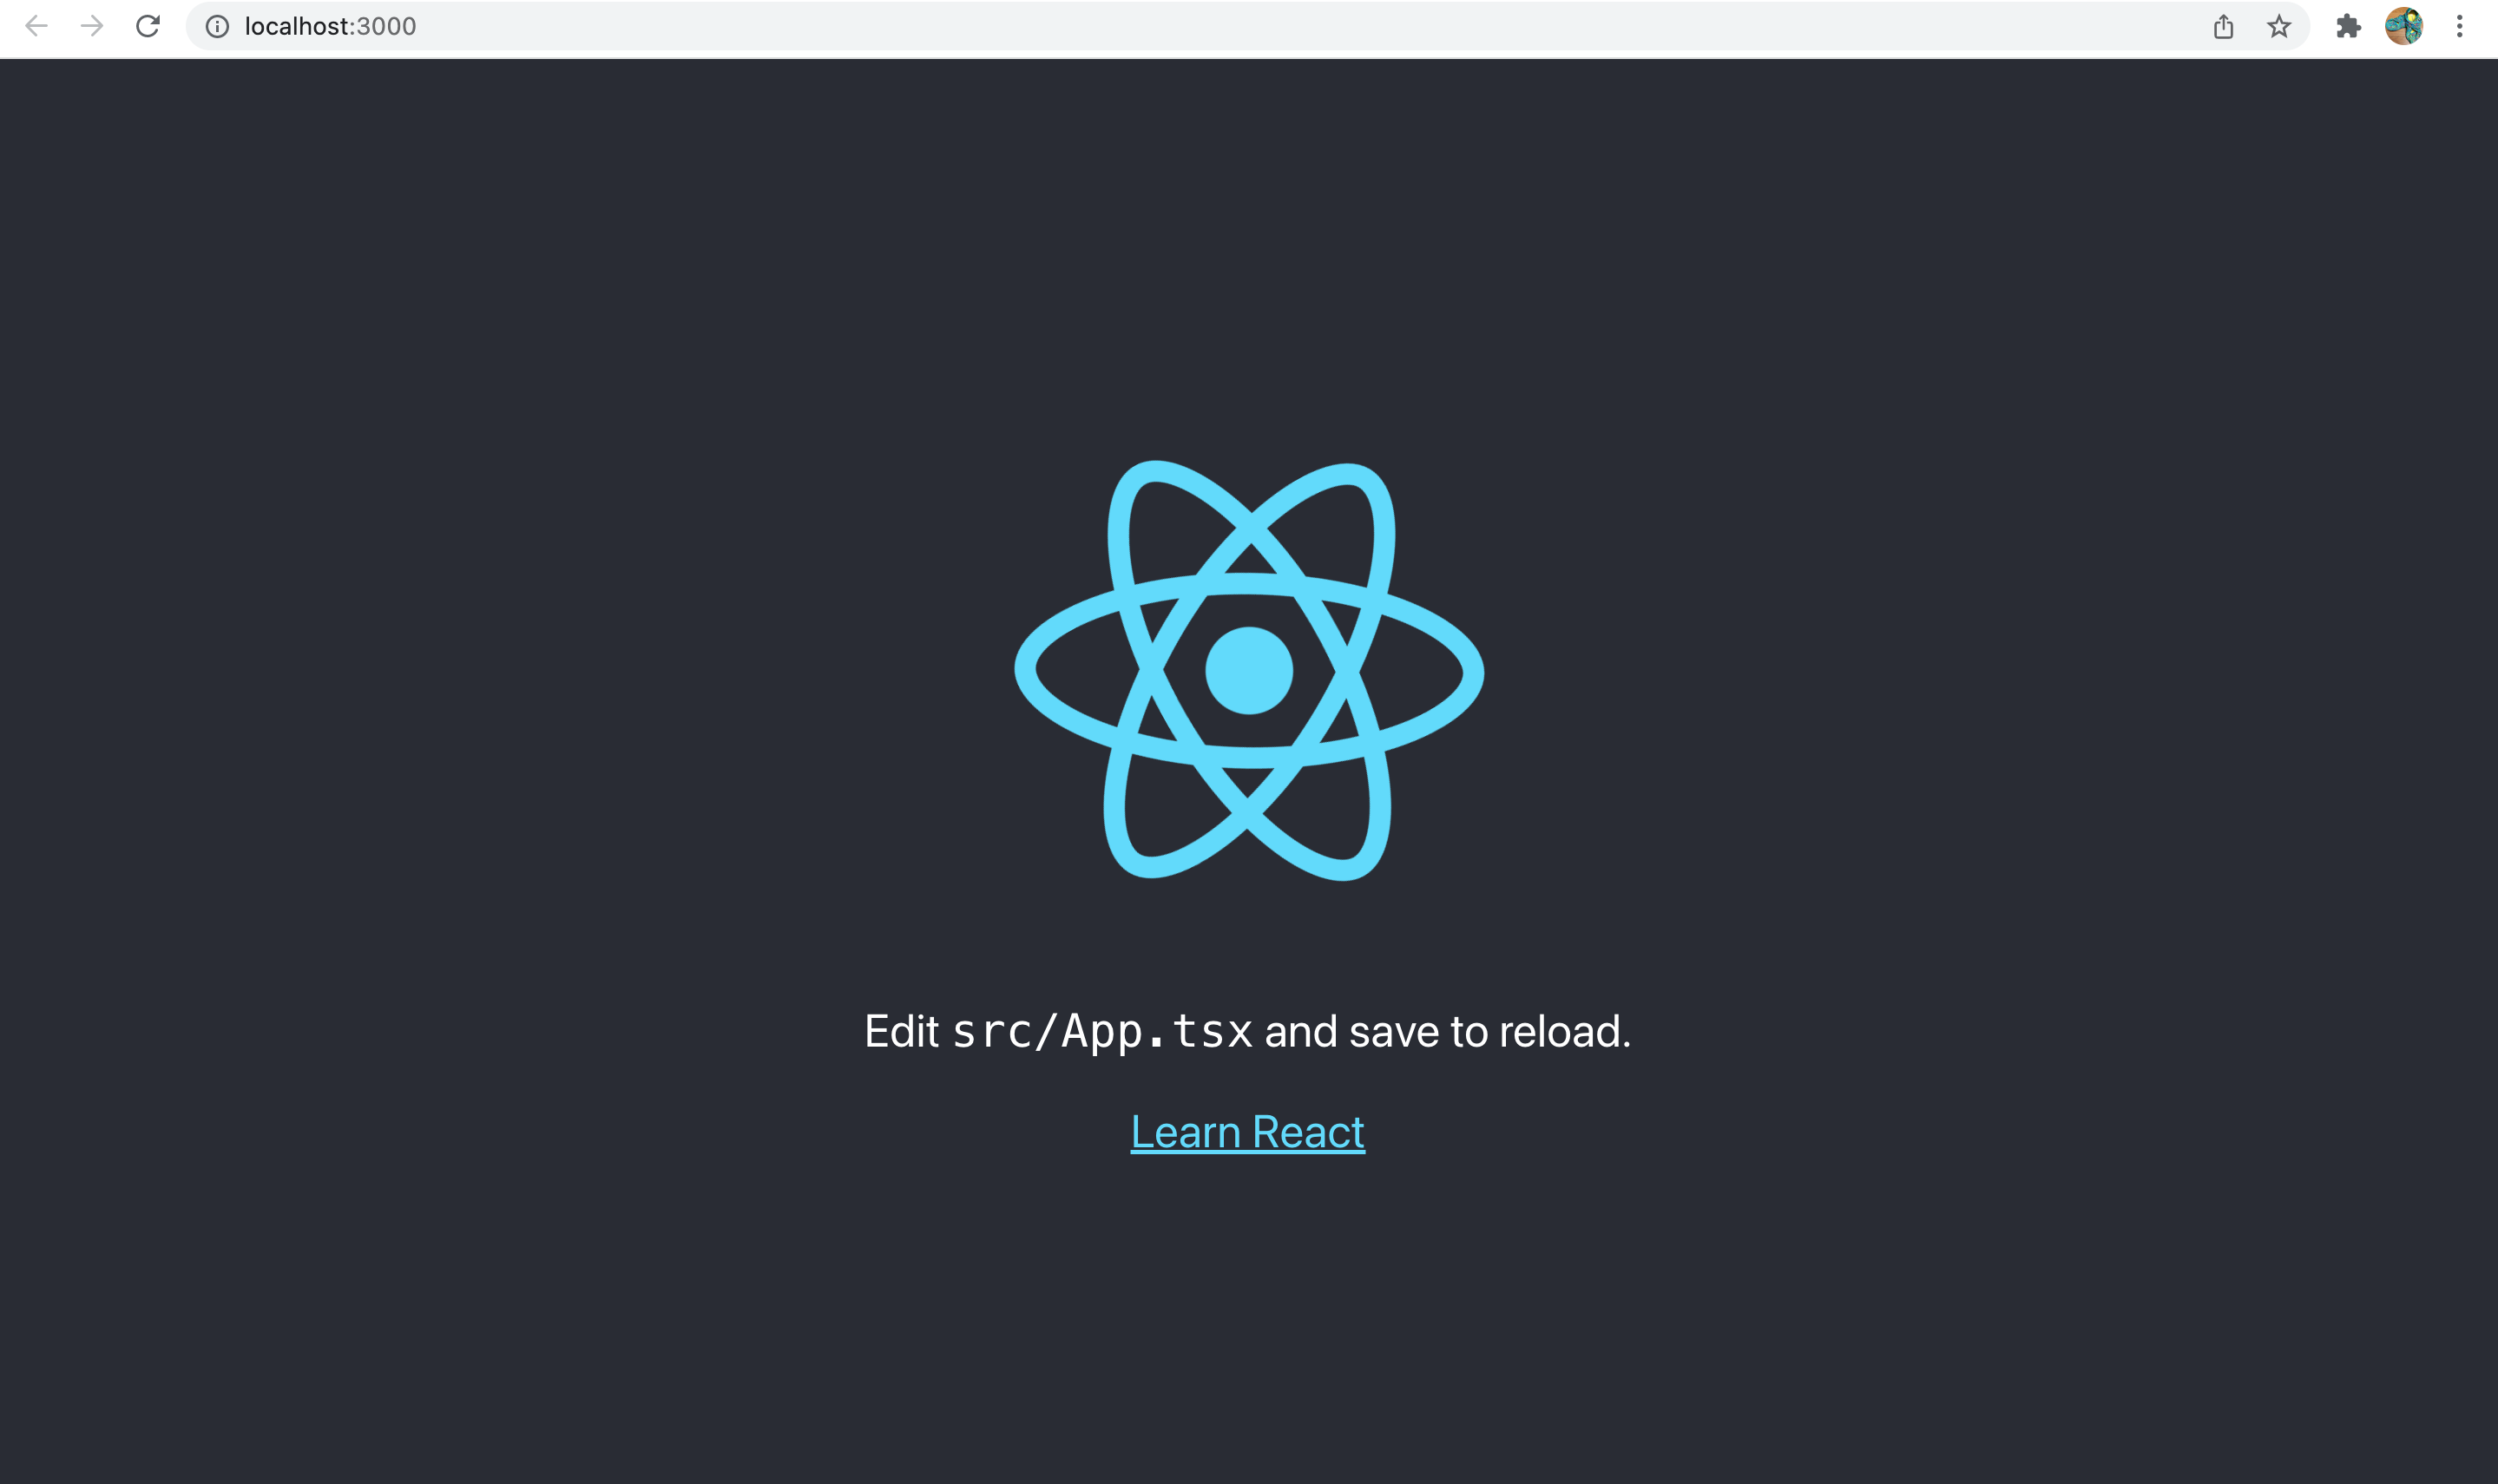
create-react-appでReactアプリの初回作成を行います。
$ npx create-react-app web --template typescript
$ cd web
npm run startするとアプリケーションが起動し、以下のような画面が開けました。
Amplifyパッケージのインスール
Amplify UIの実装に必要なパッケージをインスールします。
$ npm install aws-amplify @aws-amplify/ui-react
それぞれ次のバージョンがインスールされました。
@aws-amplify/ui-react@2.10.0aws-amplify@4.3.16
フォントの導入
Google Fonts CDNを使用してAmplify UI用のフォントを導入します。
    <link rel="preconnect" href="https://fonts.googleapis.com" />
    <link rel="preconnect" href="https://fonts.gstatic.com" crossorigin />
    <link
      href="https://fonts.googleapis.com/css2?family=Inter:slnt,wght@-10..0,100..900&display=swap"
      rel="stylesheet"
    />
Authenticatorの実装
App.tsxを次のように修正します。Authenticatorを使用してAmplifyライブラリを使用した認証を組み込みます。
import { Amplify } from 'aws-amplify';

import { Authenticator } from '@aws-amplify/ui-react';
import '@aws-amplify/ui-react/styles.css';

Amplify.configure({
  aws_project_region: process.env.REACT_APP_AWS_PROJECT_REGION,
  aws_cognito_region: process.env.REACT_APP_AWS_COGNITO_REGION,
  aws_user_pools_id: process.env.REACT_APP_AWS_USER_POOLS_ID,
  aws_user_pools_web_client_id:  process.env.REACT_APP_AWS_USER_POOLS_CLIENT_ID,
});

export default function App() {
  return (
    <Authenticator>
      {({ signOut, user }) => (
        <main>
          <h1>Hello {user.username}</h1>
          <button onClick={signOut}>Sign out</button>
        </main>
      )}
    </Authenticator>
  );
}
動作確認
認証に使用するCognito UserPoolの情報を環境変数で指定します。これによりAmplify.configure()にて設定が行われます。
$ export REACT_APP_AWS_PROJECT_REGION=ap-northeast-1
$ export REACT_APP_AWS_COGNITO_REGION=ap-northeast-1
$ export REACT_APP_AWS_USER_POOLS_ID=<UserPoolID>
$ export REACT_APP_AWS_USER_POOLS_CLIENT_ID=<UserPoolClientID>
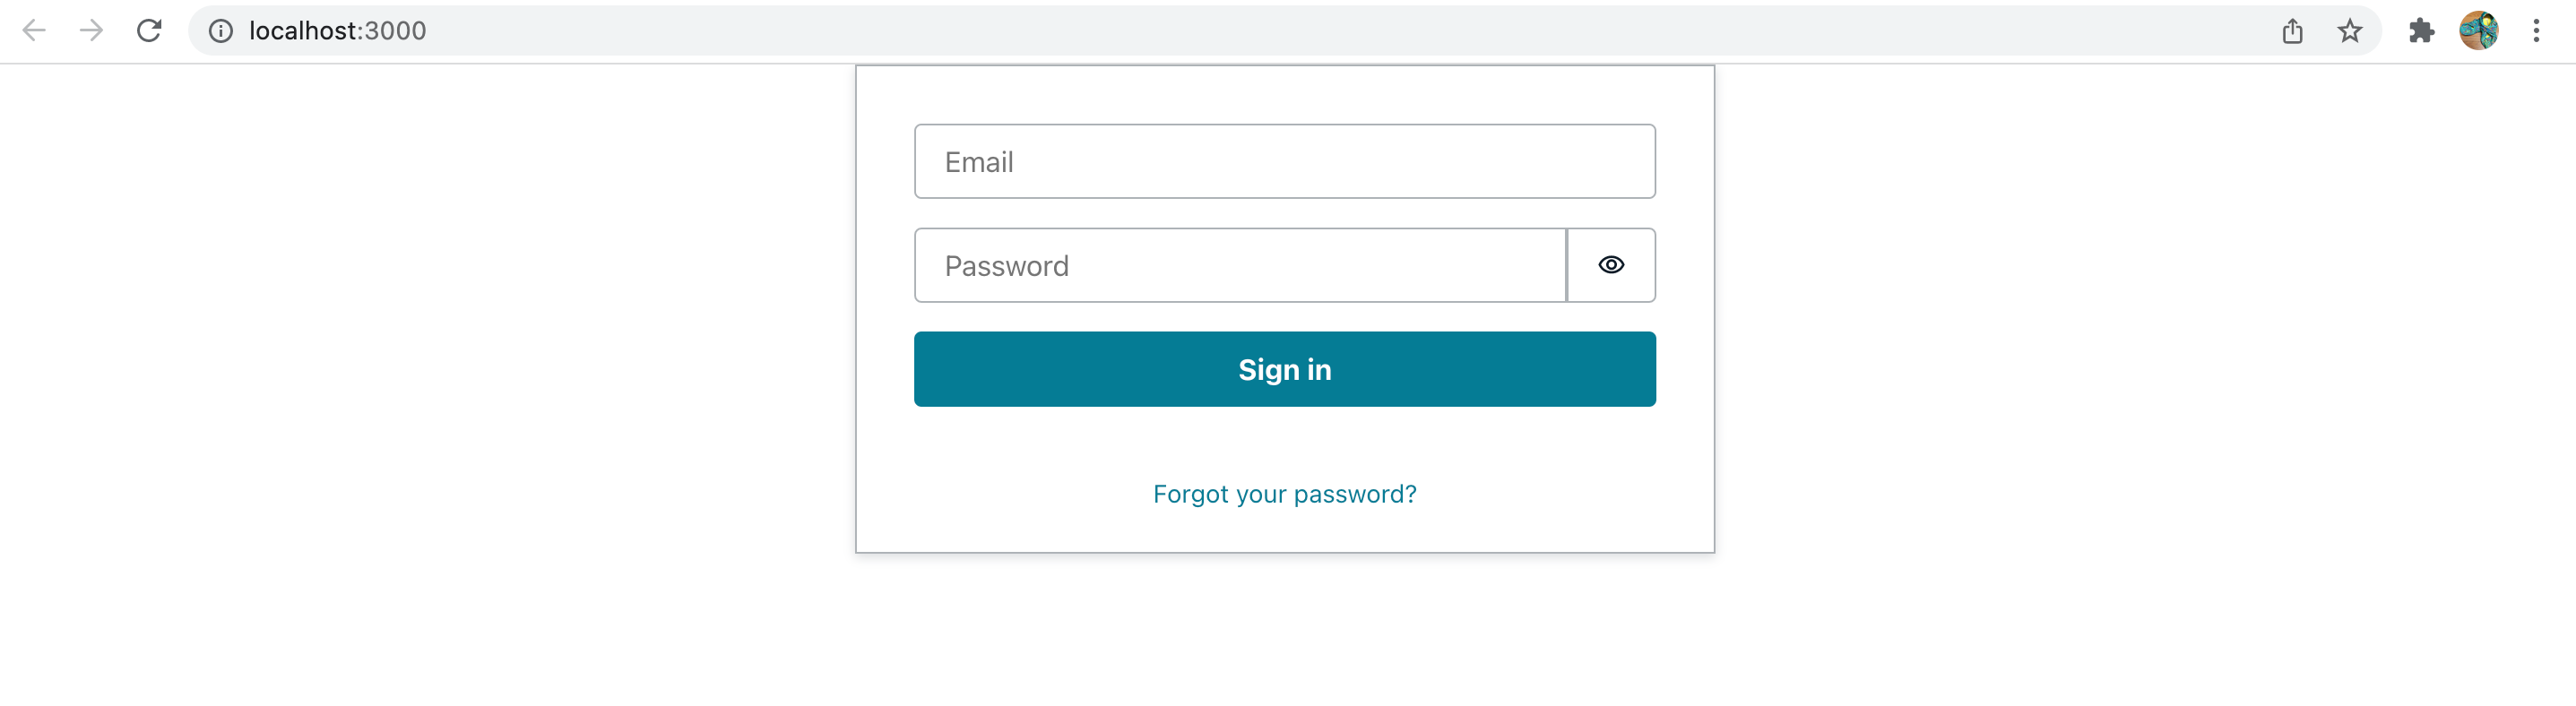
npm startによりアプリケーションを起動すると、サインイン/サインアップのコンソールを表示できました。
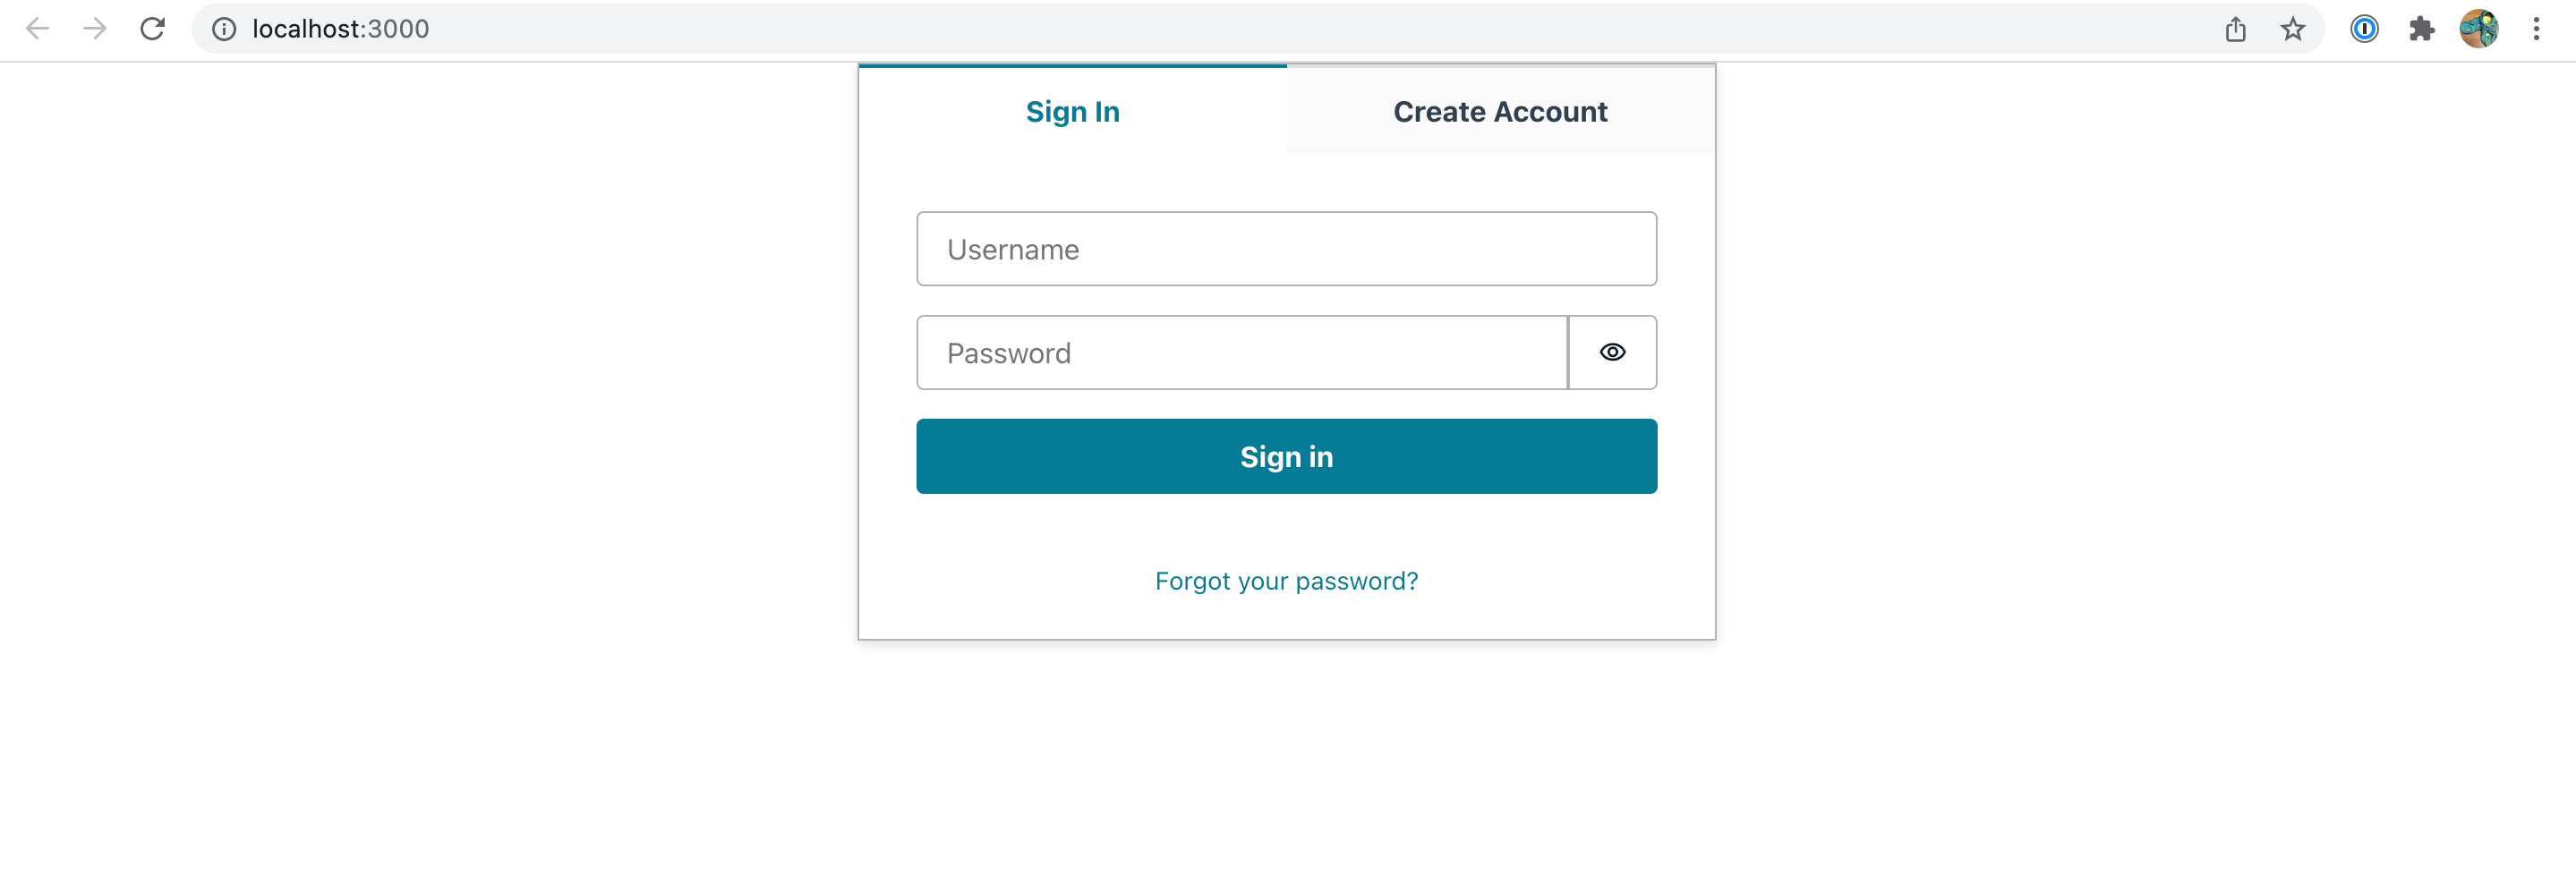
あらかじめUserPool上に作成しておいたユーザーでサインインしてみます。

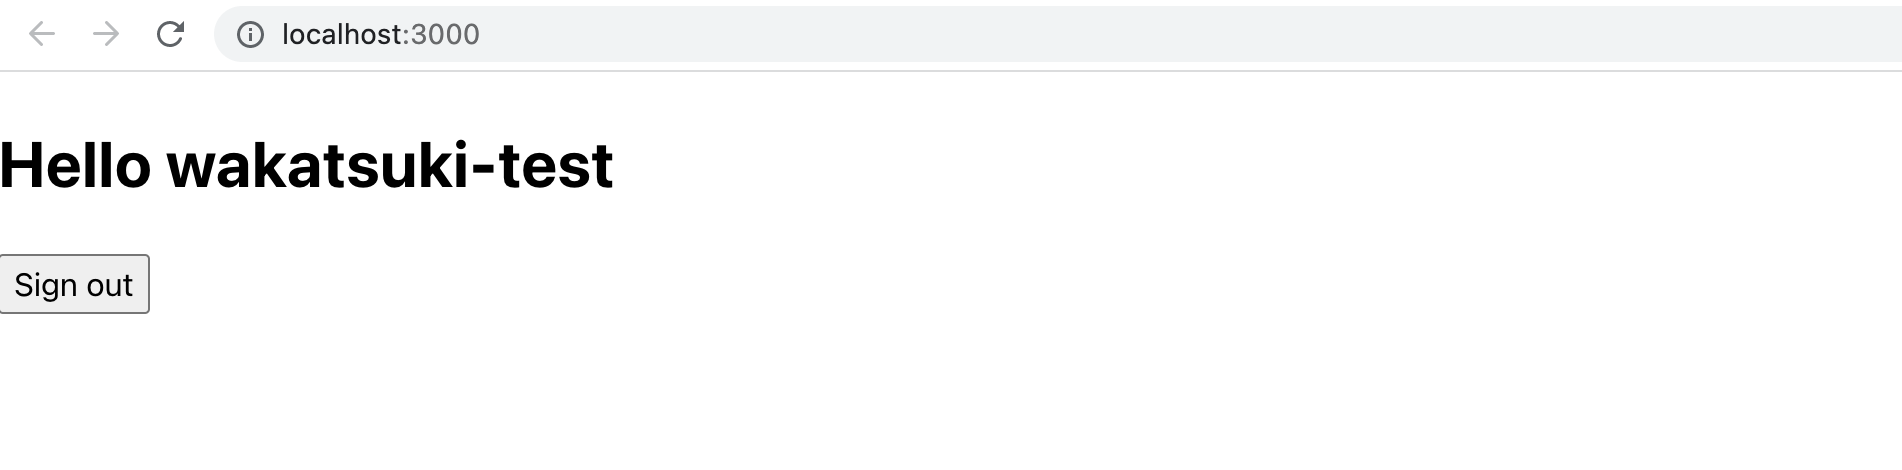
初回パスワード未変更だったので変更を求められました。変更します。

サインインできました!
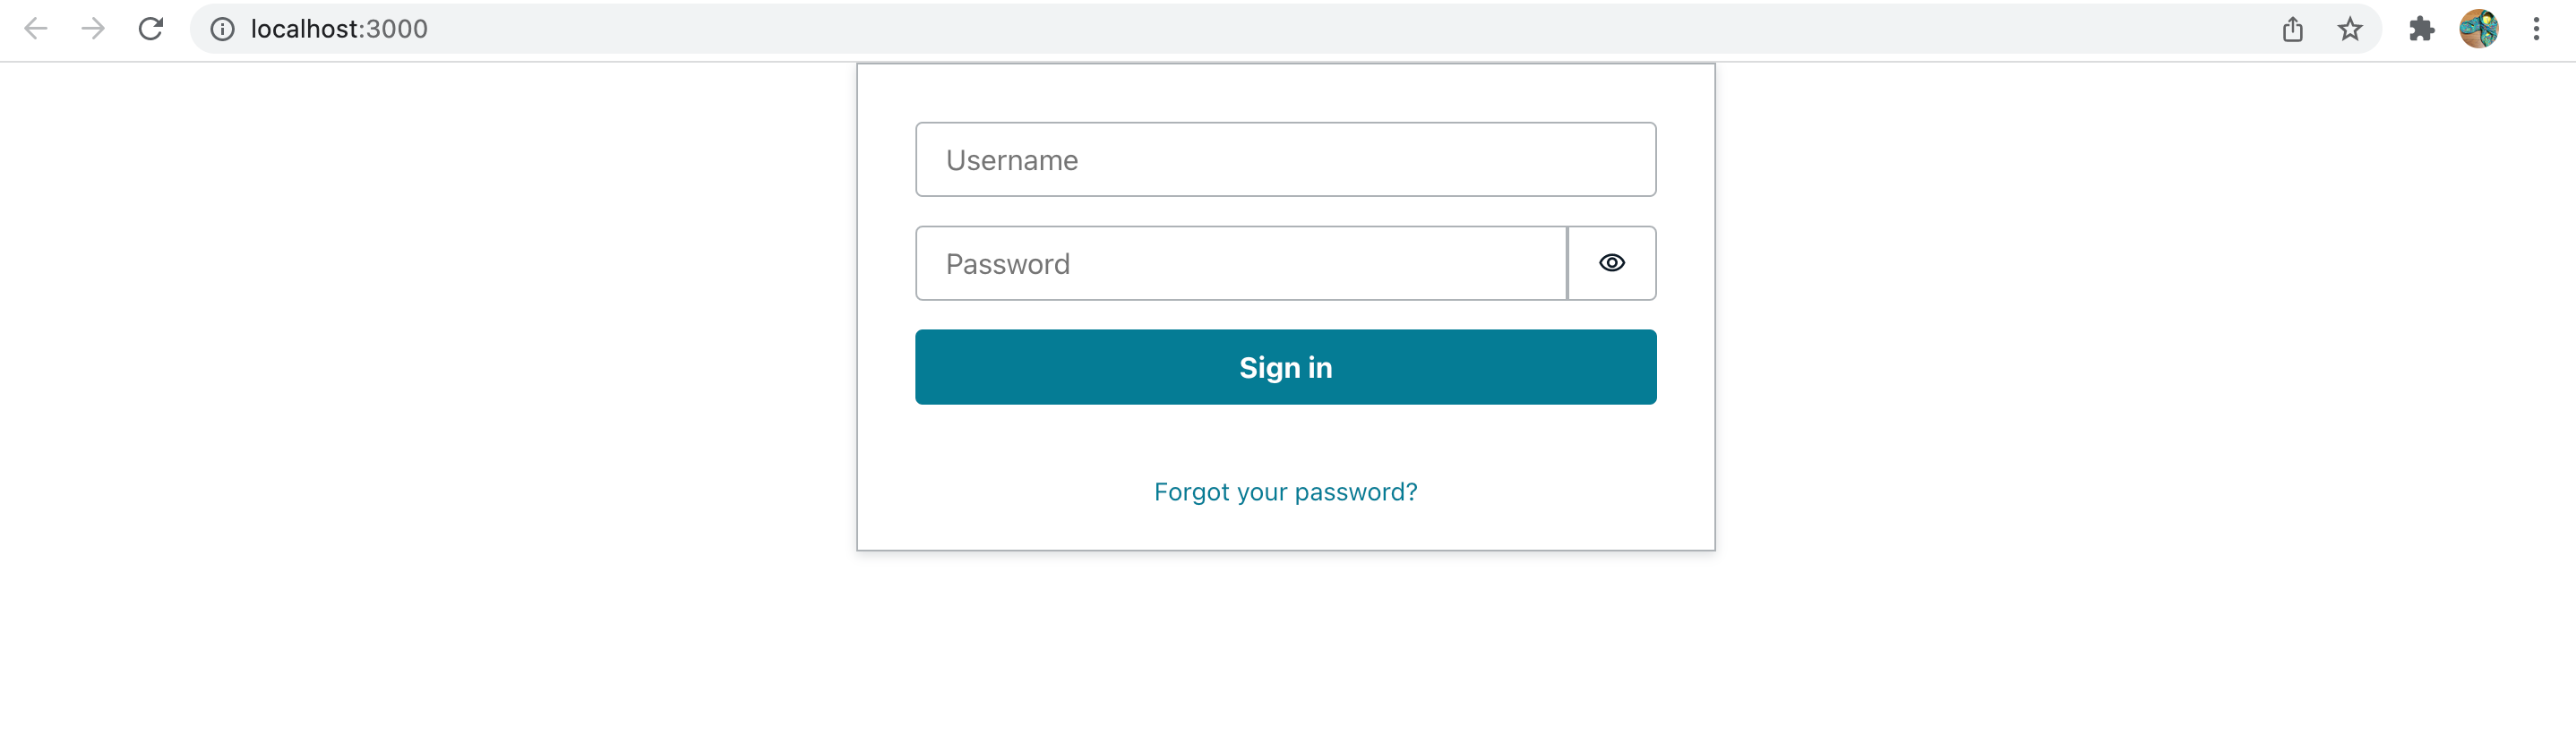
サインアップメニューを消す
ユーザー自身によるサインアップをさせない場合は、hideSignUpオプションでサインアップメニューを消すことができます。
export default function App() {
  return (
    <Authenticator hideSignUp={true}>
      {({ signOut, user }) => (
        <main>
          <h1>Hello {user.username}</h1>
          <button onClick={signOut}>Sign out</button>
        </main>
      )}
    </Authenticator>
  );
}
消せました。
サインインIDのプレースホルダーをメールアドレスとする
サインインID欄のプレースホルダーを変えたい場合は、loginMechanismsオプションを指定します。
export default function App() {
  return (
    <Authenticator hideSignUp={true} loginMechanisms={['email']}>
      {({ signOut, user }) => (
        <main>
          <h1>Hello {user.username}</h1>
          <button onClick={signOut}>Sign out</button>
        </main>
      )}
    </Authenticator>
  );
}
プレースホルダーを変更できました。
おわりに
Amplify UIを使ってReactアプリにAmazon Cognitoの認証フォームを実装してみました。
自前で認証フォームを実装しなくても良いのは助かりますね。次回以降は認証フォームのさらなるカスタマイズや、認証後のユーザー情報の使用などの部分を確認したいと思います。
参考
- Amplify UI (Angular版) の日本語化をしてみた | DevelopersIO
- AWS Amplifyの公式チュートリアルでToDoリストアプリ(React)をデプロイしてみた | DevelopersIO
- AWS cognitoとReactでログインを実装する
以上