상호 인증 사용하는 Client VPN 인증서 발급받기
안녕하세요.
이번 블로그에서는 AWS Client VPN에서 사용하는 서버 및 클라이언트 인증서를 EasyRSA로 발급하고 ACM에 등록하는 방법을 정리했습니다.
1. 사전 확인
블로그에서 검증에 사용한 도구와 실행 환경은 다음과 같습니다.
인증서 발급 도구 : EasyRSA
Client VPN 인증 옵션 : 상호 인증(Mutual Authentication)사용
실행 환경 : Mac
2. EasyRSA 설치 및 초기화
EasyRSA를 클론하고 PKI 환경을 초기화합니다.
git clone https://github.com/OpenVPN/easy-rsa.git
cd easy-rsa/easyrsa3
./easyrsa init-pki
WARNING 발생하는 경우
% ./easyrsa init-pki

WARNING!!!

You are about to remove the EASYRSA_PKI at:
* /Users/<유저명>/easy-rsa/easyrsa3/pki

and initialize a fresh PKI here.

Type the word 'yes' to continue, or any other input to abort.
  Confirm removal: ⭐️yes⭐️

Notice
------
'init-pki' complete; you may now create a CA or requests.

Your newly created PKI dir is:
* /Users/<유저명>/easy-rsa/easyrsa3/pki
3. CA(인증 기관)생성
모든 인증서의 신뢰 루트가 되는 루트 CA를 생성합니다.
nopass 옵션은 CA 개인 키에 비밀번호를 설정하지 않는다는 의미입니다.
./easyrsa build-ca nopass
실행 결과
..+...(생략)++++++
You are about to be asked to enter information that will be incorporated
into your certificate request.
What you are about to enter is what is called a Distinguished Name or a DN.
There are quite a few fields but you can leave some blank
For some fields there will be a default value,
If you enter '.', the field will be left blank.
-----
Common Name (eg: your user, host, or server name) [Easy-RSA CA]:test-CA(①)

Notice
------
CA creation complete. Your new CA certificate is at:
* /Users/<유저명>/easy-rsa/easyrsa3/pki/ca.crt

Build-ca completed successfully.
① CA명 입력 (식별용). 입력하지 않으면 Easy-RSA CA로 기본 설정
CA 발급을 완료하면 다음 파일이 생성됩니다.
| 파일 | 경로 | 설명 |
|---|---|---|
| CA 인증서 | pki/ca.crt |
모든 인증서의 신뢰 루트 |
| CA 개인 키 | pki/private/ca.key |
CA 서명에 사용(유출 엄금) |
4. 서버 인증서 발급
아래 명령어에서 도메인명과 파일명을 지정해서 서버 인증서를 발급합니다.
# SAN(Subject Alternative Name)포함 발급
./easyrsa --subject-alt-name="DNS:{도메인명}" build-server-full {파일명} nopass
실행 결과
% ./easyrsa --subject-alt-name="DNS:server.test" build-server-full server-test nopass
..+...(생략)++++++
-----

Notice
------
Private-Key and Public-Certificate-Request files created.
Your files are:
* req: /Users/<유저명>/easy-rsa/easyrsa3/pki/reqs/server-test.req
* key: /Users/<유저명>/easy-rsa/easyrsa3/pki/private/server-test.key

You are about to sign the following certificate:

  Requested CN:     'server-test'
  Requested type:   'server'
  Valid for:        '825' days

subject=
    commonName                = server-test

            X509v3 Subject Alternative Name:
                DNS:server.test

Type the word 'yes' to continue, or any other input to abort.
  Confirm requested details: yes(①)

Using configuration from /Users/<유저명>/easy-rsa/easyrsa3/pki/e7eb4a16/temp.02
Check that the request matches the signature
Signature ok
The Subject's Distinguished Name is as follows
commonName            :ASN.1 12:'server-test'
Certificate is to be certified until Sep  4 02:01:29 2028 GMT (825 days)

Write out database with 1 new entries
Database updated

WARNING
=======
INCOMPLETE Inline file created:
* /Users/<유저명>/easy-rsa/easyrsa3/pki/inline/private/server-test.inline

Missing TLS Key, see 'easyrsa help gen-tls'

Notice
------
Certificate created at:
* /Users/<유저명>/easy-rsa/easyrsa3/pki/issued/server-test.crt
① 발급 전에 인증서 내용(CN, SAN, 유효기간 등)확인하고 맞으면 yes 입력
인증서를 발급하면 생성되는 파일은 다음과 같습니다.
| 파일 | 경로 | 설명 |
|---|---|---|
| 서버 인증서 | pki/issued/{파일명}.crt |
서버의 신원 증명 |
| 서버 개인 키 | pki/private/{파일명}.key |
서버에서 사용하는 개인 키 |
| 서버 CSR | pki/reqs/{파일명}.req |
인증서 발급 요청 파일 |
5. 클라이언트 인증서 발급
아래 명령어에서 도메인명과 파일명을 지정해서 클라이언트 인증서를 발급합니다.
# SAN 포함 발급
./easyrsa --subject-alt-name="DNS:{도메인명}" build-client-full {파일명} nopass
실행 결과
% ./easyrsa --subject-alt-name="DNS:client.test" build-client-full user1 nopass
..+...(생략)++++++
-----

Notice
------
Private-Key and Public-Certificate-Request files created.
Your files are:
* req: /Users/<유저명>/easy-rsa/easyrsa3/pki/reqs/user1.req
* key: /Users/<유저명>/easy-rsa/easyrsa3/pki/private/user1.key

You are about to sign the following certificate:

  Requested CN:     'user1'
  Requested type:   'client'
  Valid for:        '825' days

subject=
    commonName                = user1

            X509v3 Subject Alternative Name:
                DNS:client.test

Type the word 'yes' to continue, or any other input to abort.
  Confirm requested details: yes(①)

Using configuration from /Users/<유저명>/easy-rsa/easyrsa3/pki/d337d212/temp.02
Check that the request matches the signature
Signature ok
The Subject's Distinguished Name is as follows
commonName            :ASN.1 12:'user1'
Certificate is to be certified until Sep  4 02:08:21 2028 GMT (825 days)

Write out database with 1 new entries
Database updated

WARNING
=======
INCOMPLETE Inline file created:
* /Users/<유저명>/easy-rsa/easyrsa3/pki/inline/private/user1.inline

Missing TLS Key, see 'easyrsa help gen-tls'

Notice
------
Certificate created at:
* /Users/<유저명>/easy-rsa/easyrsa3/pki/issued/user1.crt
① 발급 전에 인증서 내용(CN, SAN, 유효기간 등)확인하고 맞으면 yes 입력
인증서를 발급하면 생성되는 파일은 다음과 같습니다.
| 파일 | 경로 | 설명 |
|---|---|---|
| 클라이언트 인증서 | pki/issued/{파일명}.crt |
클라이언트의 신원 증명 |
| 클라이언트 개인 키 | pki/private/{파일명}.key |
클라이언트에서 사용하는 개인 키 |
| 클라이언트 CSR | pki/reqs/{파일명}.req |
인증서 발급 요청 파일 |
6. AWS에 인증서 가져오기
생성한 파일을 AWS ACM(Certificate Manager)의 인증서 가져오기 기능을 통해 ACM에 업로드합니다.
서버 인증서 등록에 필요한 파일
| 입력란 | 파일 경로 | 파일 종류 |
|---|---|---|
| 인증서 본문 | pki/issued/{파일명}.crt |
서버 인증서 |
| 인증서 프라이빗 키 | pki/private/{파일명}.key |
서버 개인 키 |
| 인증서 체인 | pki/ca.crt |
CA 인증서 |
클라이언트 인증서 등록에 필요한 파일
| 입력란 | 파일 경로 | 파일 종류 |
|---|---|---|
| 인증서 본문 | pki/issued/{파일명}.crt |
클라이언트 인증서 |
| 인증서 프라이빗 키 | pki/private/{파일명}.key |
클라이언트 개인 키 |
| 인증서 체인 | pki/ca.crt |
CA 인증서 |
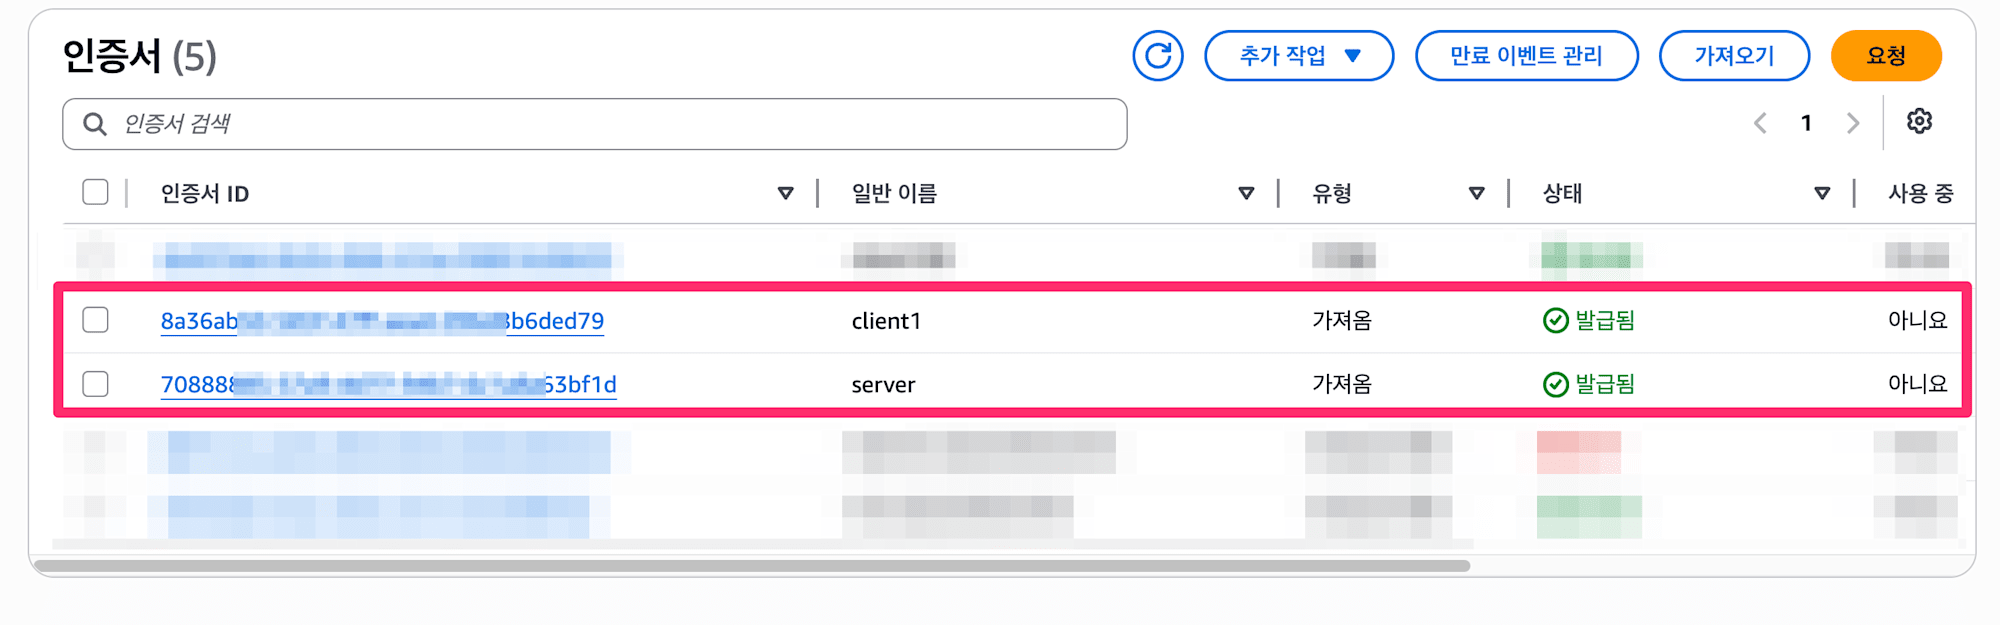
업로드하면 다음과 같이 인증서 목록과 상태 확인 가능합니다.
7. 주의점
7.1. 인증서의 유효 기간
각 인증서에는 유효 기간이 존재합니다.
| 인증서 | 유효 기간 |
|---|---|
| CA | 3650일 (10년) |
| 서버 | 825일(약 2년 3개월) |
| 클라이언트 | 825일(약 2년 3개월) |
등록한 인증서 유효 기간 확인해보기
 % ./easyrsa show-ca

Notice
------
Showing details for CA certificate, at:
* /Users/lim.chaejeong/easy-rsa/easyrsa3/pki/ca.crt

Certificate:
    Data:
        Version: 3 (0x2)
        (생략)
        Issuer:
            commonName                = test-CA
        Validity
            Not Before: Jun  2 01:56:32 2026 GMT
            Not After : May 30 01:56:32 2036 GMT
        (생략)
% ./easyrsa show-cert server-test

Notice
------
Showing 'cert' details for: 'server-test'

This file is stored at:
* /Users/lim.chaejeong/easy-rsa/easyrsa3/pki/issued/server-test.crt

Certificate:
    Data:
        Version: 3 (0x2)
        (생략)
        Issuer:
            commonName                = test-CA
        Validity
            Not Before: Jun  2 02:01:29 2026 GMT
            Not After : Sep  4 02:01:29 2028 GMT
        Subject:
            commonName                = server-test
        (생략)
            X509v3 Subject Alternative Name:
                DNS:server.test
원하는 유효 기간을 설정하려면 아래 옵션을 추가해야 합니다.
--days={원하는 일수}
변경 테스트
테스트를 위해 클라이언트 인증서로 유효 기간을 변경해서 생성해보겠습니다.
% ./easyrsa --days=3650 --subject-alt-name="DNS:client.test" build-client-full user2 nopass
..+...(생략)++++++
-----

Notice
------
Private-Key and Public-Certificate-Request files created.
Your files are:
* req: /Users/<유저명>/easy-rsa/easyrsa3/pki/reqs/user2.req
* key: /Users/<유저명>/easy-rsa/easyrsa3/pki/private/user2.key

You are about to sign the following certificate:

  Requested CN:     'user2'
  Requested type:   'client'
  Valid for:        '3650' days ⭐️⭐️⭐️
  (생략)
결과를 확인하면 변경한 유효 기간으로 표시되어 있는 걸 확인할 수 있습니다.
인증서의 유효 기간은 길수록 보안 리스크가 높아집니다.
반면 너무 짧게 설정하면 만료 시마다 재발급 → ACM 재등록 작업이 필요해 운용 부담이 늘어납니다.
보안과 운용 편의성을 고려해 적절한 유효 기간을 설정해야 합니다.
7.2. 클라이언트 인증서의 개수
인증서를 여러 유저가 공유하면 특정 유저만 접속을 차단하기 어렵기 때문에 VPN에 접속하는 유저 수만큼 클라이언트 인증서를 발급하는 것을 권장합니다.
유저별로 인증서를 발급해두면 필요 시 해당 인증서만 폐기(revoke)하여 개별적으로 접속을 제어할 수 있습니다.
또한, 클라이언트 인증서는 ACM에 전부 등록할 필요가 없습니다.
ACM에 등록하는 클라이언트 인증서는 "이 CA에서 발급된 인증서를 신뢰한다"는 설정 용도이기 때문에, 같은 CA에서 발급된 인증서라면 1장만 등록하면 됩니다.
마치며
이번 블로그에서는 EasyRSA를 사용한 인증서 발급부터 ACM 등록까지의 흐름을 정리했습니다.
참고가 되었으면 좋겠습니다.