作業を録画するだけでSkillを作れるMicrosoft Skill Recorderを製造業の品質判定業務で使えるか試してみた

概要
こんにちは、クラスメソッド製造ビジネステクノロジー部の田中聖也です。
作業録画するだけでAIスキル(AIエージェントに作業手順を教える定義ファイル)が作れるSkill Recorderというツールを知りました。これを使えば業務をしながら、業務の棚卸と業務の手順を残してAIに代替できるんじゃないかなと思いました。
この記事では以下のことに触れていきます。
- 検証シナリオ(製造現場の品質合否判定業務)
- Skill Recorderのインストールと初期セットアップ
- 作業を録画してスキルを自動生成するまで
- 生成されたスキルをClaude Desktop(CoWork)で実行した結果
Skill Recorderとは
Microsoftが公開しているOSS(オープンソースソフトウェア)で、画面操作とナレーション(作業中の音声解説)を録画すると、GitHub CopilotがそれをAIスキルの手順書に変換してくれるツールです。
ポイントは、UIのクリックをそのまま再生するのではなく「何をやりたかったのか」という意図と手順に一度分解してから、エージェントのネイティブツール(Read/Write等、AIエージェントが標準で持つツール)に置き換えて再構成してくれるところです。なので、1回のフォーム入力を録画すると、同じ形式のフォームすべてに使えるスキルに一般化される、という設計になっています。
なお、macOSが主なターゲットで、Windows 11(x64 / ARM64)もサポート対象という位置づけです。
検証シナリオ:製造現場の品質合否判定業務
まず、今回自動化した作業を説明します。
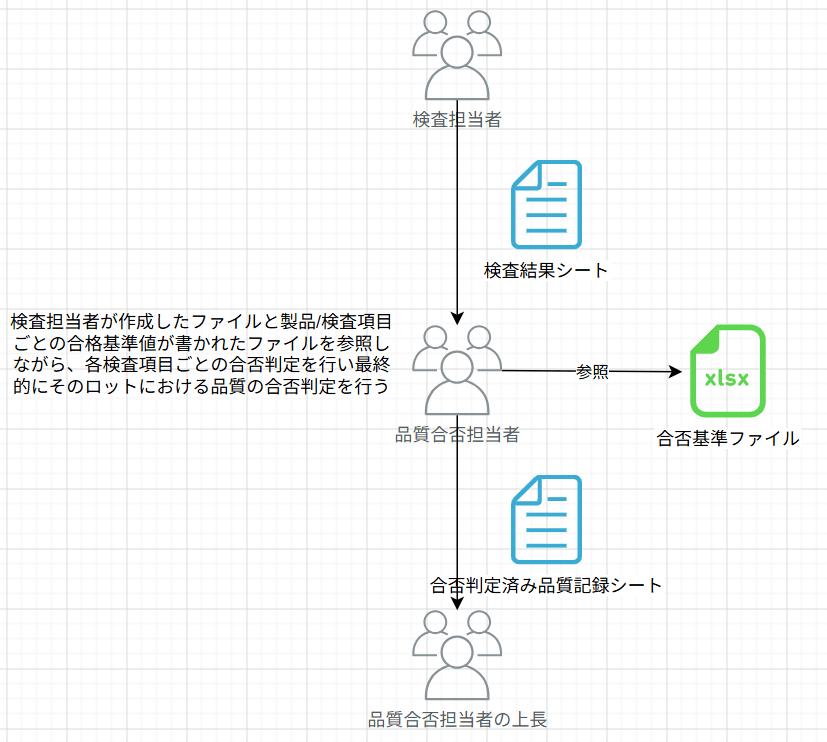
登場人物と業務フロー
- 検査担当者 → 検査結果シート(docx)を作成
- 品質合否担当者(今回の主役) → 検査結果と合否基準を参照しながら、合否判定済みの品質記録シートを作成
- 上長 → 最終確認・承認
品質合否担当者の具体的な作業
品質合否担当者は、以下3種類のファイルを参照しながら手作業で判定を進めます。
- 検査結果シート(docx)
- 各検査項目の測定値が記載されている
- 製品別_検査項目判定基準一覧(xlsx)
- 製品ごと・検査項目ごとの合格値範囲(上限・下限)を定義
- 検査記録表テンプレート(docx)
- 検査結果、判定結果、コメントなどを記入する公式フォーム
作業手順は以下の流れです。
- 検査結果シートを開き、各検査項目の測定値を確認
- 合否基準をExcelで確認し、「この値は合格範囲か?」を判定
- 検査記録表にすべての値を転記し、全体判定(合格 or 不合格)を決定
- 前回のロットと比較して、異常がないかコメントを記入
- ファイルを保存
定型的な作業ではあるんですが、参照ファイルが複数・値の照合が細かい・手入力ミスのリスクが高いという絶妙に慎重な作業を求められています。
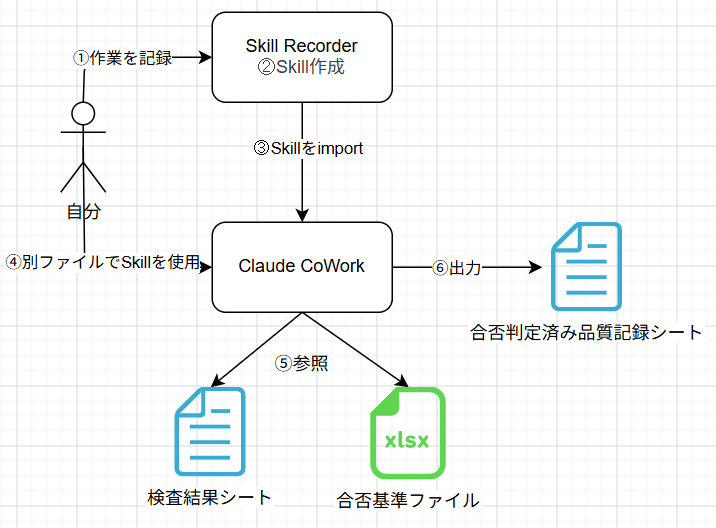
検証の全体図
この業務シナリオをSkill RecorderでSkillを作ってClaude CoWorkで再現できるかが検証したい内容の全体図です。
準備
環境
| 項目 | バージョン |
|---|---|
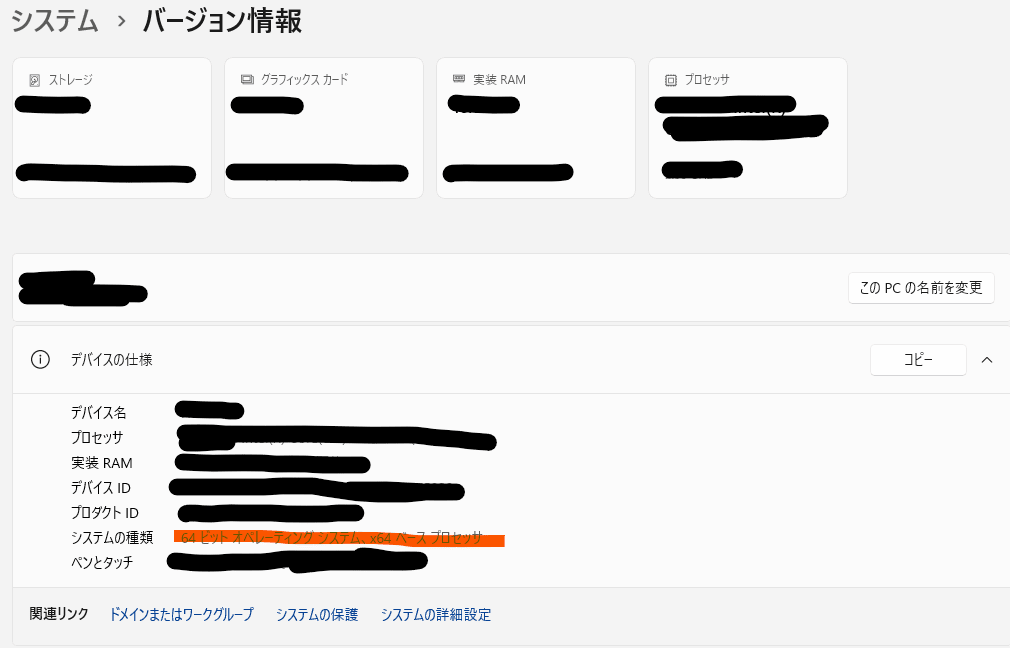
| OS | Windows 11 Pro(64ビット) |
| Node.js | v24.19.0(インストーラが自動取得) |
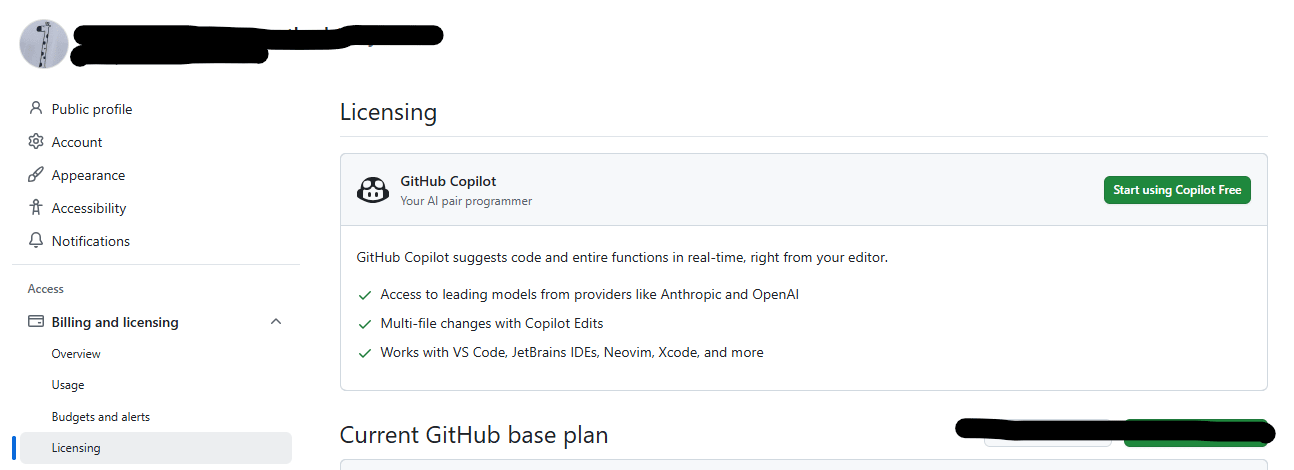
| ライセンス | GitHub Copilot free |
| 必要空きディスク容量 | 約500MB(音声モデル用) |
※2026年8月時点の情報です
GitHub Copilotのライセンス状態は、GitHubの設定画面で確認できます↓
Windows環境の確認↓
インストール手順
Skill Recorderはソースリリース(配布形式がバイナリではなくソースコード)で公開されていて、PowerShellのコマンド1行でNode.jsランタイムの取得からビルドまで一気に走ります。グローバルには何もインストールされません。
コマンドはlatest releaseページに、リリースコミットのハッシュ入りで載っています。形はこうです↓
$commit="<40文字のリリースコミットハッシュ>"; $env:SKILL_RECORDER_COMMIT=$commit; irm "https://raw.githubusercontent.com/microsoft/skill-recorder/$commit/install.ps1" | iex
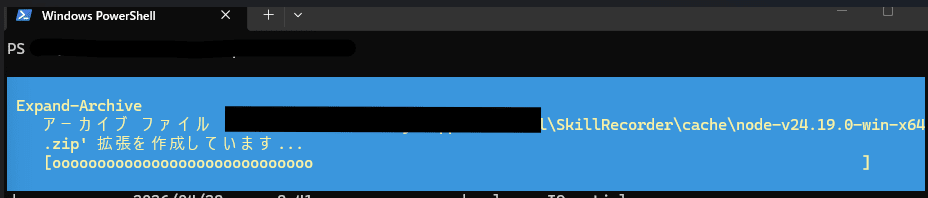
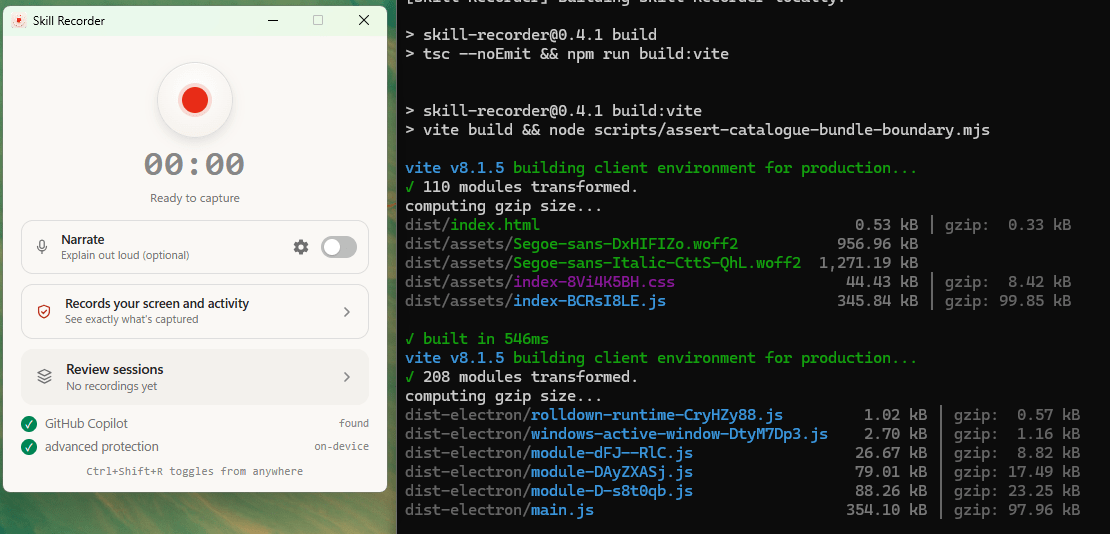
実行すると、以下のような感じでインストールが始まります。
完了するとデスクトップとスタートメニューに「Skill Recorder (Source)」のショートカットが追加されます。
初期セットアップ:音声モデルのダウンロード
起動すると、初回だけ音声認識モデル(Whisperの多言語モデル・約252MB)をダウンロードします。ナレーションの文字起こしは端末内で完結する作りなので、このモデルが必要になるわけですね。
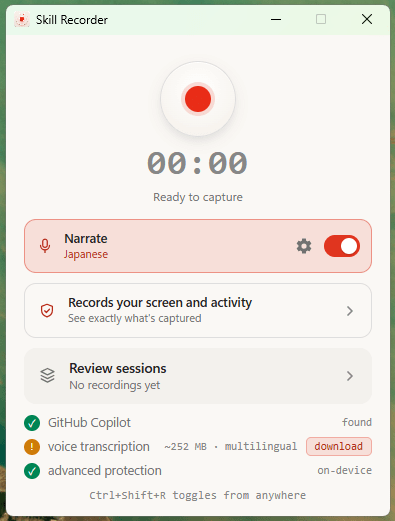
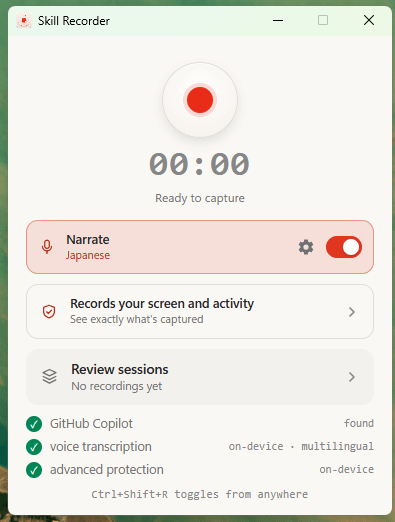
完了すると「Ready to capture」状態になります。これで準備完了です↓
やってみた
ステップ1: 作業を録画する
赤い円ボタンで録画開始。検査結果シート、合否基準Excel、検査記録表を次々と開きながら、実際の品質判定作業をやっていきます。
録画した内容は以下です。
- 検査結果ファイル(docx)を開く
- 合否基準ファイル(xlsx)を参照
- 検査記録表テンプレートをコピーして本日日付のファイルを作成する(docx)
- 値を転記し、判定を記入
- ファイルを保存
所要時間は9分35秒、動画サイズは21MBでした↓
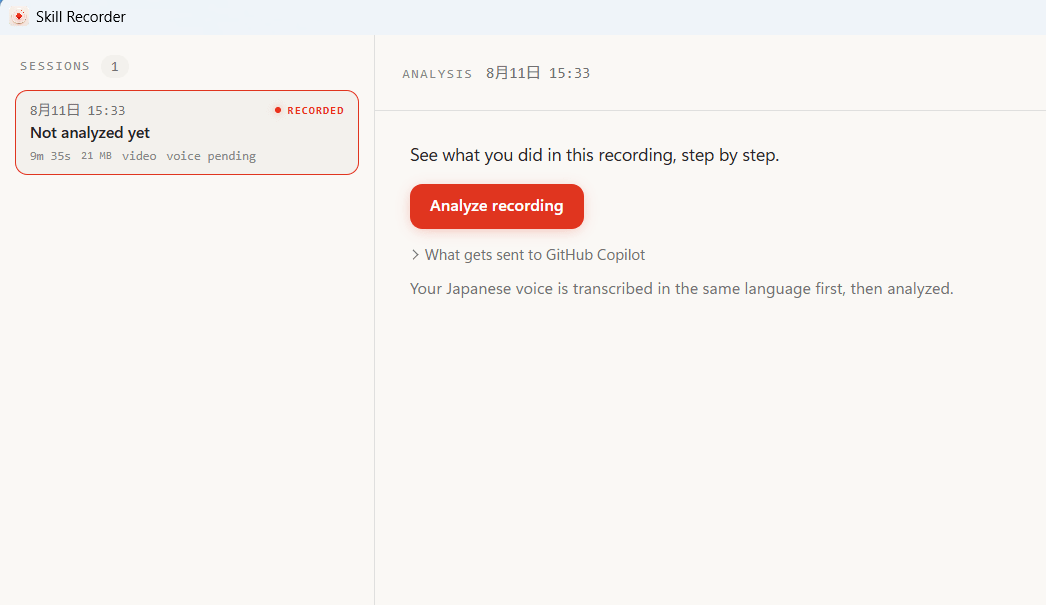
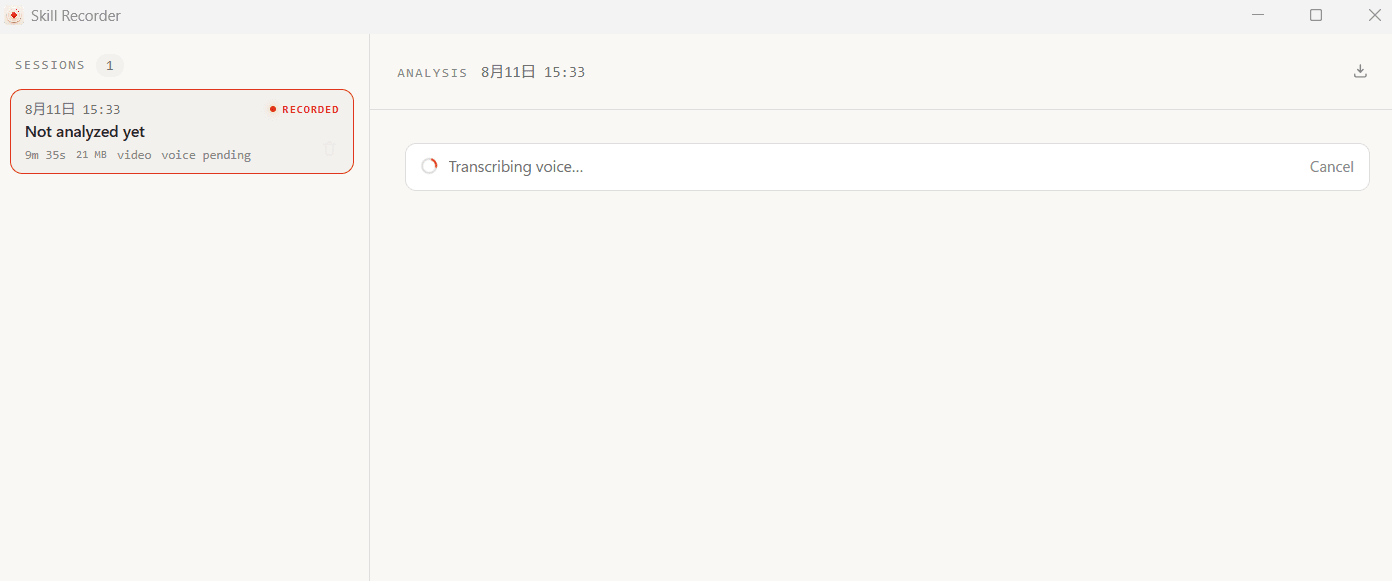
「Analyze recording」をクリックすると、ナレーションの文字起こしと動画の分析が始まります。日本語で喋っていても、いったん日本語のまま文字起こししてから分析してくれるのが良いですね↓
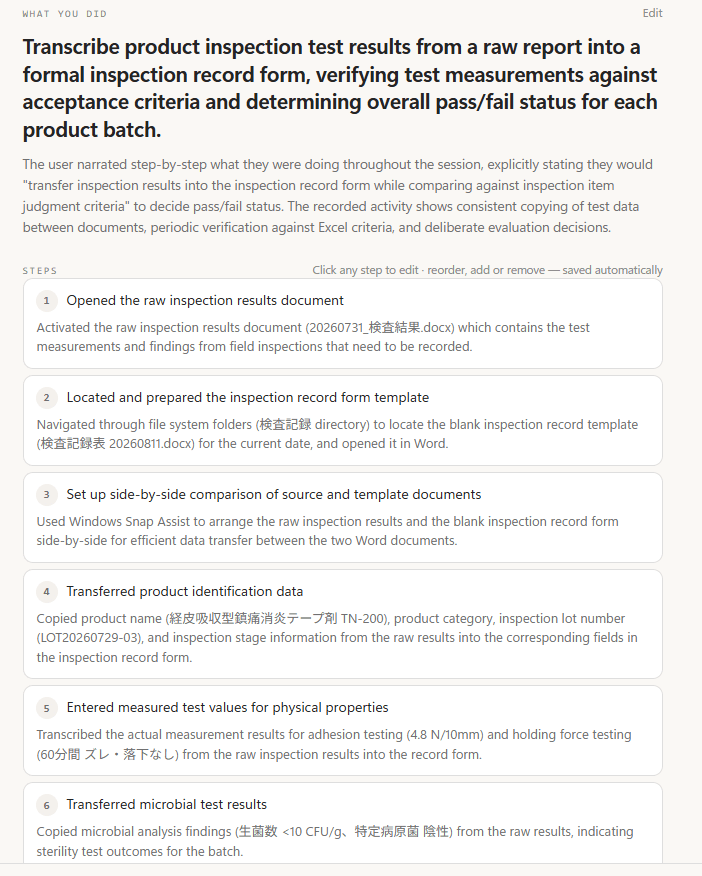
分析が完了すると、手順が自動で抽出されます↓
ステップ2: スキルのタイプを選択
抽出した手順から何を作るか、4種類のタイプを選べます。
- Scout skill - オンデマンド実行。タスクの説明とマッチしたときにScoutが実行する
- Scout automation - トリガーやスケジュールで動く複数ステップの自動化
- Cowork skill - Microsoft 365 Copilot(Cowork)向けにエクスポートして使う
- Agent skill - 特定ツールに寄せない汎用スキル。自分で動作検証する前提
※このほかに「Copilot Studio」が Coming soon で並んでいました
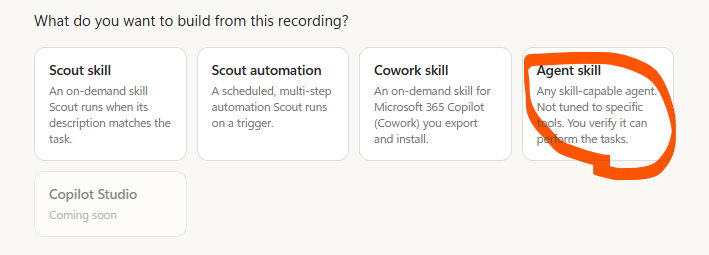
今回はAgent skillを選択。これでClaude Desktopなど、いろいろなAIエージェントで使える形になります。
ステップ3: 自動生成されたスキルを確認
生成処理中↓
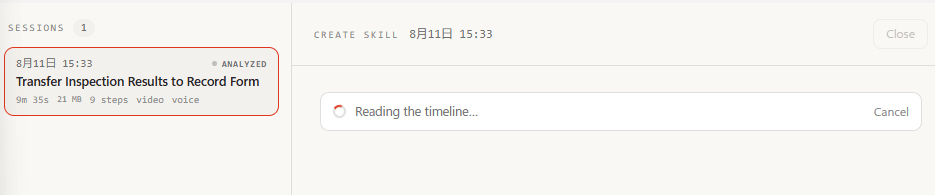
できあがったスキルの中身を見ていきます。
- スキル名:
Transfer Inspection Results to Record Form - スキルID:
transcribe-inspection-results
自動生成された手順は10ステップでした↓
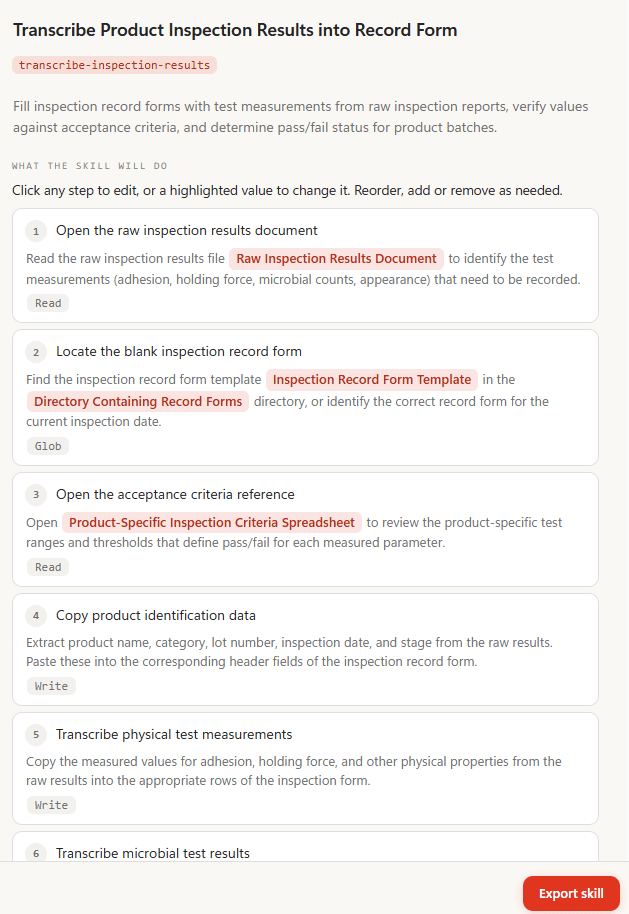
- 検査結果ドキュメント(Raw Inspection Results)を開く
- 検査記録表テンプレートを探す
- 合否基準リファレンス(Acceptance Criteria)を開く
- 製品の基本情報を転記
- 物理測定値を転記
- 微生物検査結果を転記
- 外観検査と品質コメントを記入
- 各値を基準と照合して検証
- 全体の合否判定を決定
- ファイルを保存
さらに、エッジケース(例外的なケース)への対応も勝手に定義されていました↓
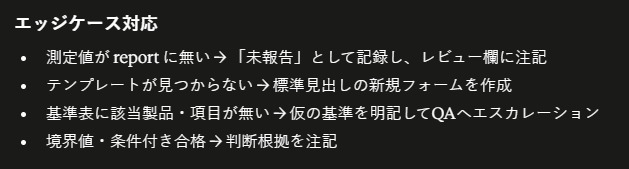
このあたりは録画中のナレーションで喋った内容が拾われている部分もあるんですが、明示的に指示していない条件分岐まで書かれていて、いい感じだと思いました。
ステップ4: スキルをエクスポート
「Export skill」をクリック↓
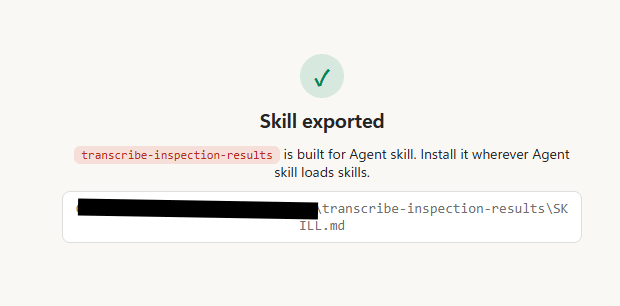
SKILL.mdが生成されました。このMarkdownファイルがスキルの定義そのものになります↓
---
name: transcribe-inspection-results
description: "Fill inspection record forms with test measurements from raw inspection reports, verify values against acceptance criteria, and determine pass/fail status for product batches."
allowed-tools:
  - Read
  - Write
  - Glob
---

## When to use

Use this skill to transcribe test measurements from a raw inspection report into a formal inspection record form. This applies when you have completed field inspections and need to:
- Transfer test data (adhesion, holding force, microbial counts, appearance) into an official record
- Cross-reference each value against product-specific acceptance criteria
- Determine and document the batch's overall pass/fail status

The skill is most useful when dealing with pharmaceutical or medical device batches where regulatory compliance requires documented verification of measurements against defined ranges.

## Procedure

**1. Open the raw inspection results document**

Read 20260731_検査結果.docx to identify all test measurements recorded during the inspection. Extract:
- Adhesion test values (e.g., force in N/10mm)
- Holding force test results (e.g., duration and stability observations)
- Microbial test data (e.g., bacterial count in CFU/g, pathogen presence)
- Appearance inspection findings

**2. Locate the blank inspection record form**

Use Glob to find 検査記録表 20260811.docx in the 検査記録 directory. If the template is not found by its literal name, search the 検査記録 directory for the most recent record form matching the current inspection date. Open the form in your document editor.

**3. Open the acceptance criteria reference**

Read 製品別_検査項目判定基準一覧.xlsx to view the product-specific test ranges and thresholds. This spreadsheet defines the acceptable minimum and maximum values for each test parameter and identifies which results are pass (合格), fail (不合格), or conditional.

**4. Copy product identification data**

From 20260731_検査結果.docx, extract:
- Product name and category
- Inspection lot number (e.g., LOT20260729-03)
- Inspection date
- Process stage (e.g., manufacturing stage)

Enter these into the corresponding header and metadata fields of the inspection record form.

**5. Transcribe physical test measurements**

Copy each physical property measurement from 20260731_検査結果.docx into the appropriate row of the inspection form:
- Adhesion test value
- Holding force test result and observations
- Any other mechanical or physical property tests

**6. Transcribe microbial test results**

Copy the microbial analysis data from 20260731_検査結果.docx into the microbiological test section of the form:
- Bacterial count (生菌数)
- Pathogen presence results (特定病原菌)
- Any other sterility or microbial findings

**7. Record appearance and quality observations**

Enter appearance inspection findings and supplementary quality notes into the form's notes section:
- Surface defects or coating observations (e.g., streaks, discoloration)
- Batch-specific quality concerns or recommendations
- Any notes from the inspection team

**8. Verify each measurement against criteria**

For each transcribed test value, cross-reference 製品別_検査項目判定基準一覧.xlsx to confirm the value falls within the acceptable range. Note:
- Values clearly within range → pass
- Values at or beyond the boundary → flag for review
- Values with conditional acceptance rules → apply the condition

Document any exceptions or boundary cases in the form's review notes.

**9. Determine overall pass/fail status**

Based on your criteria verification in step 8, make the final determination:
- If all test values pass their ranges → record as passing (合格)
- If any test value fails its range → record as failing (不合格)
- If results are acceptable with documented exceptions → record as conditional approval and note the exception

Document the decision in the form's final status field, with a brief justification if conditional approval is used.

**10. Finalize and save the inspection record**

Review the completed form to ensure:
- All required fields are filled
- All values are accurate and match the raw results
- The pass/fail determination is clearly visible

Save the form with a clear filename that includes the batch identifier (e.g., the lot number). Ensure the file is stored in 検査記録 for future reference and archival.

## Input and edge cases

- **Missing or unclear raw results**: If 20260731_検査結果.docx lacks a specific measurement, mark that field as "not reported" in the form and note it in the review section.
- **No matching record form template**: If 検査記録表 20260811.docx is not found, create a new record form using a standard template or blank document with the required section headings.
- **Criteria ambiguity**: If 製品別_検査項目判定基準一覧.xlsx does not list the product or test parameter, document the assumed acceptance range and escalate to quality assurance for confirmation.
- **Conditional acceptance**: If test results are borderline, document the condition clearly in the notes so future reviewers understand the approval rationale.
ステップ5: Claude Desktopへインポート
Claude Desktopのスキル画面で「スキルをアップロード」↓
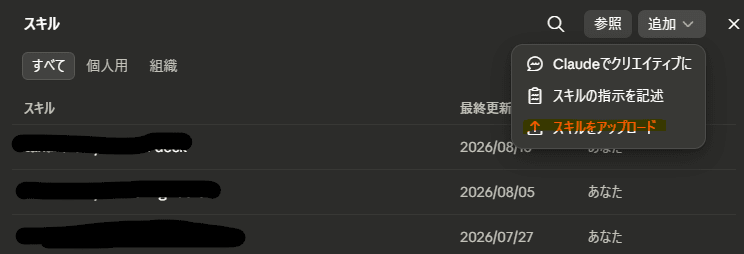
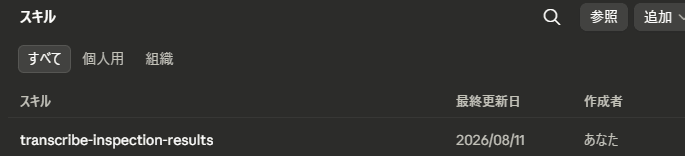
アップロードが終わると、スキル一覧にtranscribe-inspection-resultsが追加されます↓
実際に動かしてみた
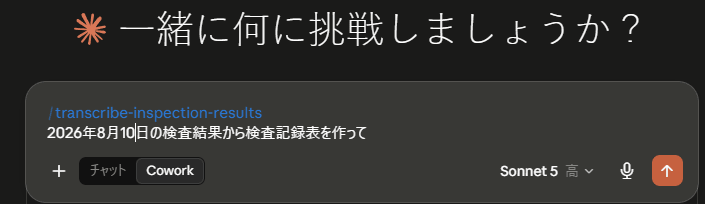
実行方法
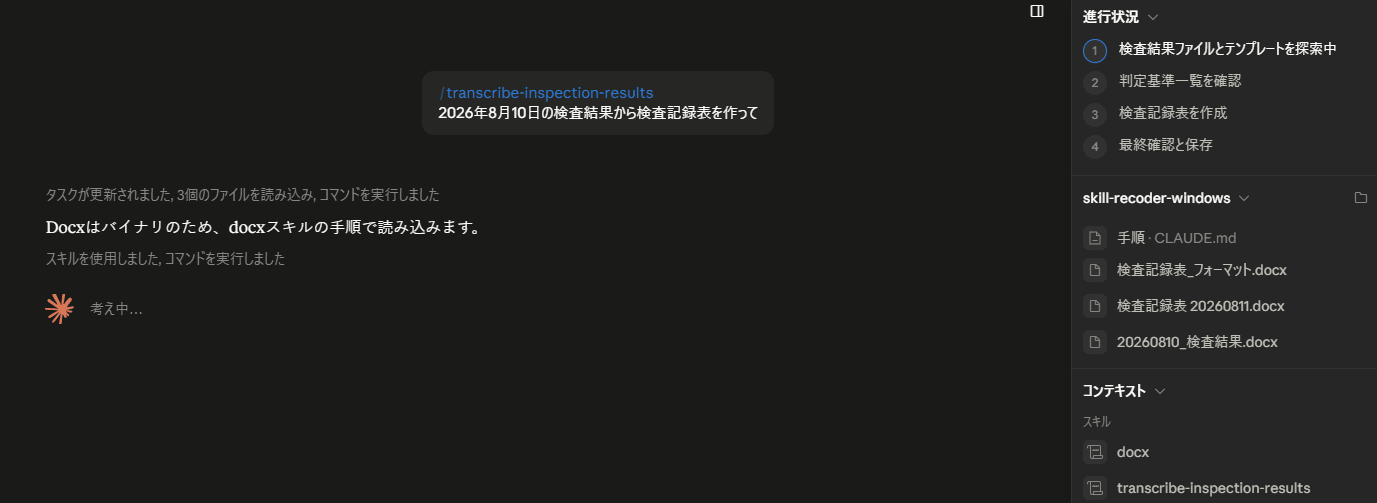
Claude Desktopを起動して、こう指示するだけです。
実行結果
自動で処理が始まり、進行状況パネルに4フェーズが表示されました↓
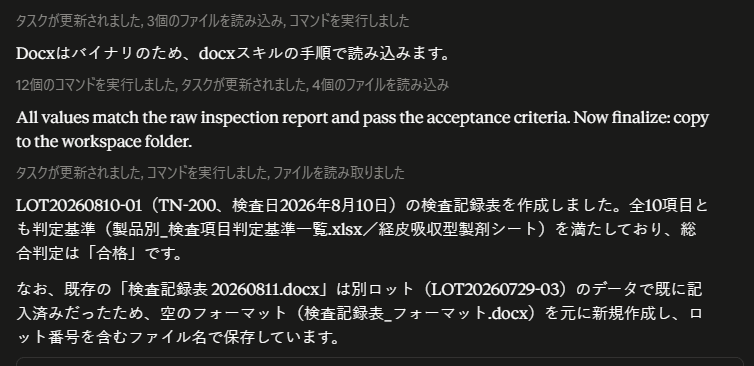
処理完了後↓
作成されたファイルはこちら↓
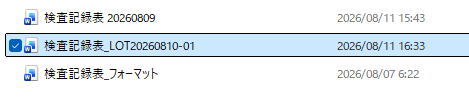
ファイル名は検査記録表_LOT20260810-01.docx。ロット番号入りで自動命名されています。
転記内容の検証
実際に生成されたファイルを開いて中身を確認します。
まず、検査結果シートと記録表の値が完全に一致していました↓
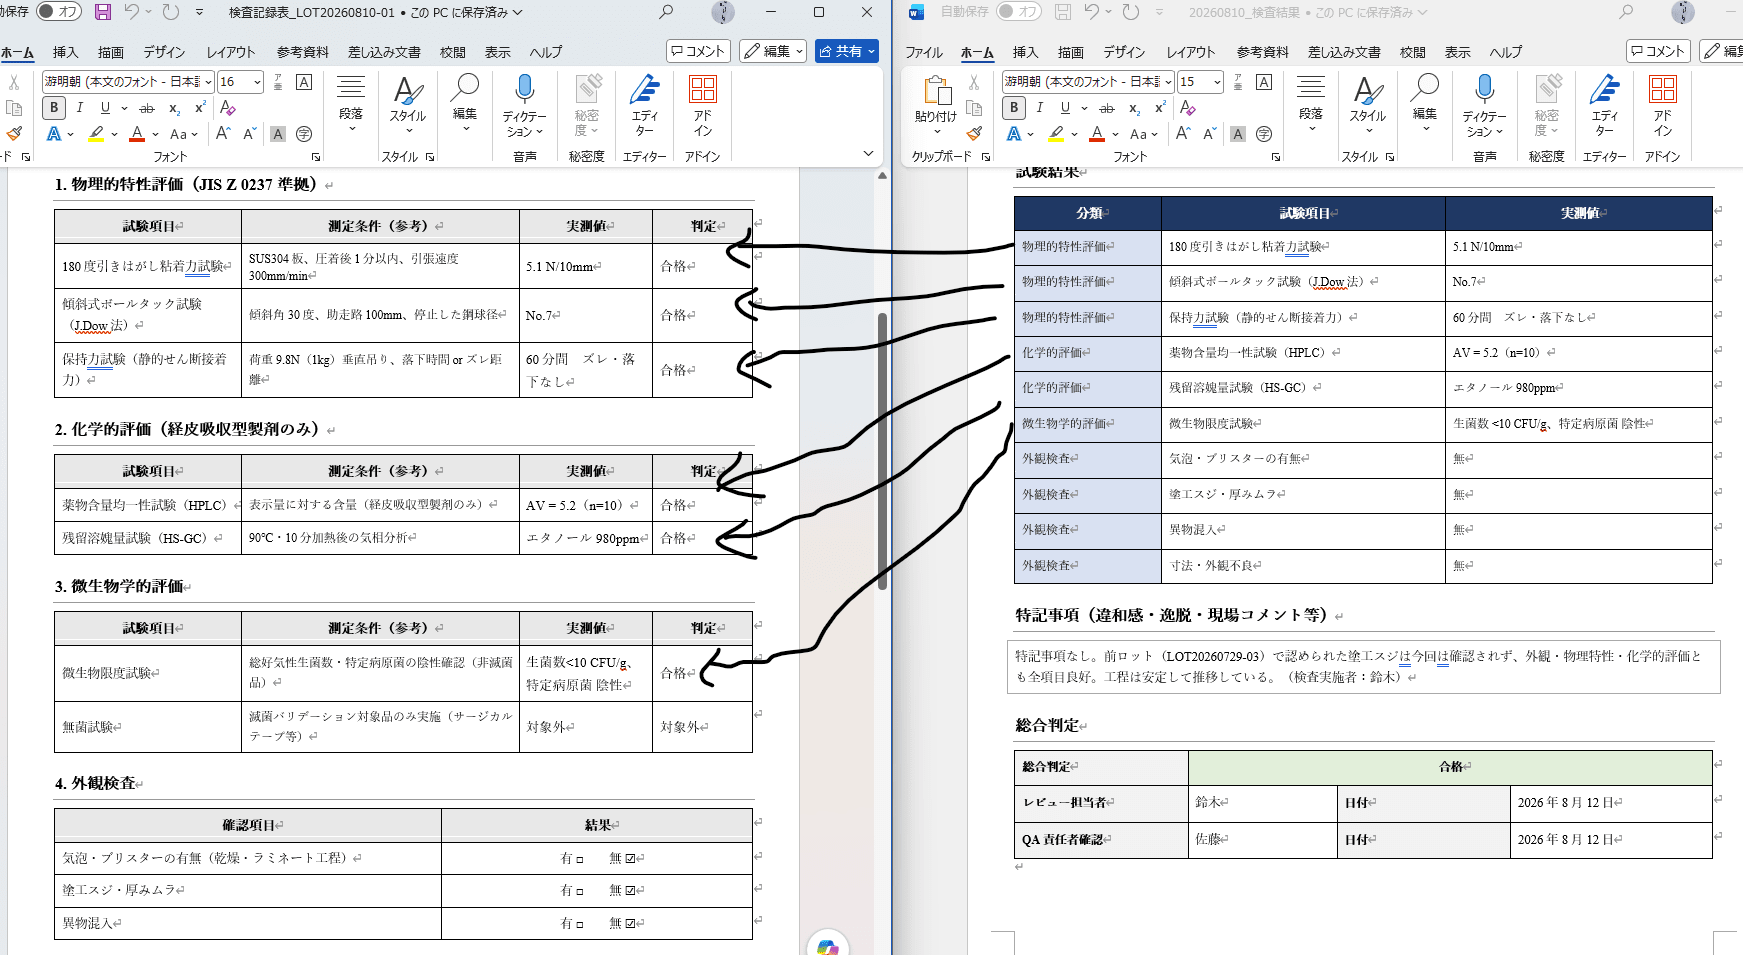
各検査項目(接着力・保持力・微生物・外観など)の測定値が正確に転記されています。
また、合否基準との照合↓
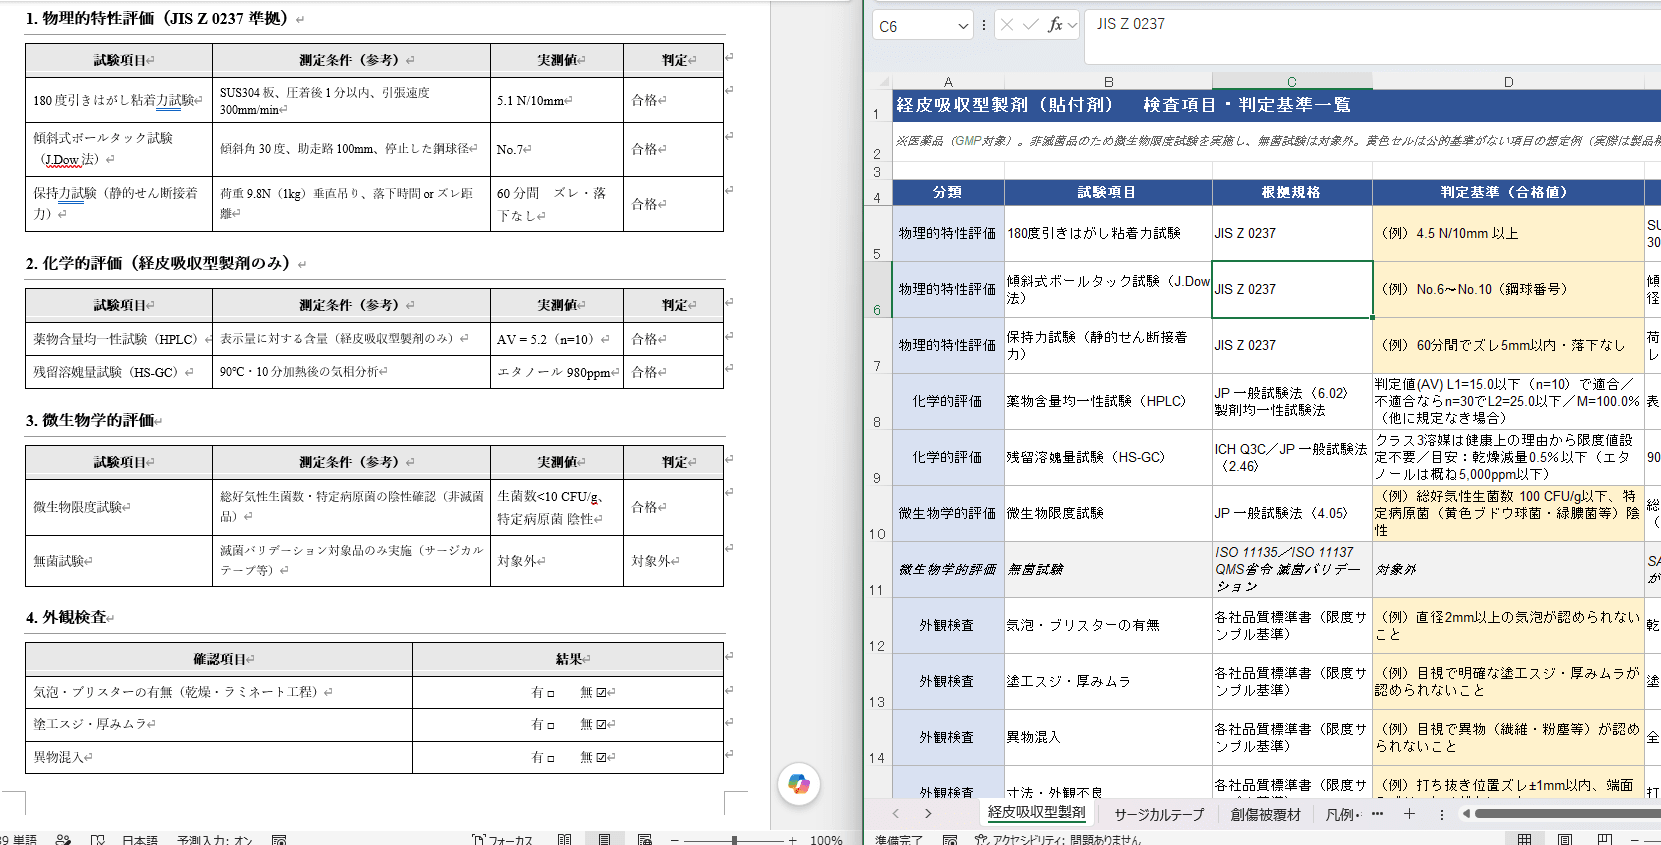
各項目が合格範囲内であることを自動で確認して、判定を実施。10項目すべて合格で、総合判定は「合格」になっていました。
前ロットとの比較も自動実行
いちばん驚いたのがここで、前ロット(LOT20260729-03)の記録を自分で探して参照し、今回との差分をコメントに書いていました↓

前ロットでは「塗工スジ」という品質問題が指摘されていたんですが、今ロット(LOT20260810-01)ではその問題が確認されていない、という旨が自動で記録シートに書かれています。ここは録画中に「前回のロットと比べて」と喋った一言が効いていると思われますが、それだけでファイル探索から差分記述まで通してくれるのは、かなり実用的だと感じました。
気になったところ
- 最初の作業デモンストレーションを丁寧にやる必要がある(変な操作をすると、そのままスキルに反映される)
- 録画・音声データに機密情報を含む業務使用には注意が必要かと思いました。
現場で使えるか?
従来のRPA(Robotic Process Automation、PC操作を自動化するソフトウェア)は、パターンマッチングと決まったアクションの組み合わせでした。ただSkill Recorderの場合は、AIが「何をしたいのか」を理解してから実行するので、ファイルレイアウトの小さな変化や想定外のシナリオにも使えるのかなという感じです。
実際の現場ではファイル以外にもメール、チャット、口頭で説明されたことなどの情報を扱う必要があるため全ての業務に使用できるわけではないですが、情報や手順が完結している業務には使用できそうだと感じました。
まとめ
作業を9分35秒録画するだけで、複数ファイルを照合する品質判定業務をAIスキルにできました!!
プログラミングなしでここまで来ているので、現場業務の棚卸しから入れば、自動化できる作業はまだかなり残っていそうですね。
ほかの現場業務でも試してみたいと思います。