NVIDIA Jetson Nano Setup Notes
この記事は公開されてから1年以上経過しています。情報が古い可能性がありますので、ご注意ください。
A note on setting up for development with NVIDIA Jetson Nano following the procedure on the official site.
Writing OS image to microSD card
Follow the instructions on the official page below.
Write Image to the microSD Card
I recommend using Etcher which is simple and easy to use.
Hardware setup and initialization
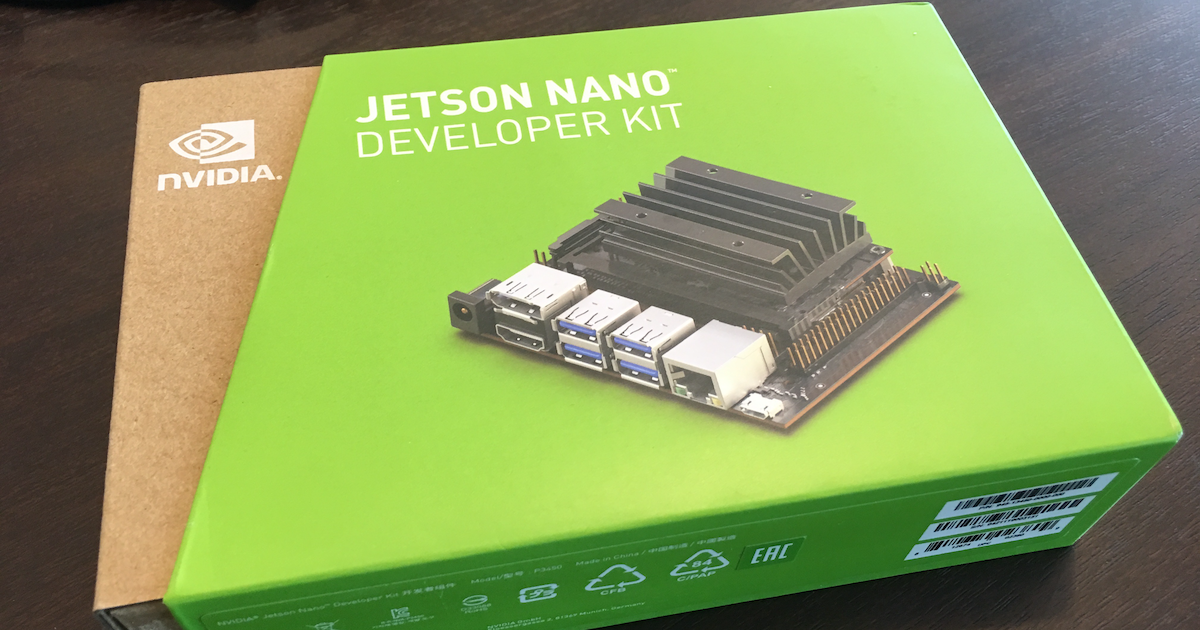
After opening the box, first assemble a paper stand for the board.

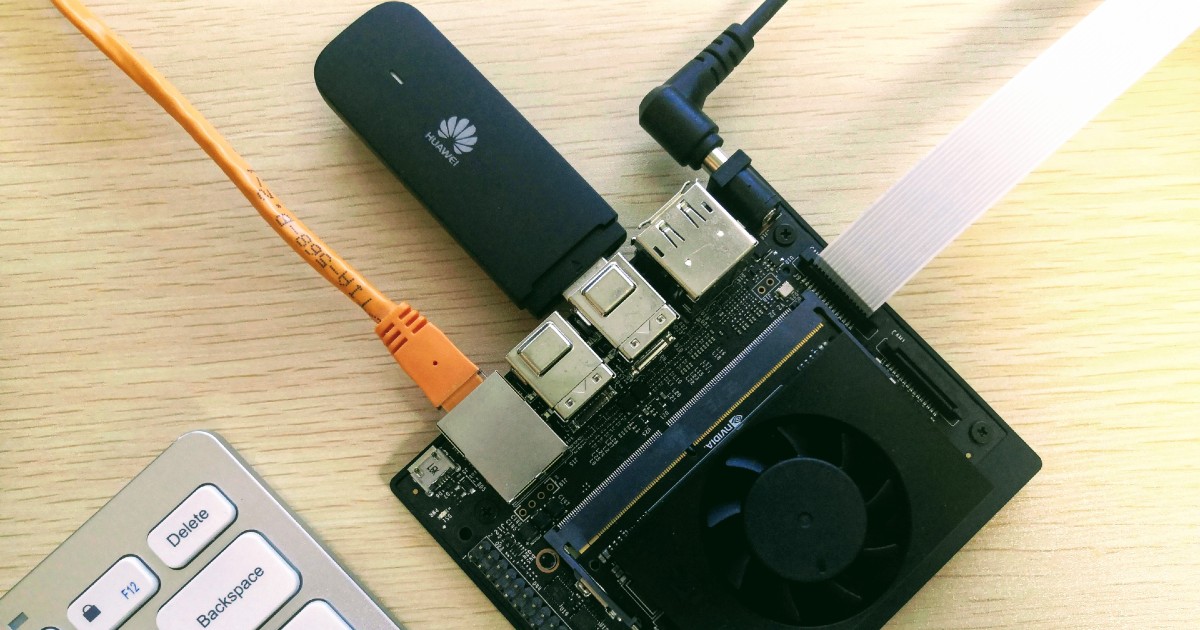
Insert the microSD card in which the OS image is written. I was able to write and boot Jetson Nano with no problem using
the I-O DATA's microSDHC card(16GB).

Connect to the power after connecting the display, keyboard, and mouse then the boot sequence will be started. Make sure to supply 2A or more power when you source power from micro USB.
After the boot sequence is complete, a software setup window will appear. Follow the on-screen instructions to complete the setup then Ubuntu desktop will be shown. Jetson Nano is now ready to use.

Wi-Fi access
The TPLINK's Wi-Fi dongle was recognized without problems by Jeston Nano.
SSH login
Since mDNS is enabled by default, you can log in with SSH by entering the following command on the same LAN as Jetson Nano.
ssh <user_name>@<machine_name>.local