![[Segment Anything Model 2] SAM2でボルトとナットを追跡してみました](https://devio2024-media.developers.io/image/upload/f_auto,q_auto,w_3840/v1737813532/user-gen-eyecatch/qt15gtx4acvbycvru7kb.jpg)
[Segment Anything Model 2] SAM2でボルトとナットを追跡してみました
この記事は公開されてから1年以上経過しています。情報が古い可能性がありますので、ご注意ください。
1 はじめに
製造ビジネステクノロジー部の平内(SIN)です。
SAM2は、Meta社が開発したSegment Anything Model (SAM) の後継モデルで、事前学習なしでオブジェクトセグメンテーションが可能な最先端のAIツールです。対象オブジェクトの指定方法には、ポイント指定、バウンディングボックス、マスクなど、複数の方式に対応しています。
SAM2の新機能として、オブジェクトが他のものに隠れたり、一時的に画面外に出た後の再出現を追跡できるメカニズムが実装されました。
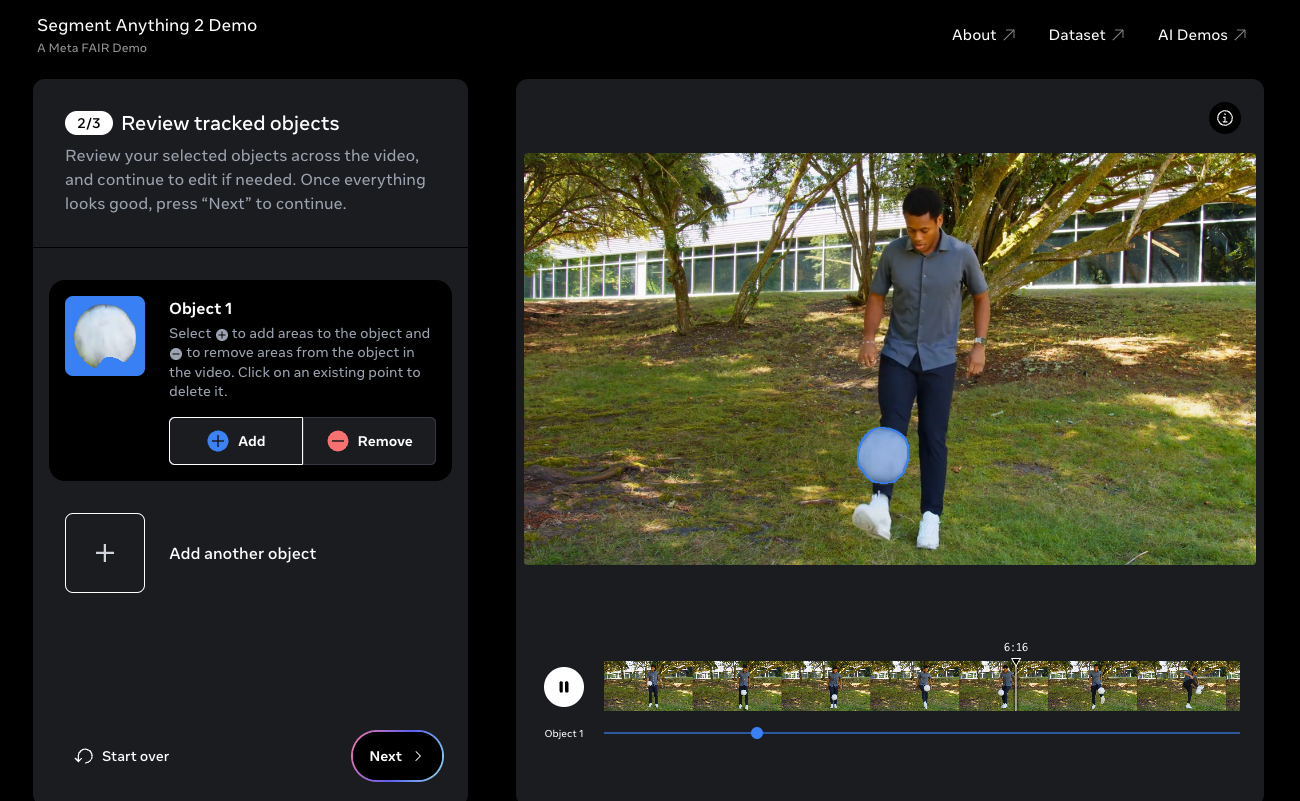
SAM2は、Meta社のデモページで簡単に試すことができます。また、GitHubからソースコードを取得して、独自の実装に組み込むことも可能です。
https://github.com/facebookresearch/sam2
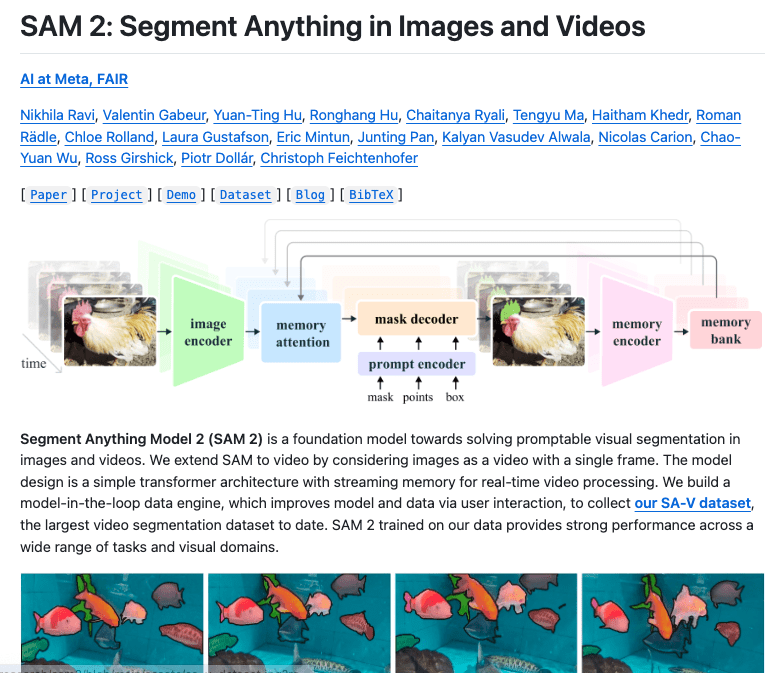
今回は、GitHubで公開されているコードを使用して実装を試みました。
まずは、実際の動作をご覧ください。
以下の動画では、ボルトとナットを撮影した映像に対してセグメンテーションを行っています。
最初のフレームでマウスにより追跡対象のオブジェクトを指定すると、SAM2による追跡処理が開始され、その結果を確認できます。
2 作業環境
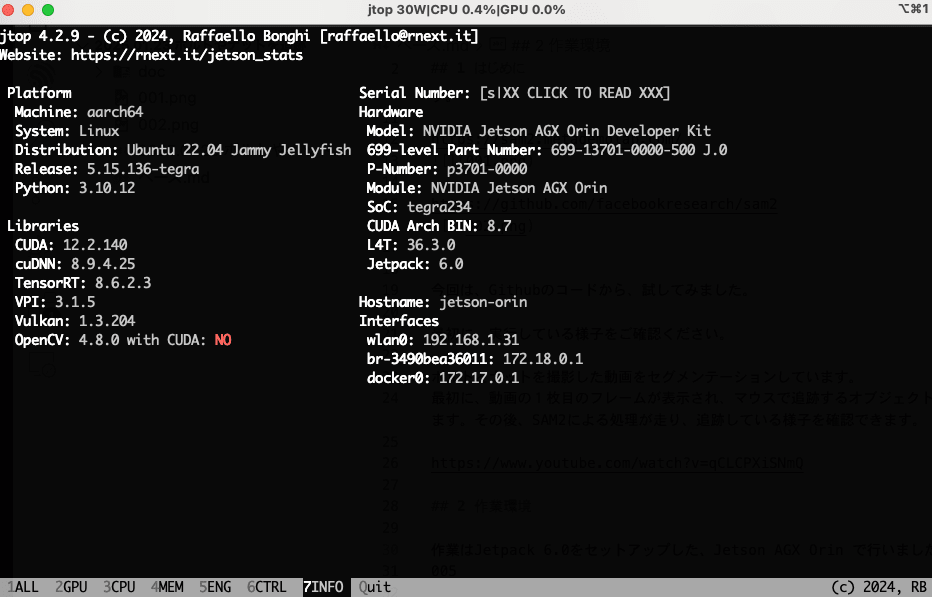
(1) Jetson AGX Orin(Jetpack 6.0)
作業はJetpack 6.0をセットアップした Jetson AGX Orin で行いました。
(2) Docker
作業環境として、dustynv/jetson-inference をベースとしたDockerコンテナを作成しています。
Dockerfile
FROM dustynv/jetson-inference:r36.3.0

ENV HOME=/home
ENV SAM2_HOME=/segment-anything-2

# install
RUN apt-get update
RUN apt-get -y install ffmpeg
RUN git clone https://github.com/facebookresearch/segment-anything-2.git
WORKDIR ${SAM2_HOME}/
RUN pip install torchvision==0.19.0a0+48b1edf # 0.17.2+c1d70fe -> 0.19.0a0+48b1edf
RUN pip install -e . -q
RUN python3 setup.py build_ext --inplace
RUN pip install ultralytics
RUN pip install -q supervision[assets] jupyter_bbox_widget

# download checkpoints 2.0
RUN wget -q https://dl.fbaipublicfiles.com/segment_anything_2/072824/sam2_hiera_tiny.pt -P ${SAM2_HOME}/checkpoints
RUN wget -q https://dl.fbaipublicfiles.com/segment_anything_2/072824/sam2_hiera_small.pt -P ${SAM2_HOME}/checkpoints
RUN wget -q https://dl.fbaipublicfiles.com/segment_anything_2/072824/sam2_hiera_base_plus.pt -P ${SAM2_HOME}/checkpoints
RUN wget -q https://dl.fbaipublicfiles.com/segment_anything_2/072824/sam2_hiera_large.pt -P ${SAM2_HOME}/checkpoints

RUN apt-get -y install python3.10-tk

WORKDIR ${HOME}/
$ docker build -t sam2:latest .
$ docker images | grep sam2
sam2   latest    cb6bc015286e   25 seconds ago   17.7GB
/homeをローカルにマウントして、Docker起動しています。
$ xhost +
$ docker run -it --rm --runtime nvidia --shm-size=1g -v /tmp/.X11-unix:/tmp/.X11-unix -v $(pwd)/home:/home  --device=/dev/video0:/dev/video0 -e DISPLAY=:0 --network host sam2:latest bash
3 コード
(1) 静止画
SAM2では、動画の推論にために、フレーム単位の静止画の準備が必要です。
静止画は、フレーム名が連番となるように、JPEG形式で準備します。
※ 拡張子は、.jpg, .jpeg, .JPG, .JPEGのみ対応
ffmpegを利用した静止画静止は、以下のとおりです。
util.py
# 動画からJPEG画層を切り出す
def create_frames_using_ffmpeg(video_path, output_path, frame_width, frame_height, fps):
    os.system(
        f"ffmpeg -i {video_path} -r {fps} -q:v 2 -vf scale={frame_width}:{frame_height} -start_number 0 {output_path}/'%05d.jpeg'"
    )
    return sorted(glob.glob(f"{output_path}/*.jpeg"))
(2) モデル
モデルは、sam2_hiera_tiny.pt を使用しました。
同じ名前で提供されている yaml(sam2_hiera_t.yaml) を使用して、 build_sam2_video_predictor() でロードできます。
# 定数定義
SAM2_HOME = "/segment-anything-2"
CONFIG = "sam2_hiera_t.yaml"
CHECKPOINT = f"{SAM2_HOME}/checkpoints/sam2_hiera_tiny.pt"

# SAM2 モデルのロード
sam2_model = build_sam2_video_predictor(CONFIG, CHECKPOINT)
(3) 初期化
動画の推論前に、最初に作成した静止画で、フレームのembeddingを生成し、モデルを初期化します。
# 推論用stateの初期化
inference_state = sam2_model.init_state(video_path=FRAME_PATH)
sam2_model.reset_state(inference_state)
(4) ターゲット指定
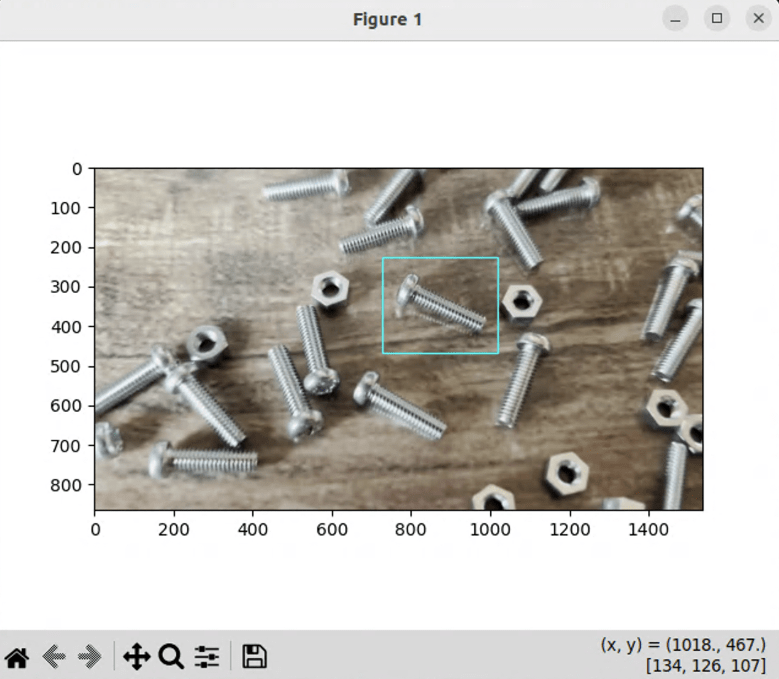
追跡するオブジェクトは、ボックス指定で行っています。
そして、最初のフレームを表示して、matplotlib.pyplotを使用して。マウスで選択しているコードは、以下のとおりです。
index.py
# バウンディングボックスの取得用クラス
bounding_box = BoundingBox()

# ターゲットのバウンディングボックスの取得
target_frame_idx = 0  # ポイントを指定するフレーム
target_object_id = 0  # ターゲットは、1つのオブジェクトのみ
target_box = bounding_box.get_box(source_frames[target_frame_idx])
bounding_box.py
# マウスで範囲指定する
# apt-get install -y python3.10-tkが必要

import cv2
import matplotlib.pyplot as plt
import matplotlib.patches as patches

class BoundingBox:
    def __init__(self):
        self.x1 = -1
        self.x2 = -1
        self.y1 = -1
        self.y2 = -1
        self.image = None

    def __motion(self, event):
        if self.x1 != -1 and self.y1 != -1:
            self.x2 = event.xdata.astype("int16")
            self.y2 = event.ydata.astype("int16")
            self.__update_plot()

    def __update_plot(self):
        plt.clf()
        plt.imshow(cv2.cvtColor(self.image, cv2.COLOR_BGR2RGB))
        ax = plt.gca()
        rect = patches.Rectangle(
            (self.x1, self.y1),
            self.x2 - self.x1,
            self.y2 - self.y1,
            angle=0.0,
            fill=False,
            edgecolor="#00FFFF",
        )
        ax.add_patch(rect)
        plt.draw()

    def __press(self, event):
        self.x1 = event.xdata.astype("int16")
        self.y1 = event.ydata.astype("int16")

    def __release(self, event):
        plt.clf()
        plt.close()

    def get_box(self, image_path):
        self.image = cv2.imread(image_path)
        self.x1 = -1
        self.x2 = -1
        self.y1 = -1
        self.y2 = -1
        plt.figure()
        plt.connect("motion_notify_event", self.__motion)
        plt.connect("button_press_event", self.__press)
        plt.connect("button_release_event", self.__release)
        self.ln_v = plt.axvline(0)
        self.ln_h = plt.axhline(0)
        plt.imshow(cv2.cvtColor(self.image, cv2.COLOR_BGR2RGB))
        plt.show()
        return (self.x1, self.y1, self.x2, self.y2)
(5) 推論
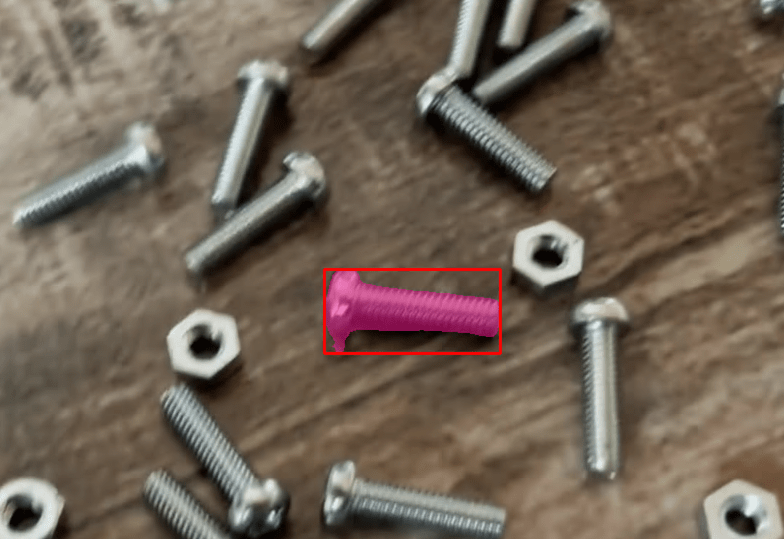
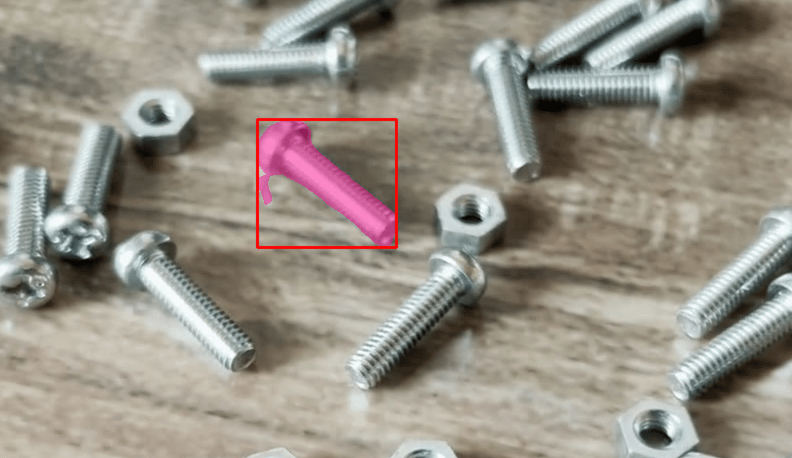
フレーム単位で推論で生成されたmaskをsupervisionのDetectionsでアノテーション表示しています。
# 推論
for frame_idx, object_ids, mask_logits in sam2_model.propagate_in_video(
    inference_state
):
    frame_path = source_frames[frame_idx]
    frame = cv2.imread(frame_path)
    masks = (mask_logits > 0.0).cpu().numpy()
    masks = np.squeeze(masks).astype(bool)

    # 検出領域をマスクした画像を表示
    annotated_frame = annotator.set_mask(frame, masks, object_ids)
    cv2.imshow("annotated_frame", annotated_frame)
    if frame_idx == 0:
        cv2.moveWindow("annotated_frame", 500, 200)

    cv2.waitKey(1)
4 最後に
今回、SAM2によるオブジェクトセグメンテーションを実際のコードを用いて検証しました。
SAM2の特筆すべき点は、推論前に全フレームの埋め込み(embedding)情報でモデルを初期化することで実現される高精度な追跡性能です。従来の手法のように単純にフレームごとに逐次推論を行う場合と比べ、対象物が一時的に画面外に出た場合でも安定した追跡が可能となっています。
本記事で使用した全てのソースコードは、以下のGitHubリポジトリで公開しています。
