【Amazon Connect】Streams API で Contact Control Panel (CCP) を Windows EC2 と統合してみた
2026.02.20
はじめに
こんにちは、フニです。
本記事では、Amazon Connect Streams API を利用して、Windows EC2 上に CCP を統合する方法についてご紹介します。
Amazon Connect Streams API とは?
Amazon がオープンソースとして公開している Amazon Connect とウェブアプリを連携するための JavaScript ライブラリです。
これによって、Contact Control Panel (CCP) UI コンポーネントをアプリ画面上に埋め込むことができ、イベントドリブンなインターフェースを通じてエージェントや呼の状態を取得することができるようになります。
前提
- Amazon Connect 構築済み
- Windows EC2 構築済み
- インターネット通信ができること (Public IP)
- ami-0f2fe624a4f2e99f0 (Windows_Server-2022-Japanese-Full-Base-2025.11.12)
本記事では、ドメインを用意せずに Windows EC2 に CCP を統合するサンプル手順を紹介いたします。
手順
- EC2 インスタンスに RDP 接続します。
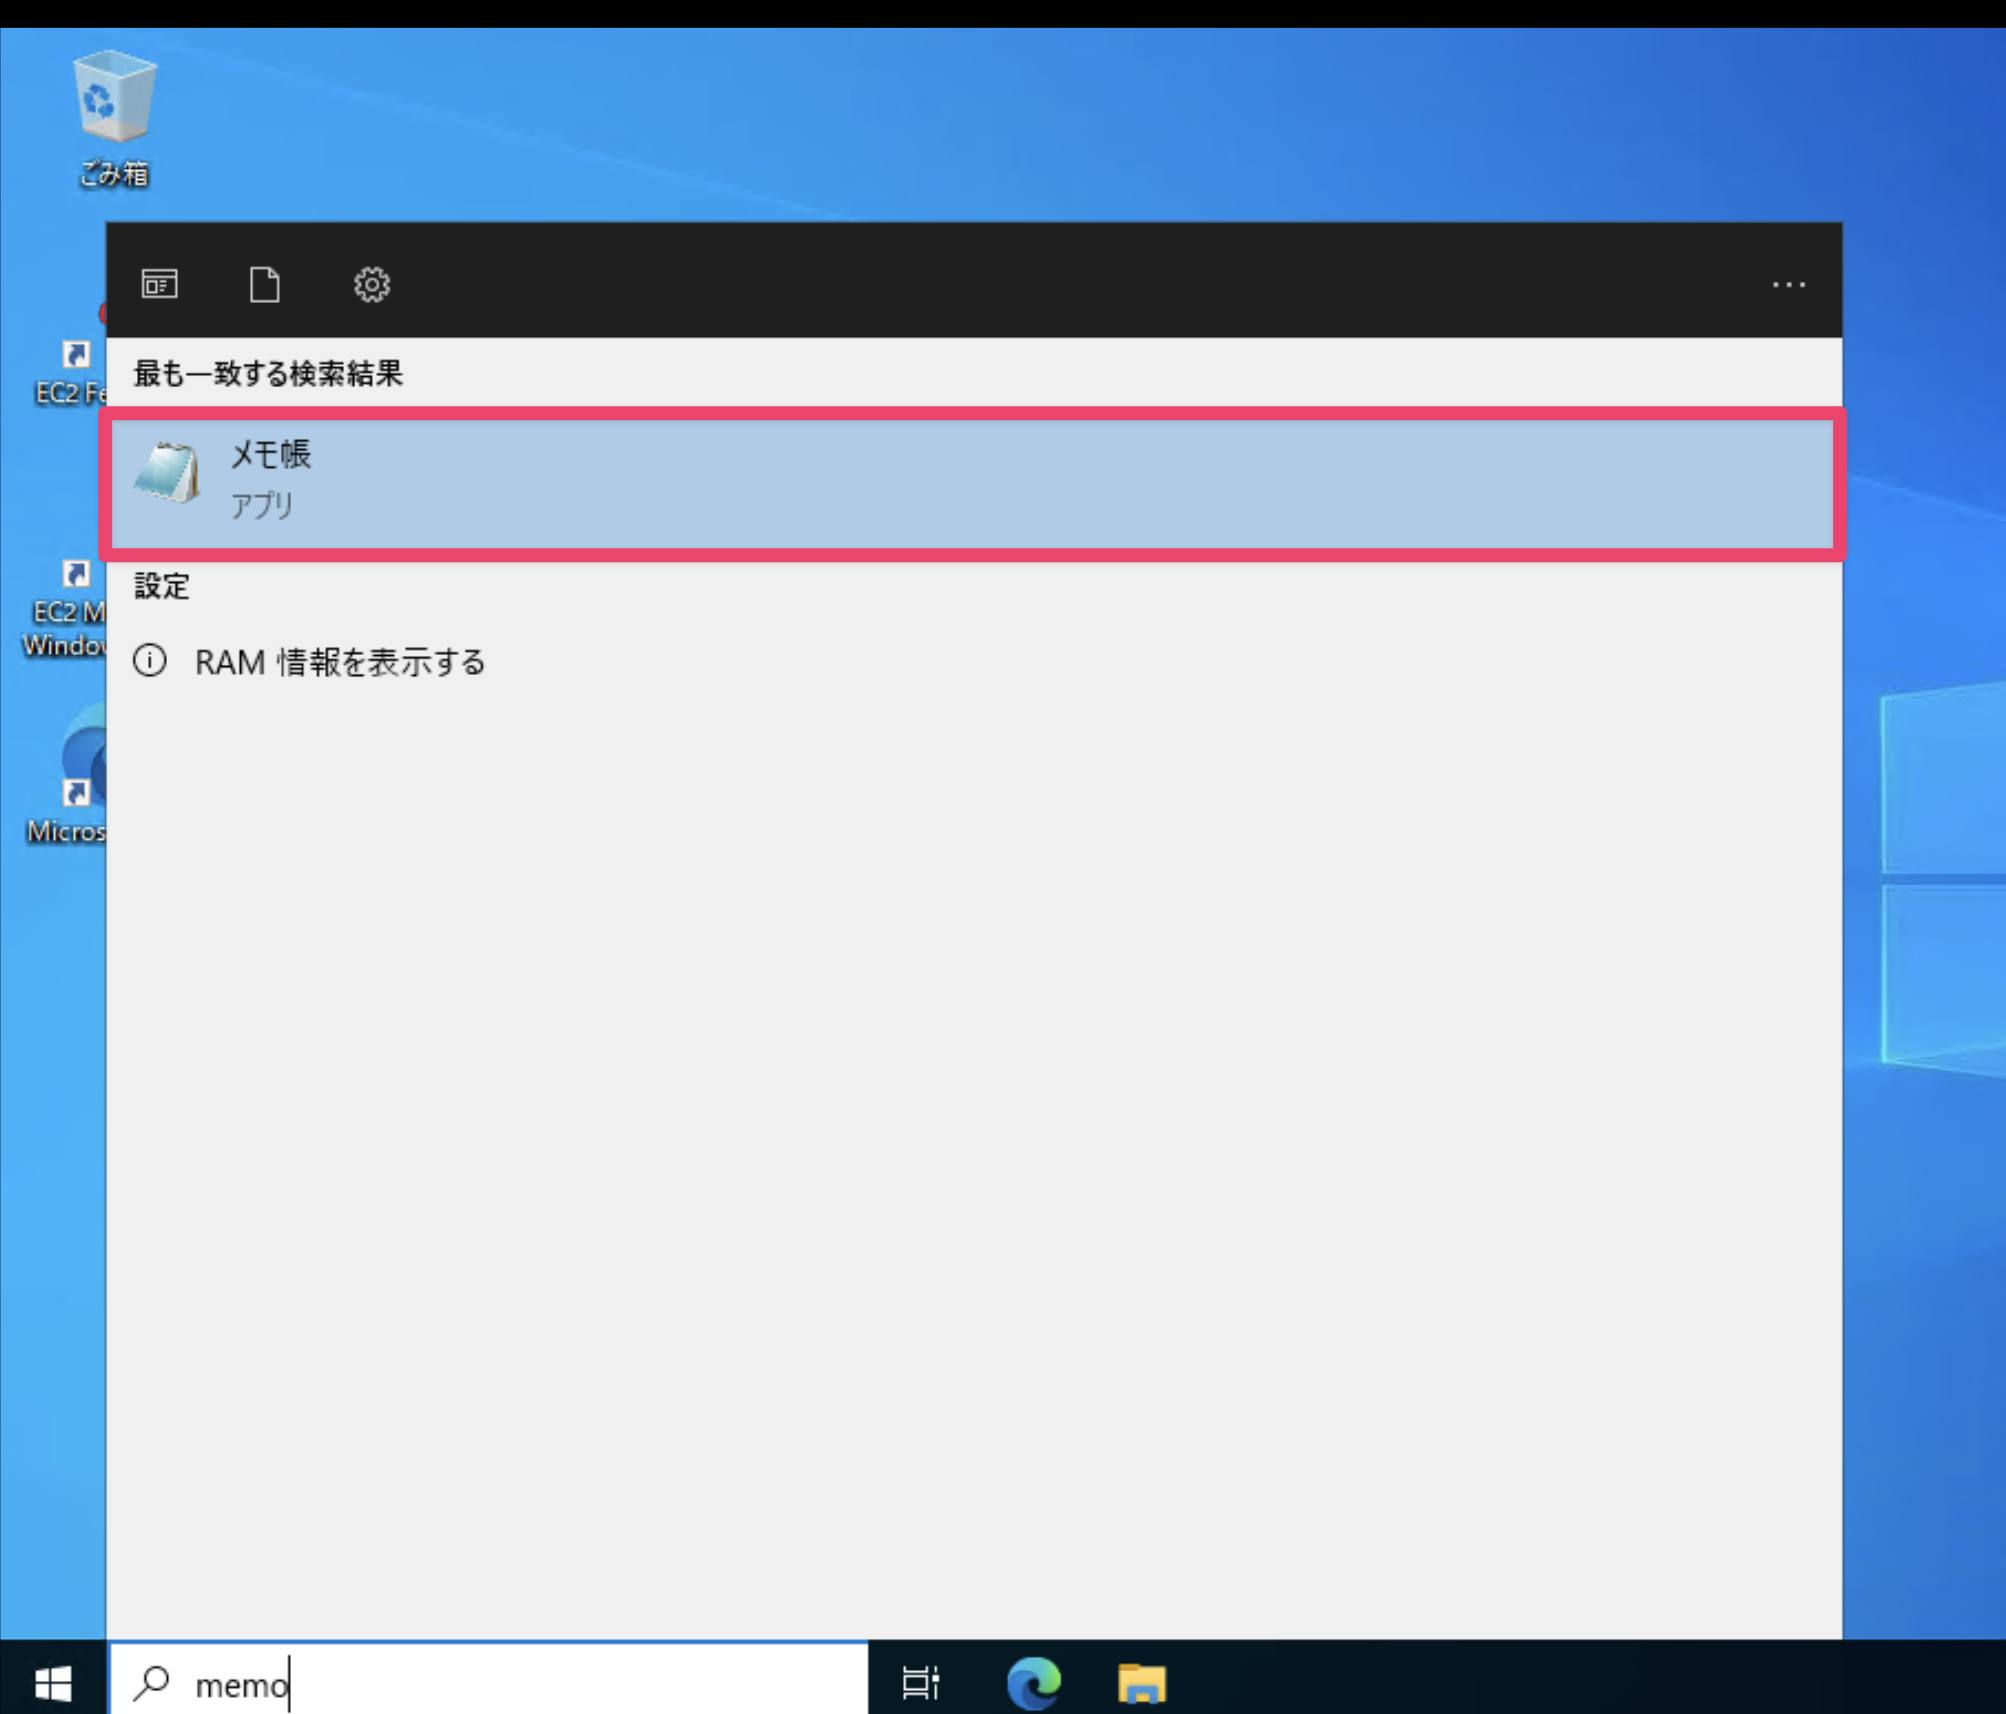
- メモ帳を開き、以下のサンプルコードを入力後 ps1 ファイルとして保存します。
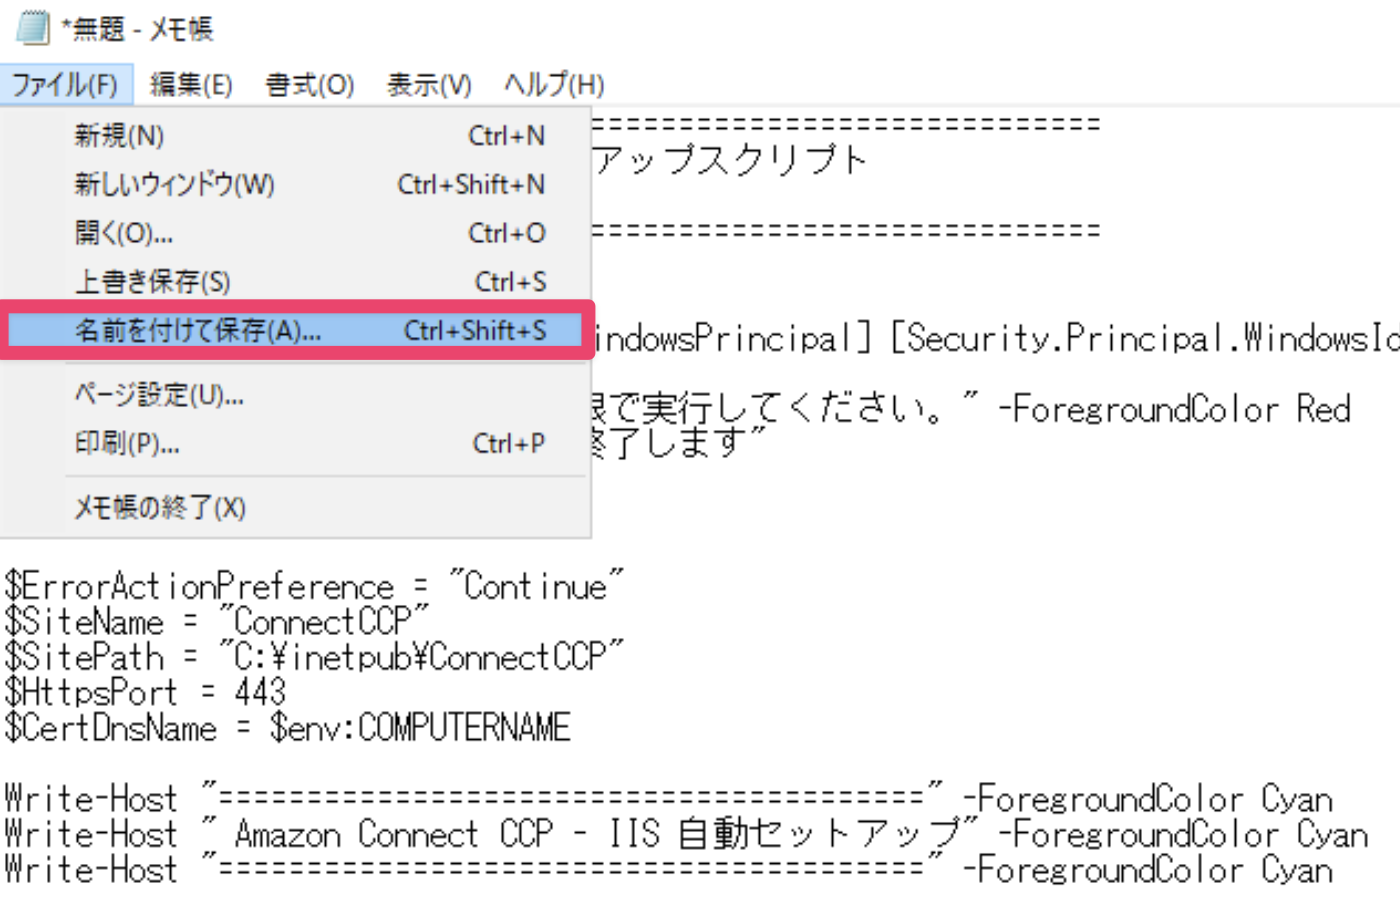
赤枠と同様に設定してください。エラーになる場合があります。

# ============================================================
# Amazon Connect CCP - IIS セットアップスクリプト
# Windows EC2 環境用
# ============================================================

# 管理者権限チェック
$isAdmin = ([Security.Principal.WindowsPrincipal] [Security.Principal.WindowsIdentity]::GetCurrent()).IsInRole([Security.Principal.WindowsBuiltInRole]::Administrator)
if (-not $isAdmin) {
    Write-Host "[ERROR] 管理者権限で実行してください。" -ForegroundColor Red
    Read-Host "Enterキーを押すと終了します"
    exit 1
}

$ErrorActionPreference = "Continue"
$SiteName = "ConnectCCP"
$SitePath = "C:\inetpub\ConnectCCP"
$HttpsPort = 443
$CertDnsName = $env:COMPUTERNAME

Write-Host "========================================" -ForegroundColor Cyan
Write-Host " Amazon Connect CCP - IIS 自動セットアップ" -ForegroundColor Cyan
Write-Host "========================================" -ForegroundColor Cyan

# ----------------------------------------------------------
# ステップ1: IIS インストール
# ----------------------------------------------------------
Write-Host "`n[1/6] IIS インストール中..." -ForegroundColor Yellow

$iisFeatures = @(
    "Web-Server",
    "Web-Default-Doc",
    "Web-Static-Content",
    "Web-Http-Errors",
    "Web-Http-Logging",
    "Web-Filtering",
    "Web-Mgmt-Console"
)

foreach ($feature in $iisFeatures) {
    $result = Install-WindowsFeature -Name $feature -ErrorAction SilentlyContinue
    if ($result.Success) {
        Write-Host "  [OK] $feature" -ForegroundColor Green
    } else {
        Write-Host "  [SKIP] $feature (インストール済み)" -ForegroundColor DarkGray
    }
}

Import-Module WebAdministration

# ----------------------------------------------------------
# ステップ2: 自己署名証明書の生成
# ----------------------------------------------------------
Write-Host "`n[2/6] 自己署名SSL証明書を生成中..." -ForegroundColor Yellow

# 既存の証明書を確認
$existingCert = Get-ChildItem Cert:\LocalMachine\My |
    Where-Object { $_.Subject -eq "CN=$CertDnsName" -and $_.NotAfter -gt (Get-Date) } |
    Sort-Object NotAfter -Descending |
    Select-Object -First 1

if ($existingCert) {
    Write-Host "  [SKIP] 有効な証明書が既に存在します: $($existingCert.Thumbprint)" -ForegroundColor DarkGray
    $cert = $existingCert
} else {
    $cert = New-SelfSignedCertificate `
        -DnsName $CertDnsName, "localhost" `
        -CertStoreLocation "Cert:\LocalMachine\My" `
        -FriendlyName "Amazon Connect CCP ($CertDnsName)" `
        -NotAfter (Get-Date).AddYears(3) `
        -KeyAlgorithm RSA `
        -KeyLength 2048
    Write-Host "  [OK] 証明書の生成完了: $($cert.Thumbprint)" -ForegroundColor Green
}

# ----------------------------------------------------------
# ステップ3: Webサイトディレクトリの作成
# ----------------------------------------------------------
Write-Host "`n[3/6] Webサイトディレクトリを構成中..." -ForegroundColor Yellow

if (!(Test-Path $SitePath)) {
    New-Item -Path $SitePath -ItemType Directory -Force | Out-Null
    Write-Host "  [OK] $SitePath 作成完了" -ForegroundColor Green
} else {
    Write-Host "  [SKIP] $SitePath は既に存在" -ForegroundColor DarkGray
}

# ----------------------------------------------------------
# ステップ4: IIS サイト構成
# ----------------------------------------------------------
Write-Host "`n[4/6] IIS サイトを構成中..." -ForegroundColor Yellow

# Default Web Site を停止(ポート競合防止)
$defaultSite = Get-Website -Name "Default Web Site" -ErrorAction SilentlyContinue
if ($defaultSite -and $defaultSite.State -eq "Started") {
    Stop-Website -Name "Default Web Site"
    Write-Host "  [OK] Default Web Site を停止" -ForegroundColor Green
}

# 既存サイトを削除して再作成
$existingSite = Get-Website -Name $SiteName -ErrorAction SilentlyContinue
if ($existingSite) {
    Remove-Website -Name $SiteName
    Write-Host "  [OK] 既存の $SiteName サイトを削除" -ForegroundColor Green
}

# HTTPS サイトを作成
New-Website `
    -Name $SiteName `
    -PhysicalPath $SitePath `
    -Port $HttpsPort `
    -Ssl `
    -HostHeader "" `
    -Force | Out-Null

# SSL 証明書バインディング
$binding = Get-WebBinding -Name $SiteName -Protocol "https"
$binding.AddSslCertificate($cert.Thumbprint, "My")

Write-Host "  [OK] HTTPS サイト作成完了 (ポート: $HttpsPort)" -ForegroundColor Green

# ----------------------------------------------------------
# ステップ5: ファイルデプロイの確認
# ----------------------------------------------------------
Write-Host "`n[5/6] ファイルデプロイを確認中..." -ForegroundColor Yellow

$requiredFiles = @("index.html", "connect-streams-min.js")
foreach ($file in $requiredFiles) {
    $filePath = Join-Path $SitePath $file
    if (Test-Path $filePath) {
        Write-Host "  [OK] $file" -ForegroundColor Green
    } else {
        Write-Host "  [WARN] $file がありません。$SitePath にコピーしてください。" -ForegroundColor Red
    }
}

# ----------------------------------------------------------
# ステップ6: ファイアウォールルールの追加
# ----------------------------------------------------------
Write-Host "`n[6/6] Windows ファイアウォール HTTPS 許可ルールを追加中..." -ForegroundColor Yellow

$fwRule = Get-NetFirewallRule -DisplayName "HTTPS Inbound (443)" -ErrorAction SilentlyContinue
if (!$fwRule) {
    New-NetFirewallRule `
        -DisplayName "HTTPS Inbound (443)" `
        -Direction Inbound `
        -Protocol TCP `
        -LocalPort 443 `
        -Action Allow | Out-Null
    Write-Host "  [OK] ファイアウォールルール追加完了" -ForegroundColor Green
} else {
    Write-Host "  [SKIP] 既に存在" -ForegroundColor DarkGray
}

# ----------------------------------------------------------
# 完了サマリー
# ----------------------------------------------------------
$publicIp = try {
    (Invoke-WebRequest -Uri "http://169.254.169.254/latest/meta-data/public-ipv4" -UseBasicParsing -TimeoutSec 3).Content
} catch { "取得不可" }

$privateIp = try {
    (Invoke-WebRequest -Uri "http://169.254.169.254/latest/meta-data/local-ipv4" -UseBasicParsing -TimeoutSec 3).Content
} catch { "取得不可" }

Write-Host "`n========================================" -ForegroundColor Cyan
Write-Host " セットアップ完了!" -ForegroundColor Cyan
Write-Host "========================================" -ForegroundColor Cyan
Write-Host ""
Write-Host "  Public IP:  $publicIp"
Write-Host "  Private IP: $privateIp"
Write-Host "  接続URL:    https://$publicIp" -ForegroundColor Green
Write-Host ""
Write-Host "  [次のステップ]" -ForegroundColor Yellow
Write-Host "  1. index.html, connect-streams-min.js を $SitePath にコピー"
Write-Host "  2. Amazon Connect コンソールで承認済みオリジンを追加:"
Write-Host "     https://$publicIp" -ForegroundColor Green
Write-Host "  3. EC2 セキュリティグループで 443 ポートのインバウンドを許可"
Write-Host "  4. ブラウザで https://$publicIp にアクセス"
Write-Host ""
Write-Host "Enterキーを押すと終了します..." -ForegroundColor DarkGray
Read-Host
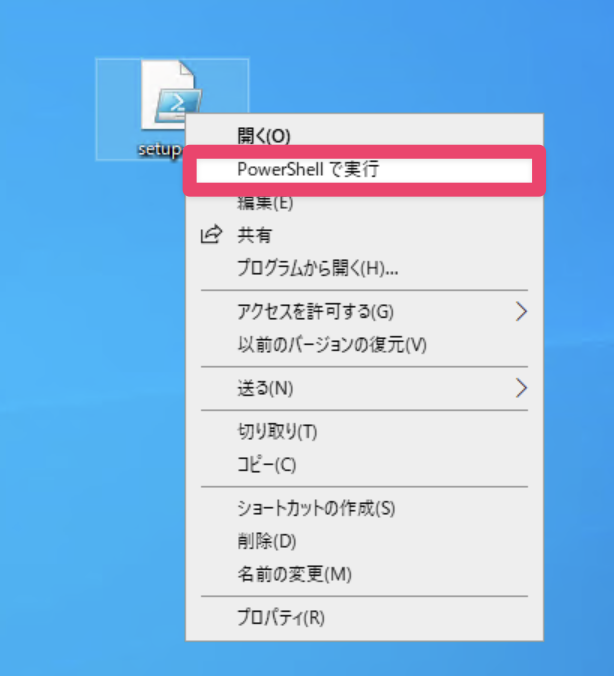
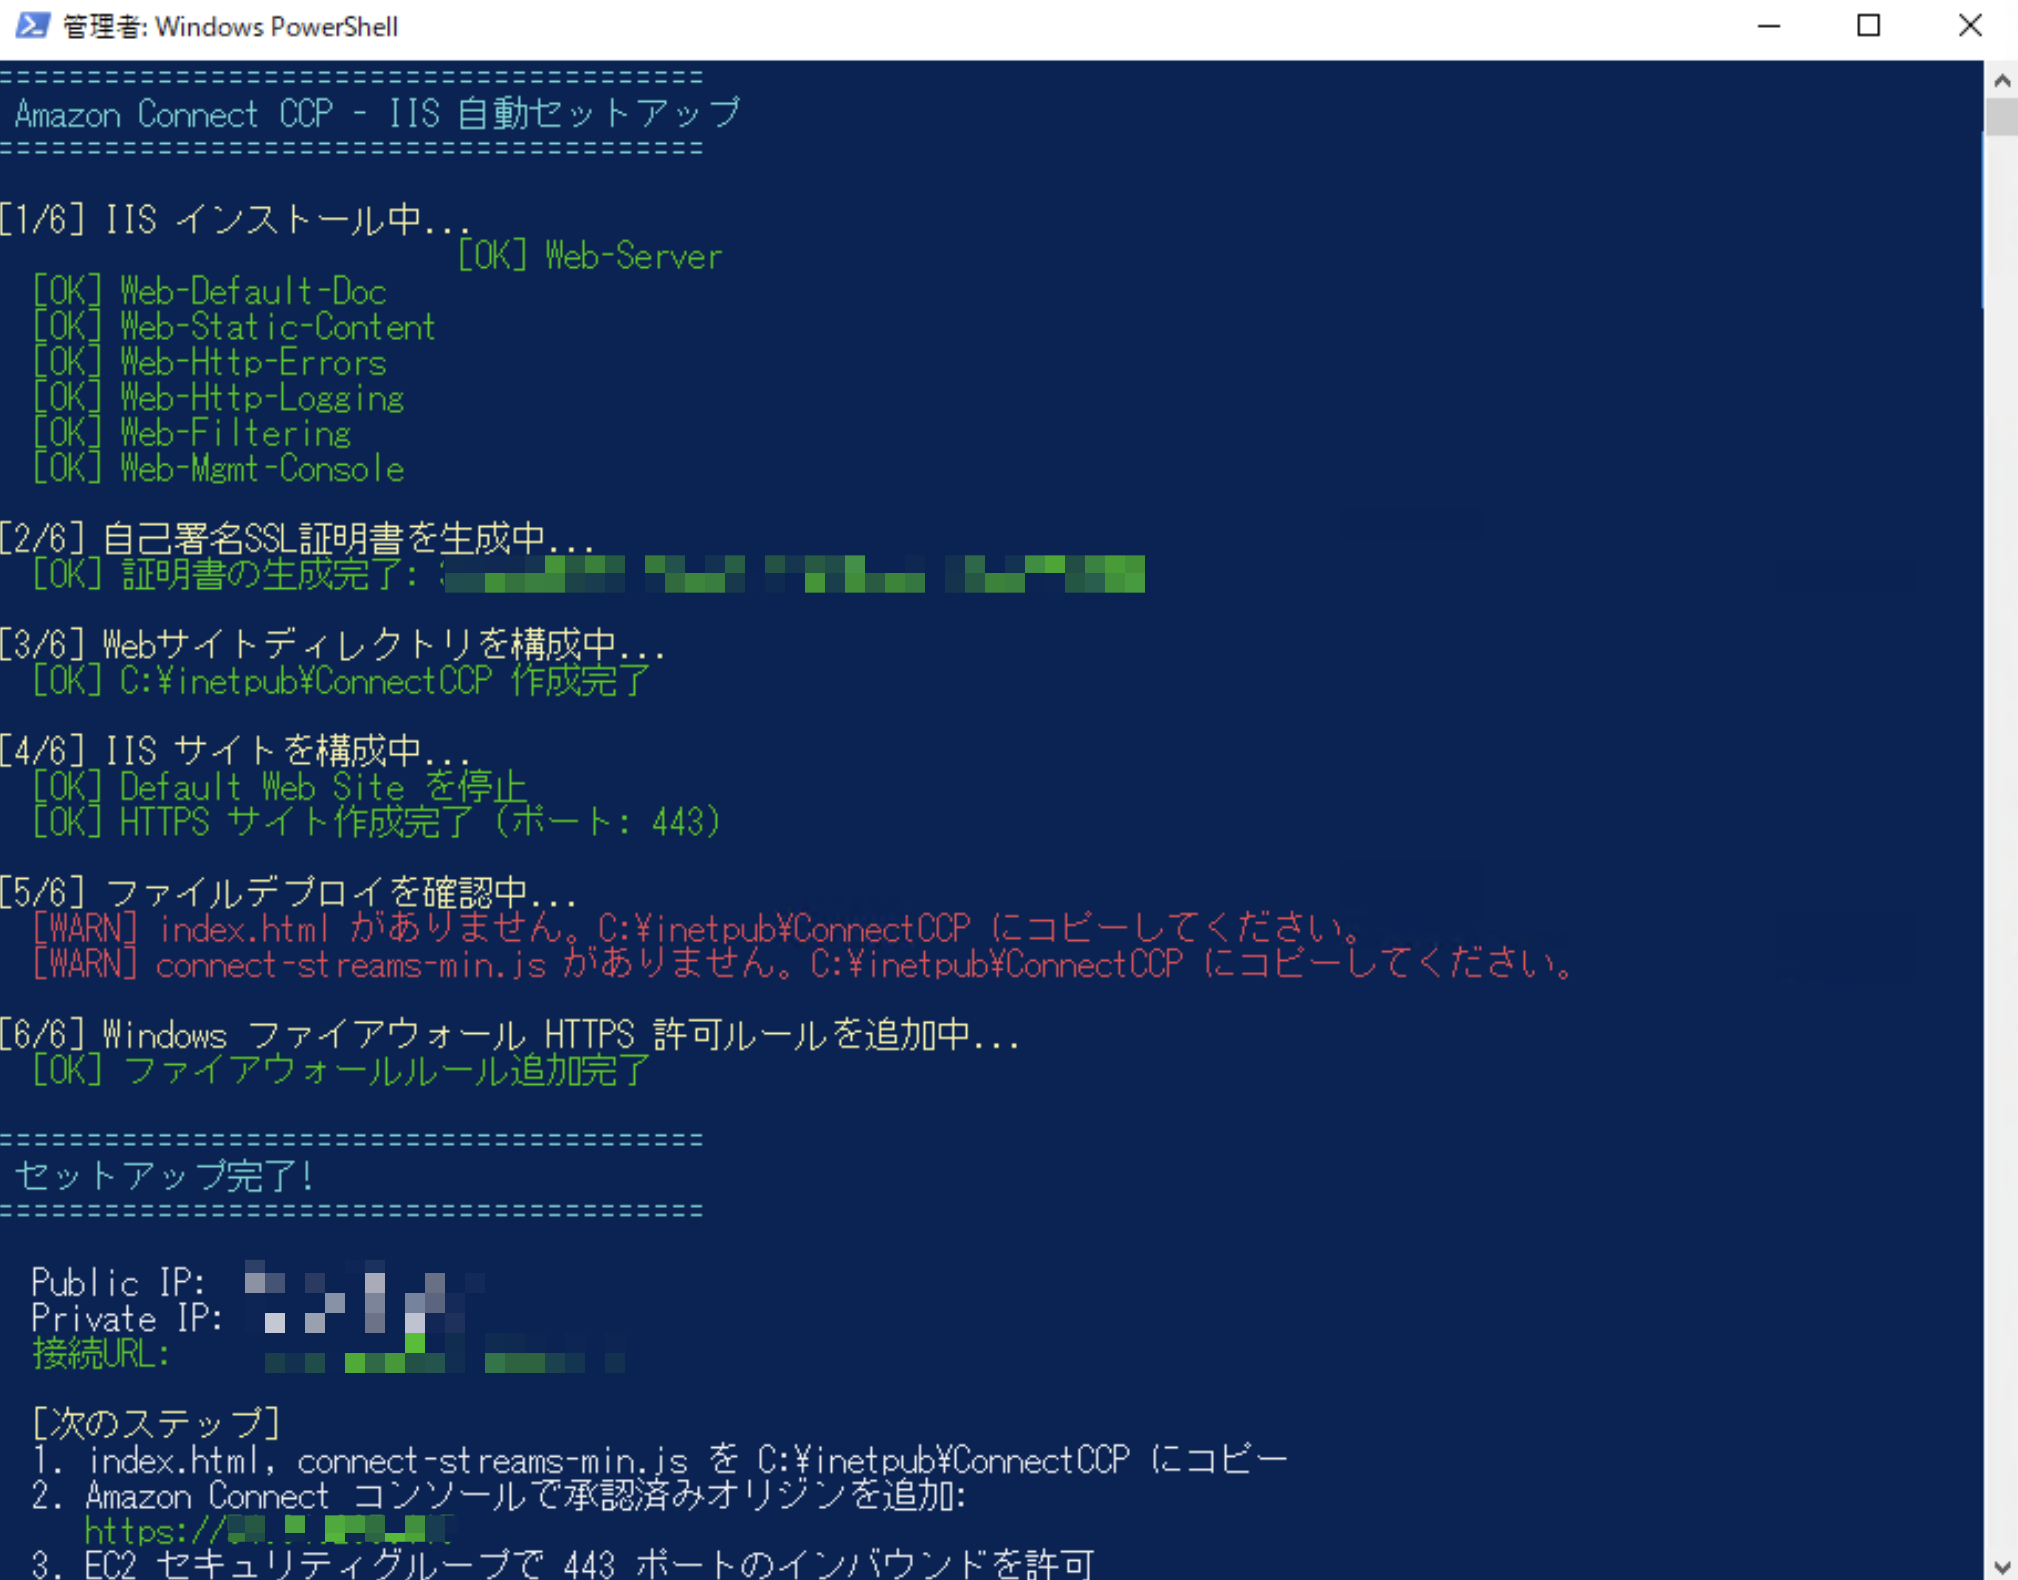
- 保存した ps1 ファイルを右クリックし、Powershell で実行します。

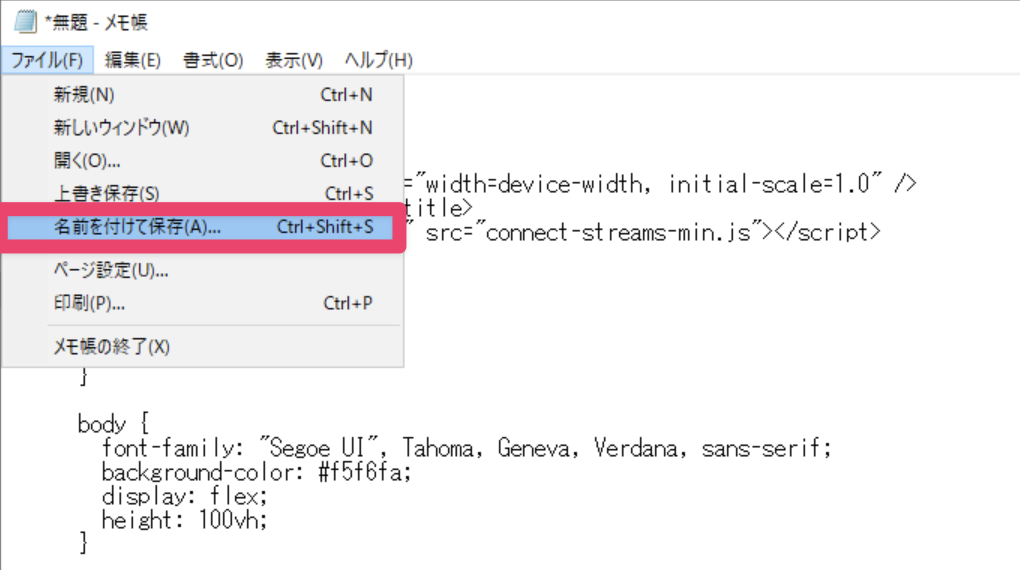
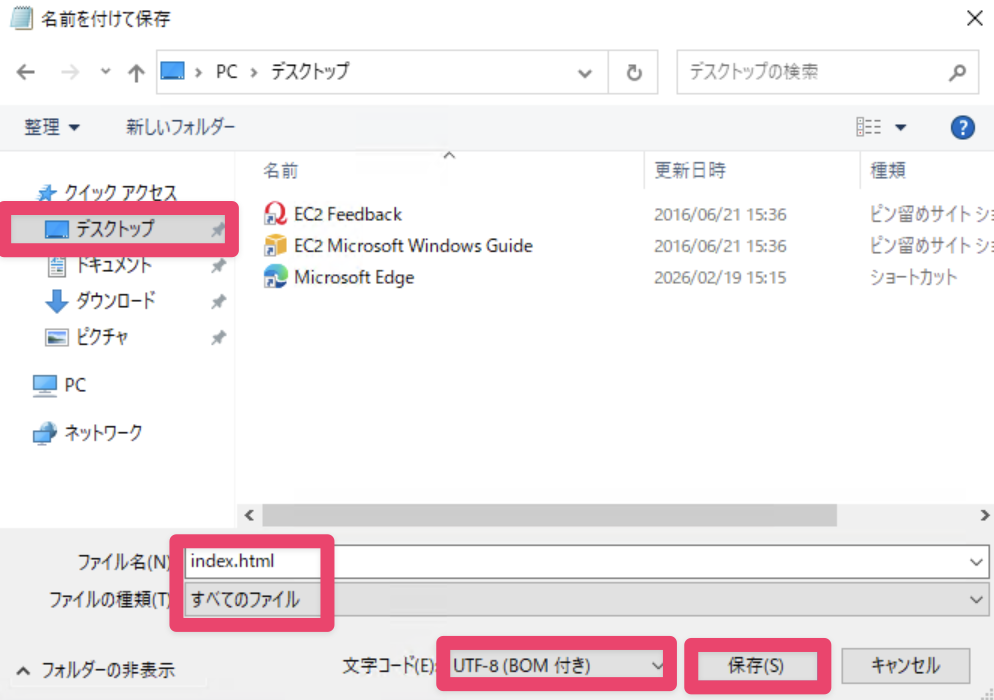
- メモ帳を開き、以下のサンプルコードを入力後 html ファイルとして保存します。
<!doctype html>
<html lang="en">
  <head>
    <meta charset="UTF-8" />
    <meta name="viewport" content="width=device-width, initial-scale=1.0" />
    <title>Amazon Connect - CCP</title>
    <script type="text/javascript" src="connect-streams-min.js"></script>
    <style>
      * {
        margin: 0;
        padding: 0;
        box-sizing: border-box;
      }

      body {
        font-family: "Segoe UI", Tahoma, Geneva, Verdana, sans-serif;
        background-color: #f5f6fa;
        display: flex;
        height: 100vh;
      }

      /* サイドバー: CCPパネル */
      #ccp-panel {
        width: 320px;
        min-width: 320px;
        height: 100vh;
        background: #ffffff;
        box-shadow: 2px 0 8px rgba(0, 0, 0, 0.1);
        display: flex;
        flex-direction: column;
      }

      #ccp-panel .panel-header {
        padding: 16px;
        background: #232f3e;
        color: #ffffff;
        font-size: 14px;
        font-weight: 600;
        text-align: center;
      }

      /* CCP iframe コンテナ */
      #ccp-container {
        flex: 1;
        width: 100%;
      }

      /* メインコンテンツ領域 */
      #main-content {
        flex: 1;
        padding: 24px;
        overflow-y: auto;
      }

      .status-card {
        background: #ffffff;
        border-radius: 8px;
        padding: 20px;
        margin-bottom: 16px;
        box-shadow: 0 1px 3px rgba(0, 0, 0, 0.1);
      }

      .status-card h2 {
        font-size: 16px;
        color: #232f3e;
        margin-bottom: 12px;
      }

      .status-item {
        display: flex;
        justify-content: space-between;
        padding: 8px 0;
        border-bottom: 1px solid #eee;
        font-size: 14px;
      }

      .status-item:last-child {
        border-bottom: none;
      }

      .status-label {
        color: #687078;
      }

      .status-value {
        font-weight: 600;
        color: #16191f;
      }

      .status-value.online {
        color: #1d8102;
      }
      .status-value.offline {
        color: #d13212;
      }
      .status-value.busy {
        color: #eb5f07;
      }

      #event-log {
        max-height: 300px;
        overflow-y: auto;
        font-family: "Consolas", "Courier New", monospace;
        font-size: 12px;
        background: #1a1a2e;
        color: #a0f0a0;
        padding: 12px;
        border-radius: 6px;
      }

      .log-entry {
        padding: 2px 0;
        border-bottom: 1px solid #2a2a4e;
      }

      .log-time {
        color: #6a6aaa;
        margin-right: 8px;
      }

      /* ログインオーバーレイ */
      #login-overlay {
        display: none;
        position: fixed;
        top: 0;
        left: 0;
        width: 100%;
        height: 100%;
        background: rgba(0, 0, 0, 0.6);
        z-index: 9999;
        justify-content: center;
        align-items: center;
      }

      #login-overlay.show {
        display: flex;
      }

      .login-card {
        background: #ffffff;
        border-radius: 12px;
        padding: 40px;
        text-align: center;
        box-shadow: 0 8px 32px rgba(0, 0, 0, 0.3);
        max-width: 400px;
      }

      .login-card h2 {
        color: #232f3e;
        margin-bottom: 12px;
        font-size: 20px;
      }

      .login-card p {
        color: #687078;
        margin-bottom: 24px;
        font-size: 14px;
        line-height: 1.5;
      }

      .login-btn {
        background: #ff9900;
        color: #ffffff;
        border: none;
        padding: 12px 32px;
        font-size: 16px;
        font-weight: 600;
        border-radius: 6px;
        cursor: pointer;
        transition: background 0.2s;
      }

      .login-btn:hover {
        background: #ec7211;
      }
    </style>
  </head>
  <body onload="init()">
    <!-- ログインオーバーレイ -->
    <div id="login-overlay">
      <div class="login-card">
        <h2>Amazon Connect</h2>
        <p>
          CCPを利用するにはログインが必要です。<br />下のボタンをクリックしてログインしてください。
        </p>
        <button class="login-btn" onclick="openLogin()">ログイン</button>
      </div>
    </div>

    <!-- CCPパネル(左側) -->
    <div id="ccp-panel">
      <div class="panel-header">Amazon Connect CCP</div>
      <div id="ccp-container"></div>
    </div>

    <!-- メインコンテンツ(右側) -->
    <div id="main-content">
      <!-- エージェントステータスカード -->
      <div class="status-card">
        <h2>エージェント状態</h2>
        <div class="status-item">
          <span class="status-label">名前</span>
          <span class="status-value" id="agent-name">-</span>
        </div>
        <div class="status-item">
          <span class="status-label">状態</span>
          <span class="status-value" id="agent-status">-</span>
        </div>
        <div class="status-item">
          <span class="status-label">ルーティングプロファイル</span>
          <span class="status-value" id="agent-routing">-</span>
        </div>
      </div>

      <!-- 現在のコンタクトカード -->
      <div class="status-card">
        <h2>現在のコンタクト</h2>
        <div class="status-item">
          <span class="status-label">コンタクトID</span>
          <span class="status-value" id="contact-id">なし</span>
        </div>
        <div class="status-item">
          <span class="status-label">チャネル</span>
          <span class="status-value" id="contact-type">-</span>
        </div>
        <div class="status-item">
          <span class="status-label">状態</span>
          <span class="status-value" id="contact-status">-</span>
        </div>
        <div class="status-item">
          <span class="status-label">電話番号</span>
          <span class="status-value" id="contact-phone">-</span>
        </div>
      </div>

      <!-- イベントログ -->
      <div class="status-card">
        <h2>イベントログ</h2>
        <div id="event-log"></div>
      </div>
    </div>

    <script type="text/javascript">
      // ============================================================
      // Amazon Connect Streams 初期化
      // ============================================================
      var CONNECT_INSTANCE_URL =
        "https://<AmazonConnectインスタンス名>.my.connect.aws/ccp-v2/";
      var CONNECT_REGION = "ap-northeast-1";

      // ログインポップアップウィンドウの参照を保持
      var loginWindow = null;
      // エージェント接続済みフラグ
      var agentConnected = false;

      // ログインポップアップを開く(ユーザークリックで起動するためブラウザにブロックされない)
      function openLogin() {
        loginWindow = window.open(
          CONNECT_INSTANCE_URL,
          "ConnectLogin",
          "width=460,height=680,scrollbars=yes",
        );
        addLog("ログインウィンドウを開きました");
      }

      // ログインオーバーレイを非表示にする
      function hideLoginOverlay() {
        document.getElementById("login-overlay").classList.remove("show");
      }

      // ログインオーバーレイを表示する
      function showLoginOverlay() {
        document.getElementById("login-overlay").classList.add("show");
      }

      function init() {
        var containerDiv = document.getElementById("ccp-container");

        // CCP初期化(イベントバス生成後にコールバック登録)
        connect.core.initCCP(containerDiv, {
          ccpUrl: CONNECT_INSTANCE_URL,
          loginPopup: false,
          loginPopupAutoClose: false,
          region: CONNECT_REGION,
          softphone: {
            allowFramedSoftphone: true,
          },
        });

        addLog("CCP初期化完了");

        // 認証成功時: ポップアップを閉じてオーバーレイを非表示
        connect.core.onAuthorizeSuccess(function () {
          addLog("認証成功");
          agentConnected = true;
          if (loginWindow && !loginWindow.closed) {
            loginWindow.close();
            addLog("ログインウィンドウを自動で閉じました");
          }
          hideLoginOverlay();
        });

        // 認証失敗時: ログインオーバーレイを表示
        connect.core.onAuthFail(function () {
          addLog("認証が必要です");
          showLoginOverlay();
        });

        // タイムアウト: 一定時間内にエージェント接続がない場合、ログイン画面を表示
        setTimeout(function () {
          if (!agentConnected) {
            addLog("認証タイムアウト - ログインが必要です");
            showLoginOverlay();
          }
        }, 5000);

        subscribeToAgentEvents();
        subscribeToContactEvents();
      }

      // ============================================================
      // エージェントイベントの購読
      // ============================================================
      function subscribeToAgentEvents() {
        connect.agent(function (agent) {
          // エージェント接続 = 認証成功(最も確実な判定)
          agentConnected = true;
          hideLoginOverlay();
          if (loginWindow && !loginWindow.closed) {
            loginWindow.close();
          }
          addLog("エージェント接続完了");

          // エージェント情報の表示
          var config = agent.getConfiguration();
          document.getElementById("agent-name").textContent =
            config.name || "-";
          document.getElementById("agent-routing").textContent =
            config.routingProfile ? config.routingProfile.name : "-";

          // 状態変更イベント
          agent.onStateChange(function (stateChange) {
            var state = stateChange.newState;
            var el = document.getElementById("agent-status");
            el.textContent = state;

            el.className = "status-value";
            if (state === "Available") el.classList.add("online");
            else if (state === "Offline") el.classList.add("offline");
            else el.classList.add("busy");

            addLog("エージェント状態変更: " + state);
          });

          // 初期状態の設定
          var currentState = agent.getState();
          document.getElementById("agent-status").textContent =
            currentState.name;
        });
      }

      // ============================================================
      // コンタクトイベントの購読
      // ============================================================
      function subscribeToContactEvents() {
        connect.contact(function (contact) {
          var contactId = contact.getContactId();
          addLog("新規コンタクト受信: " + contactId.substring(0, 8) + "...");

          document.getElementById("contact-id").textContent = contactId;
          document.getElementById("contact-type").textContent =
            contact.getType() || "-";

          // 接続情報
          contact.onConnecting(function () {
            document.getElementById("contact-status").textContent = "接続中...";
            addLog("コンタクト接続中...");
          });

          contact.onConnected(function () {
            document.getElementById("contact-status").textContent = "通話中";
            document.getElementById("contact-status").className =
              "status-value online";
            addLog("コンタクト接続完了");

            // 電話番号の表示
            var initialConn = contact.getInitialConnection();
            if (initialConn) {
              var endpoint = initialConn.getEndpoint();
              if (endpoint) {
                document.getElementById("contact-phone").textContent =
                  endpoint.phoneNumber || "-";
              }
            }
          });

          contact.onEnded(function () {
            document.getElementById("contact-status").textContent = "終了";
            document.getElementById("contact-status").className =
              "status-value offline";
            addLog("コンタクト終了: " + contactId.substring(0, 8) + "...");
          });

          contact.onDestroy(function () {
            document.getElementById("contact-id").textContent = "なし";
            document.getElementById("contact-type").textContent = "-";
            document.getElementById("contact-status").textContent = "-";
            document.getElementById("contact-phone").textContent = "-";
            document.getElementById("contact-status").className =
              "status-value";
          });
        });
      }

      // ============================================================
      // イベントログユーティリティ
      // ============================================================
      function addLog(message) {
        var logDiv = document.getElementById("event-log");
        var entry = document.createElement("div");
        entry.className = "log-entry";

        var now = new Date();
        var timeStr = now.toLocaleTimeString("ja-JP", { hour12: false });

        entry.innerHTML =
          '<span class="log-time">[' + timeStr + "]</span>" + message;
        logDiv.appendChild(entry);
        logDiv.scrollTop = logDiv.scrollHeight;
      }
    </script>
  </body>
</html>
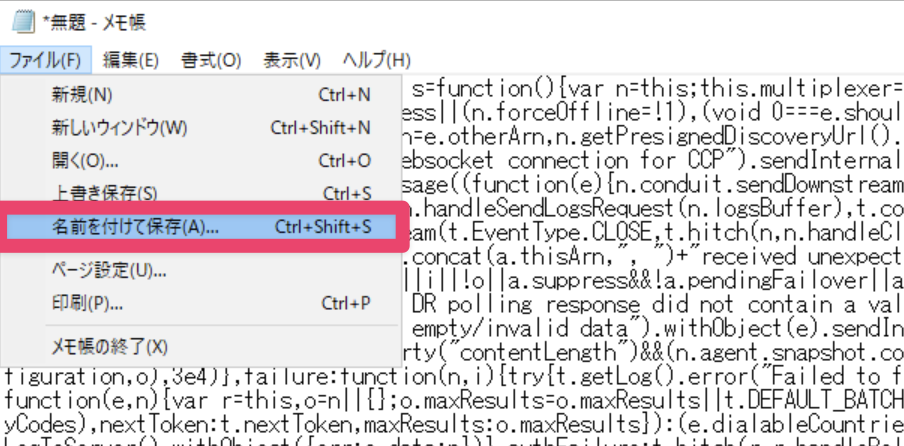
- 以下のコードを入力後 js ファイルとして保存します。
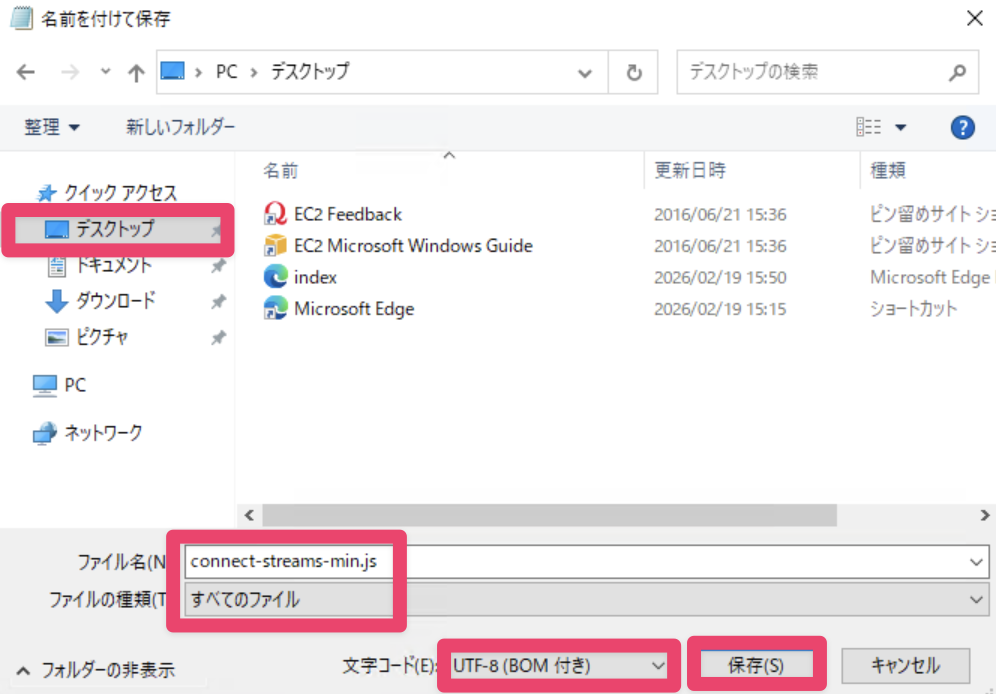
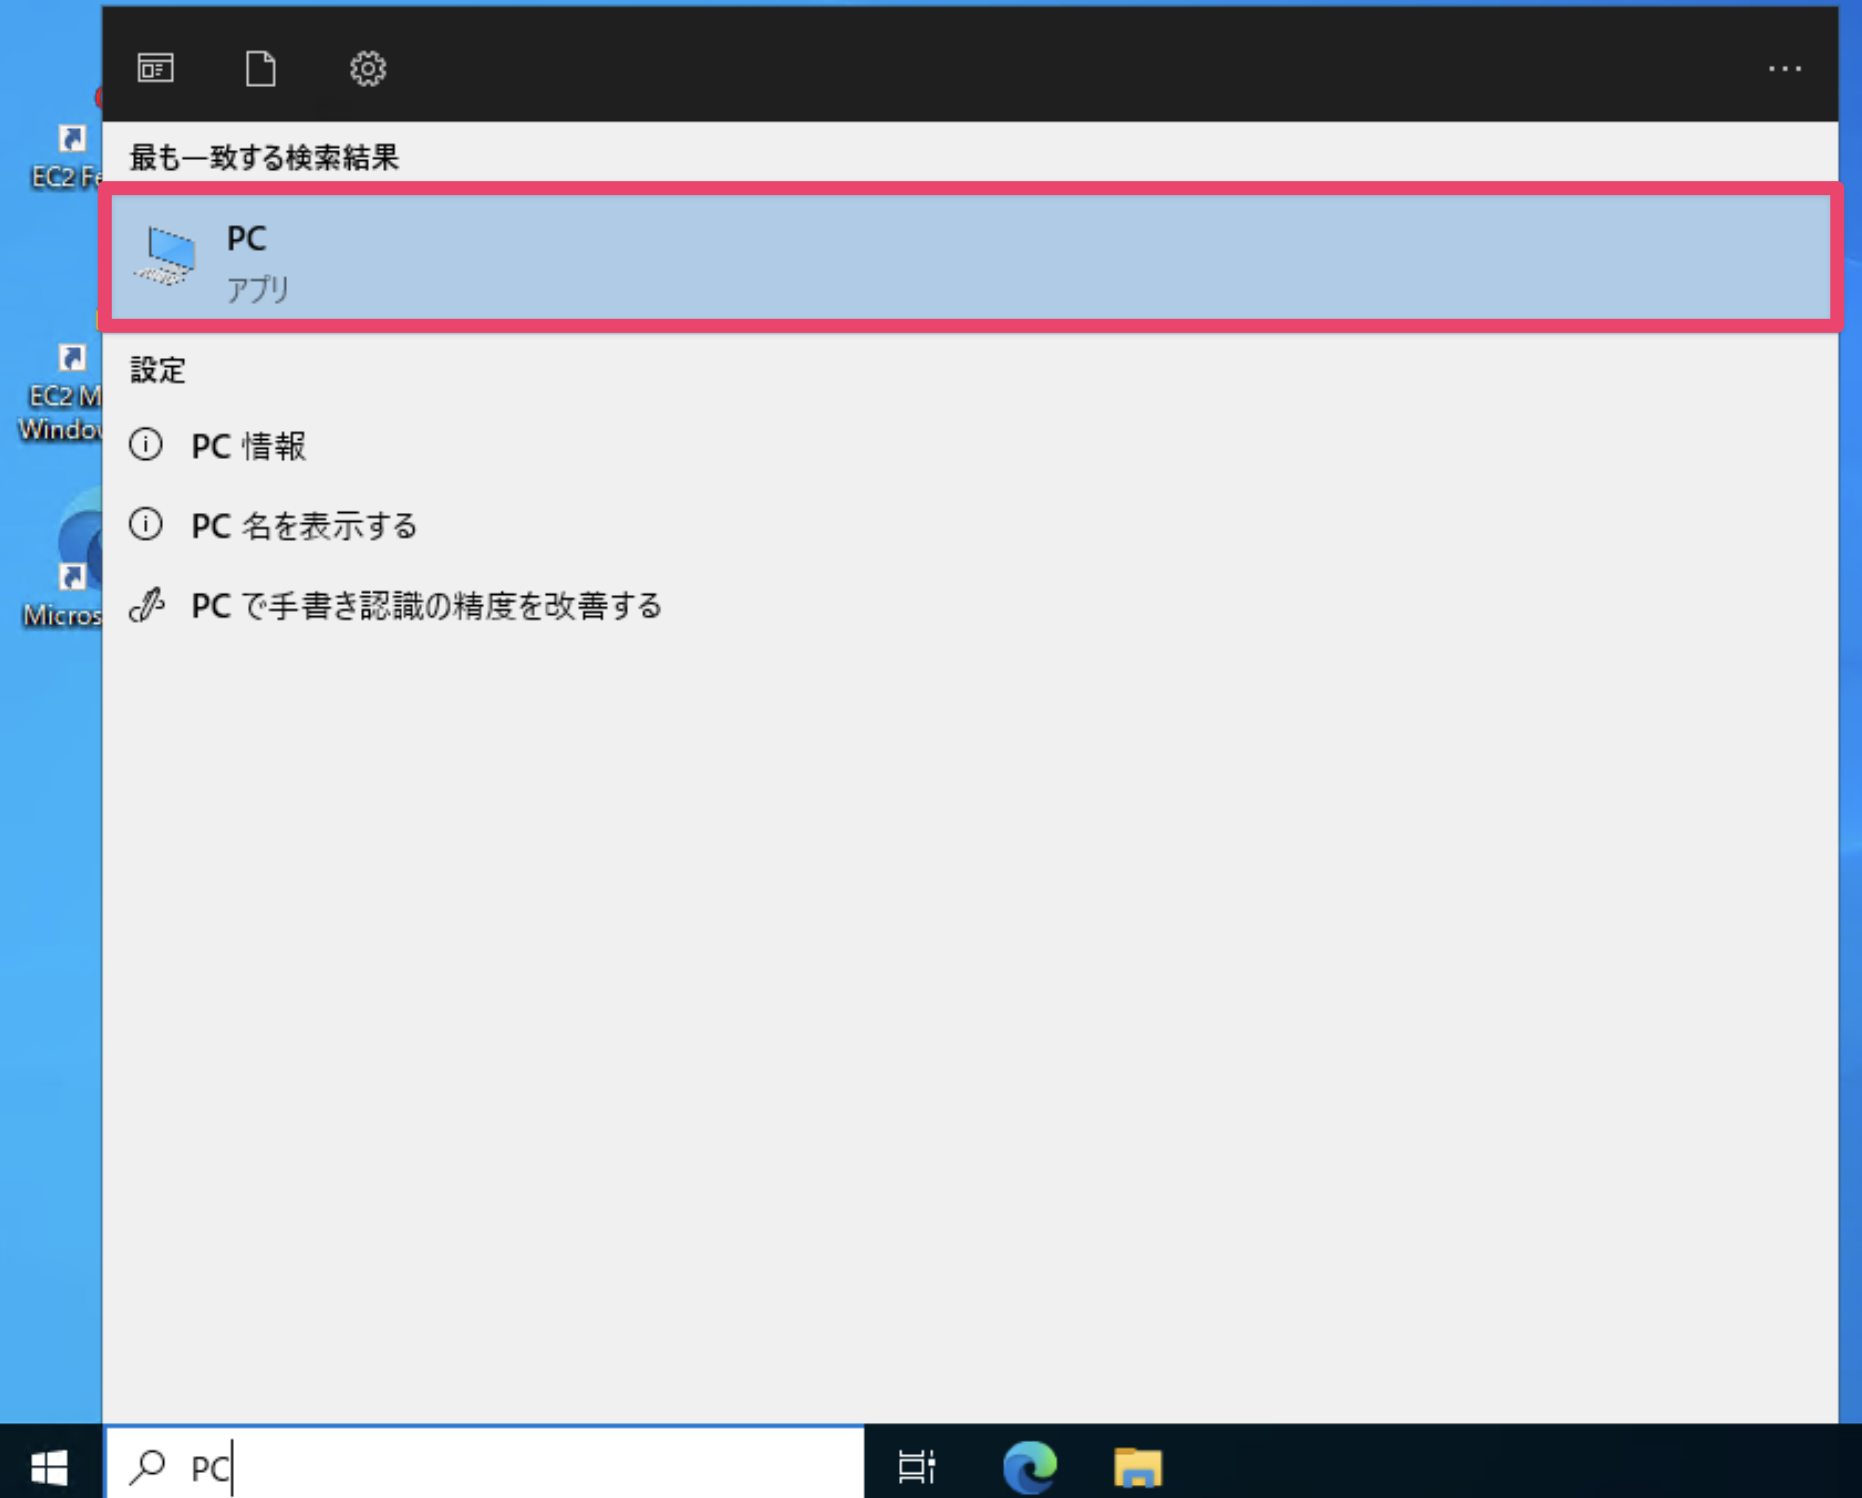
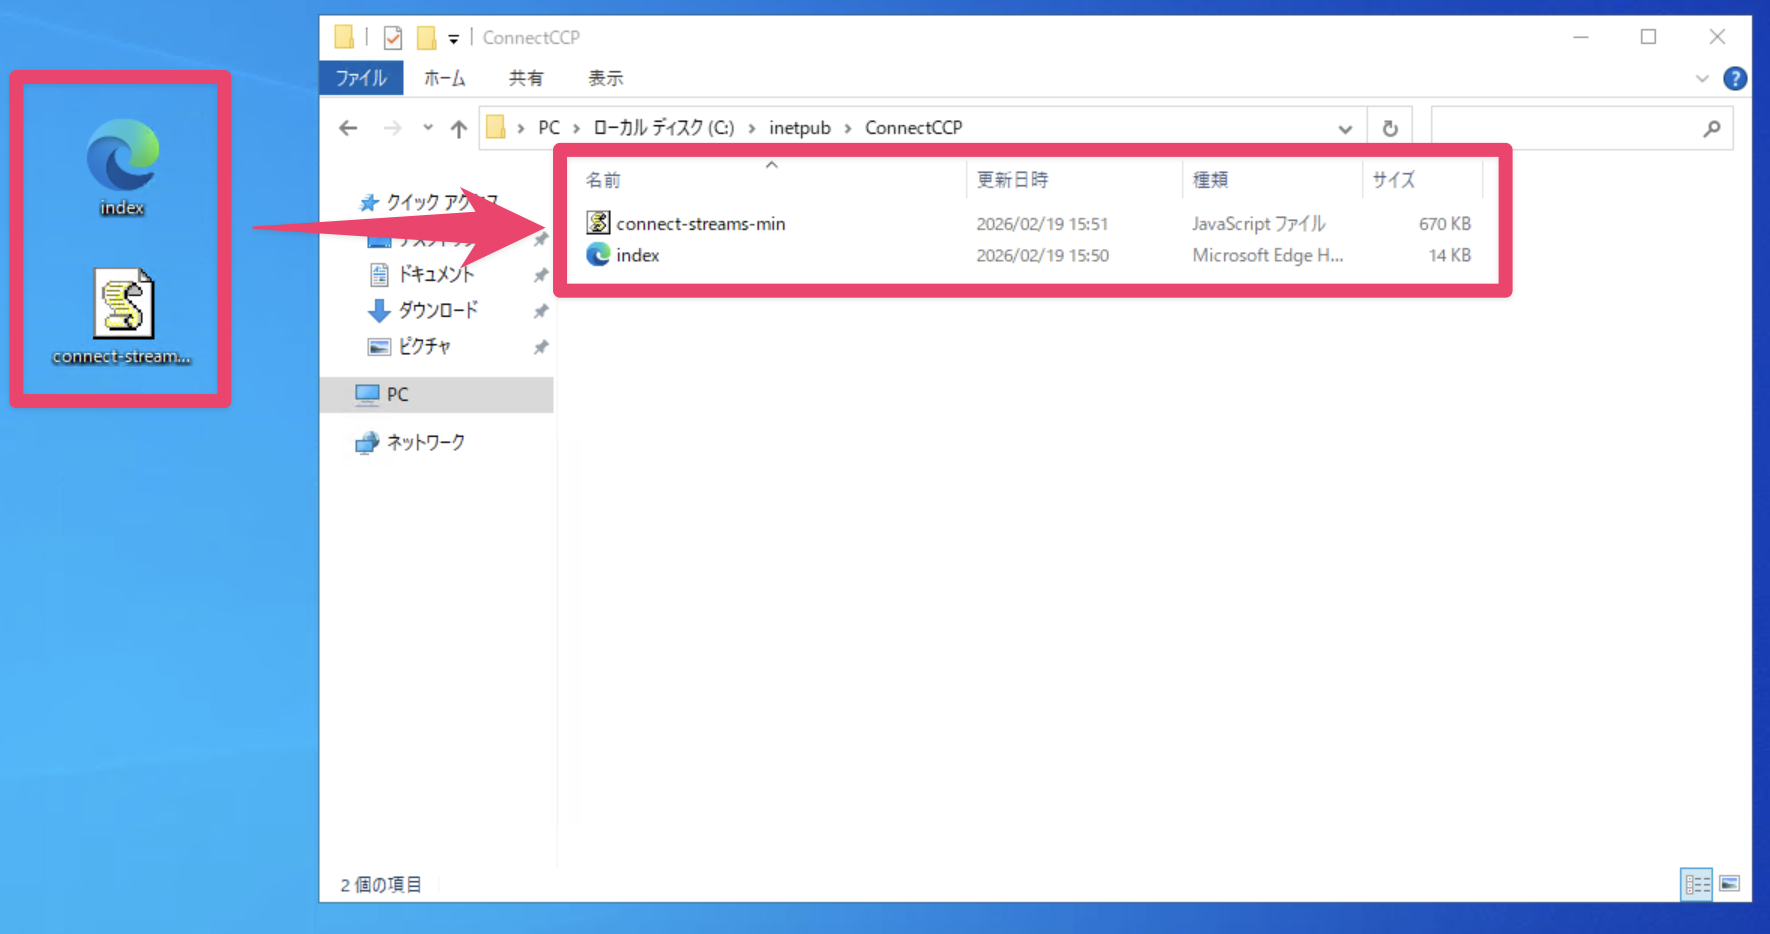
- PC を開き、C:\inetpub\ConnectCCP フォルダにファイルを移動します。
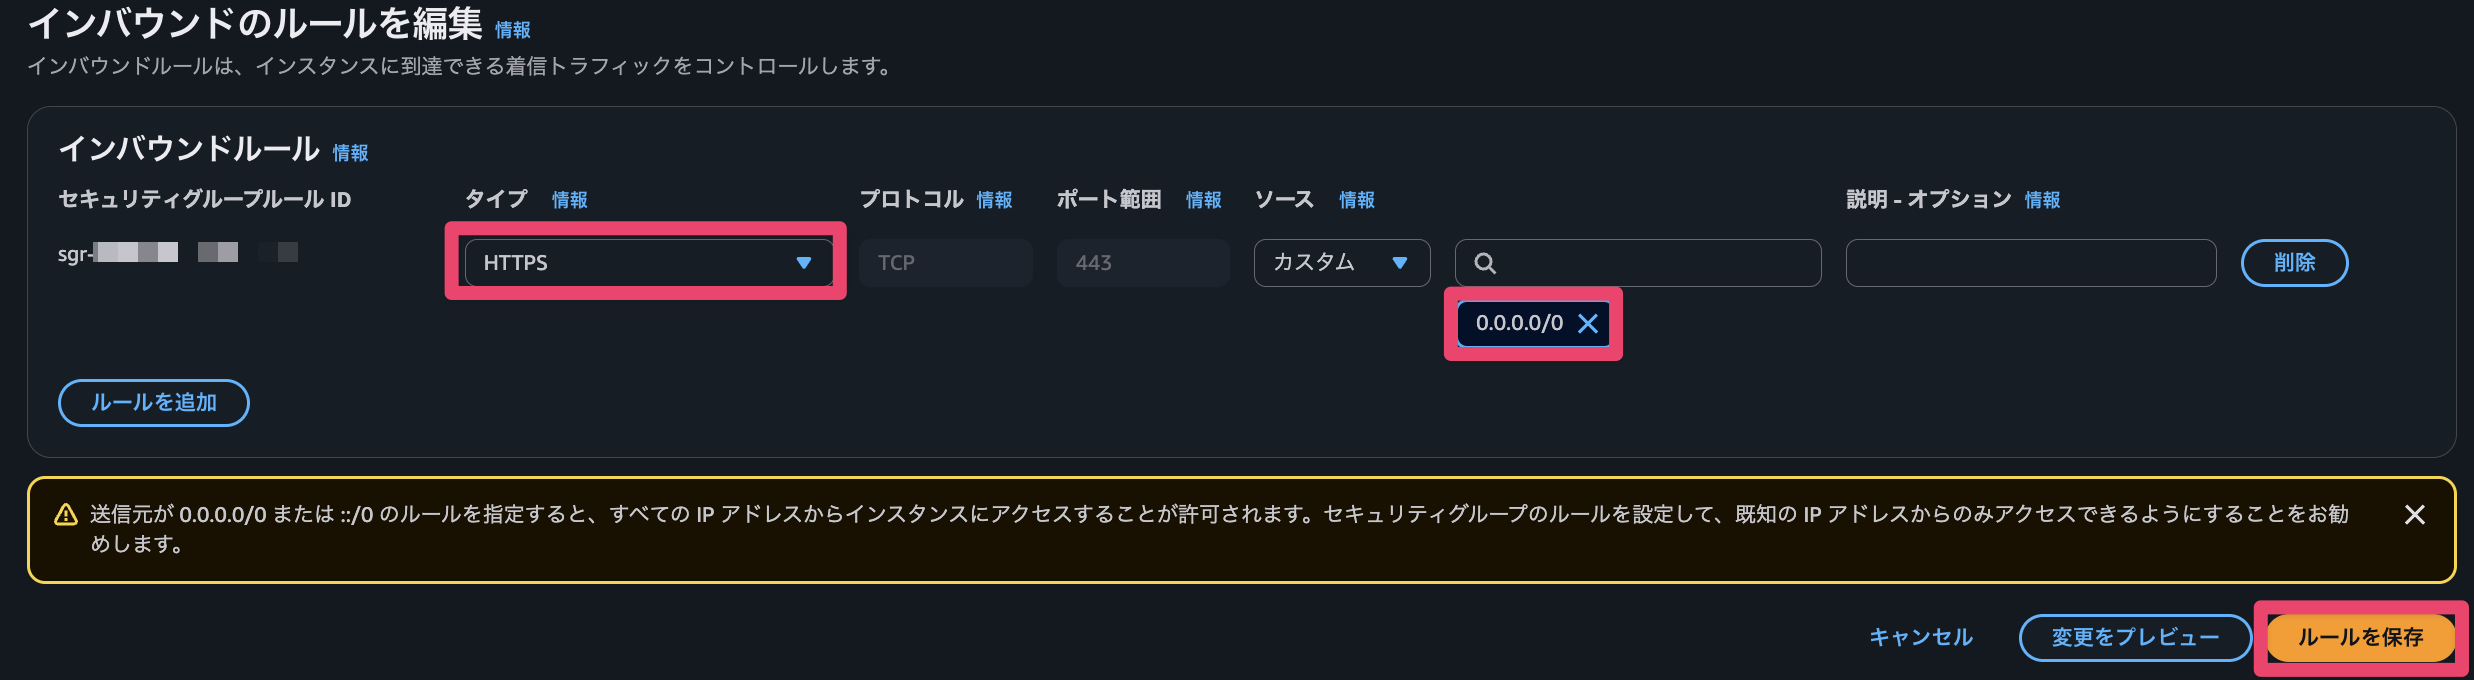
- EC2 のセキュリティグループに HTTPS (443) インバウンドルール許可を追加します。
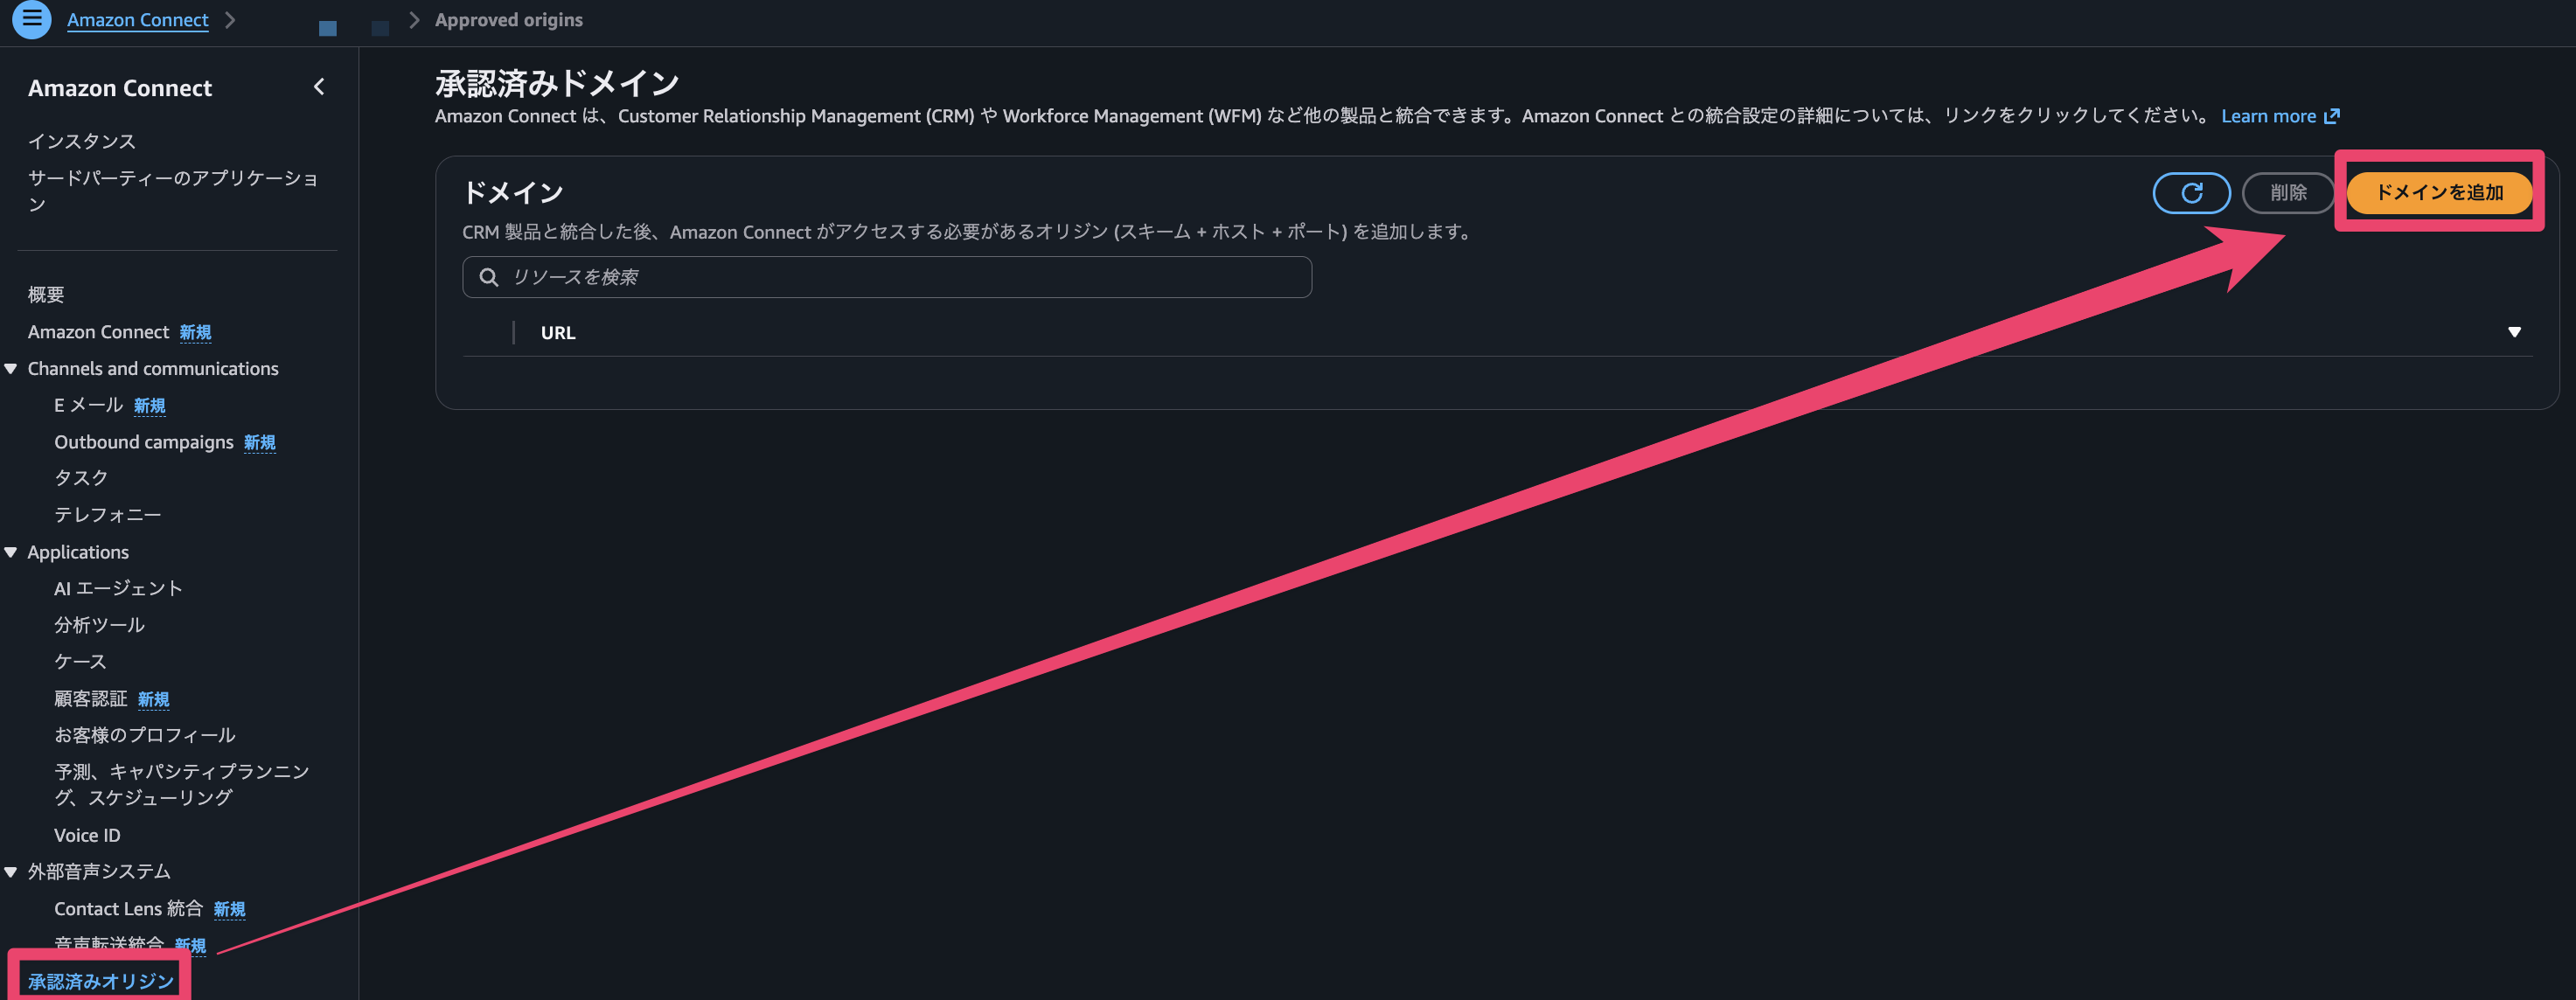
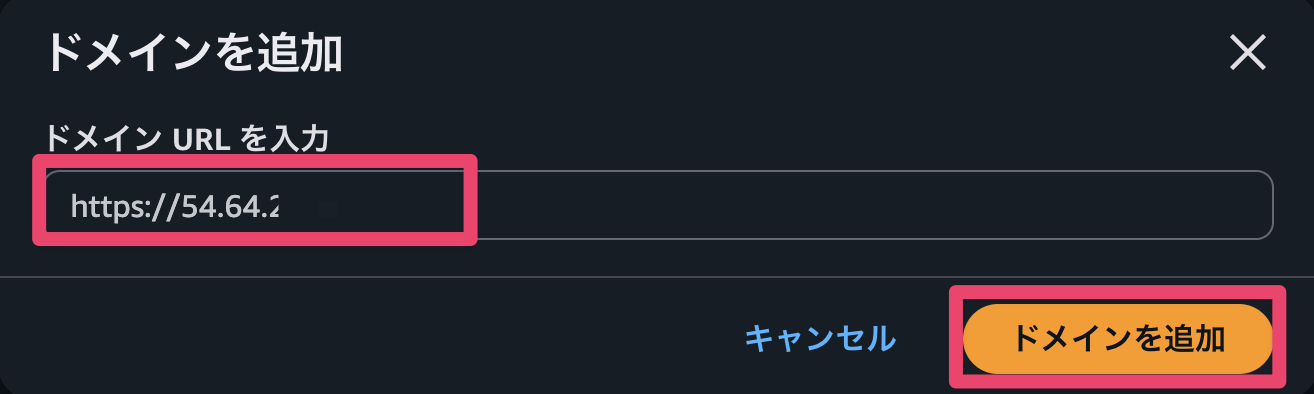
- Amazon Connect の承認済みオリジンにドメインを追加します。
今回はドメインを用意していないため、EC2 インスタンスのパブリックIPを登録します。
動作確認
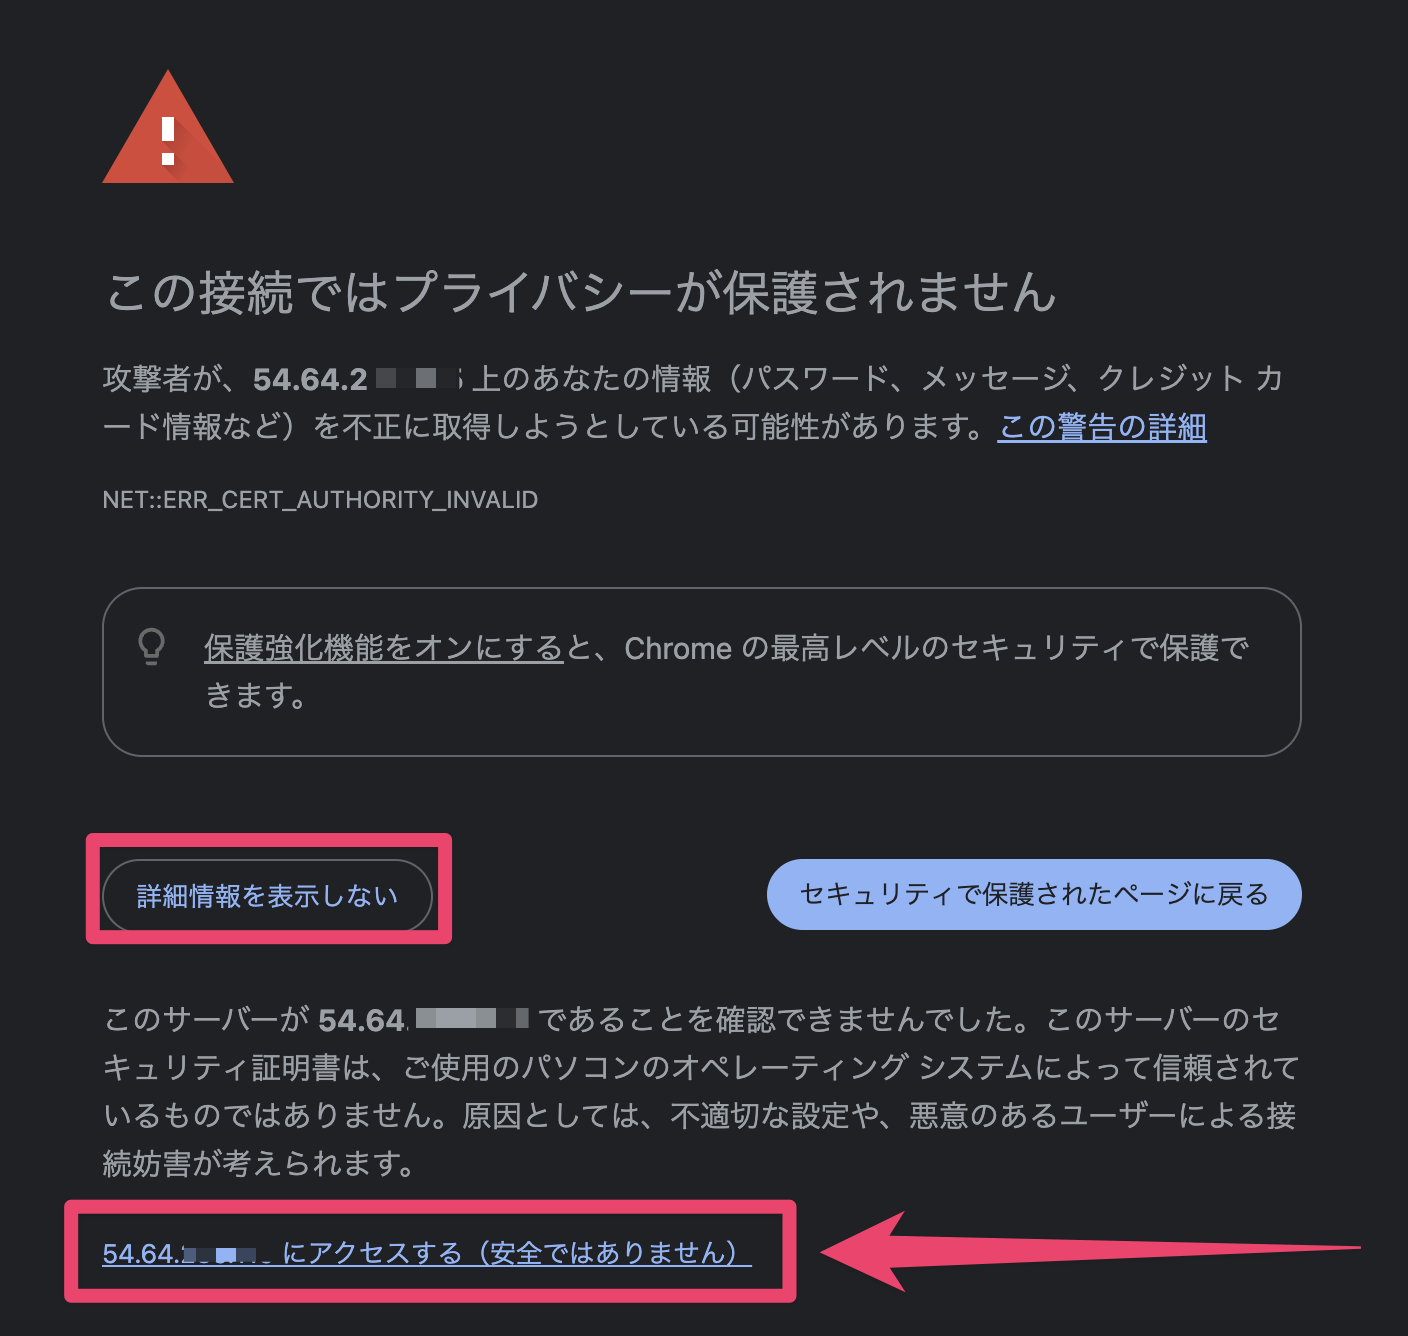
登録した承認済みオリジンドメインにアクセスします。
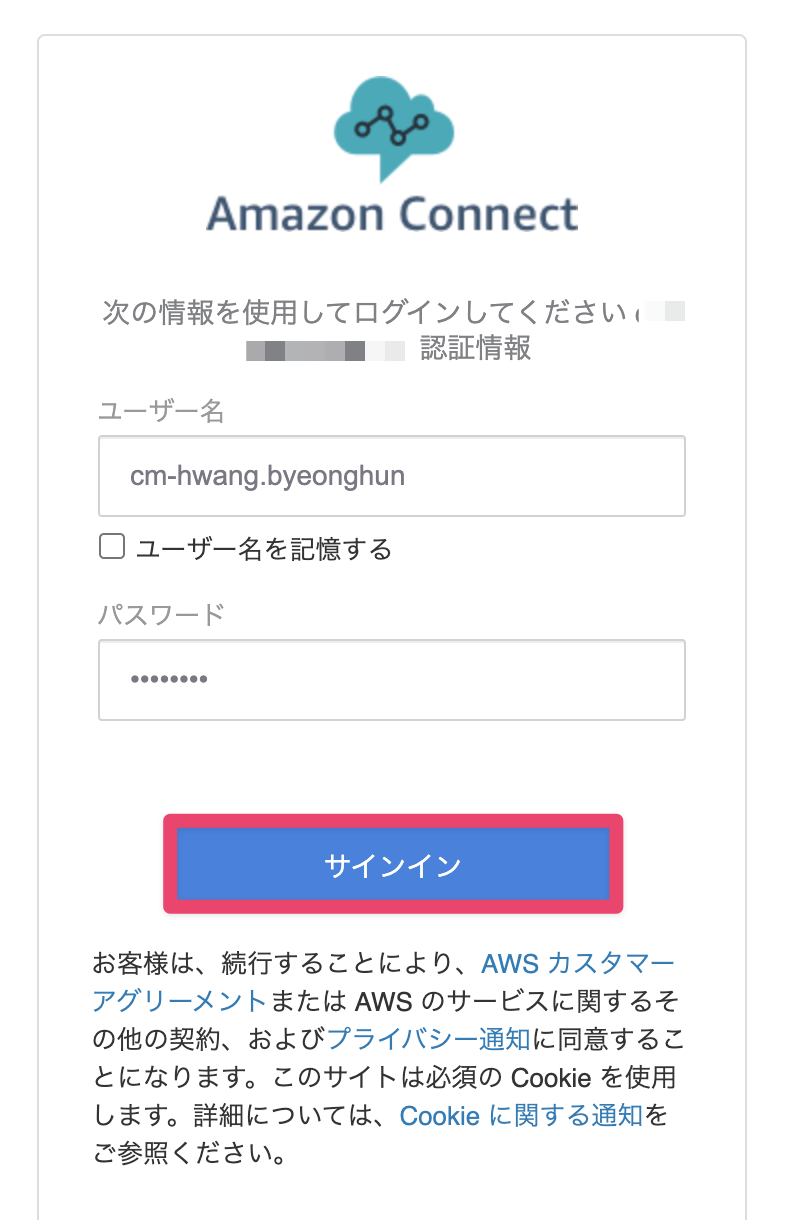
ログイン画面が表示されますので、ログインします。
今回は Amazon Connect インスタンスに登録したセキュリティプロファイルでログインしました。
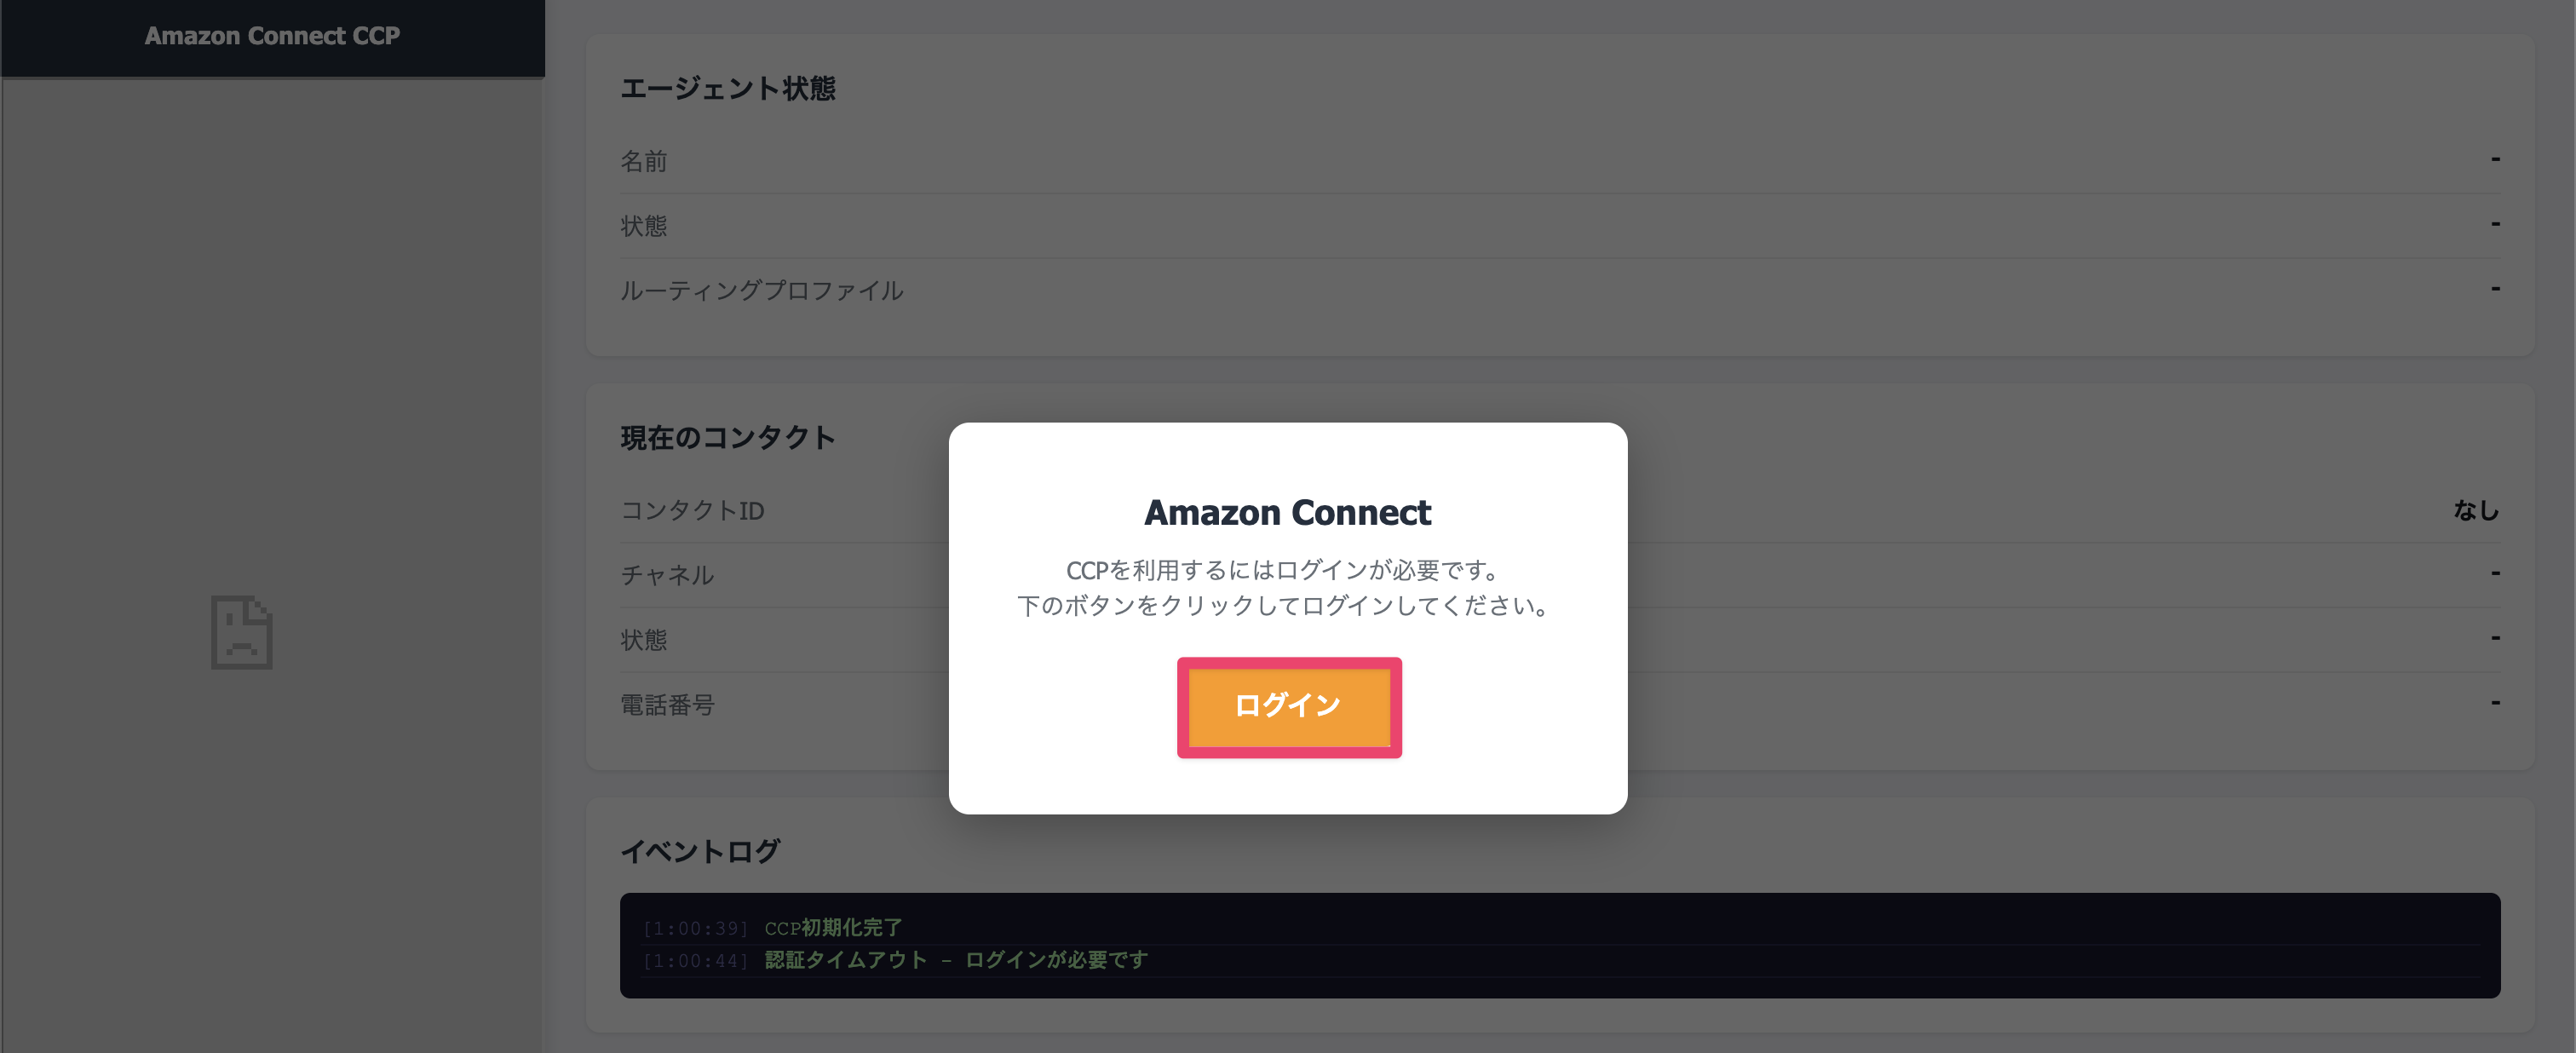
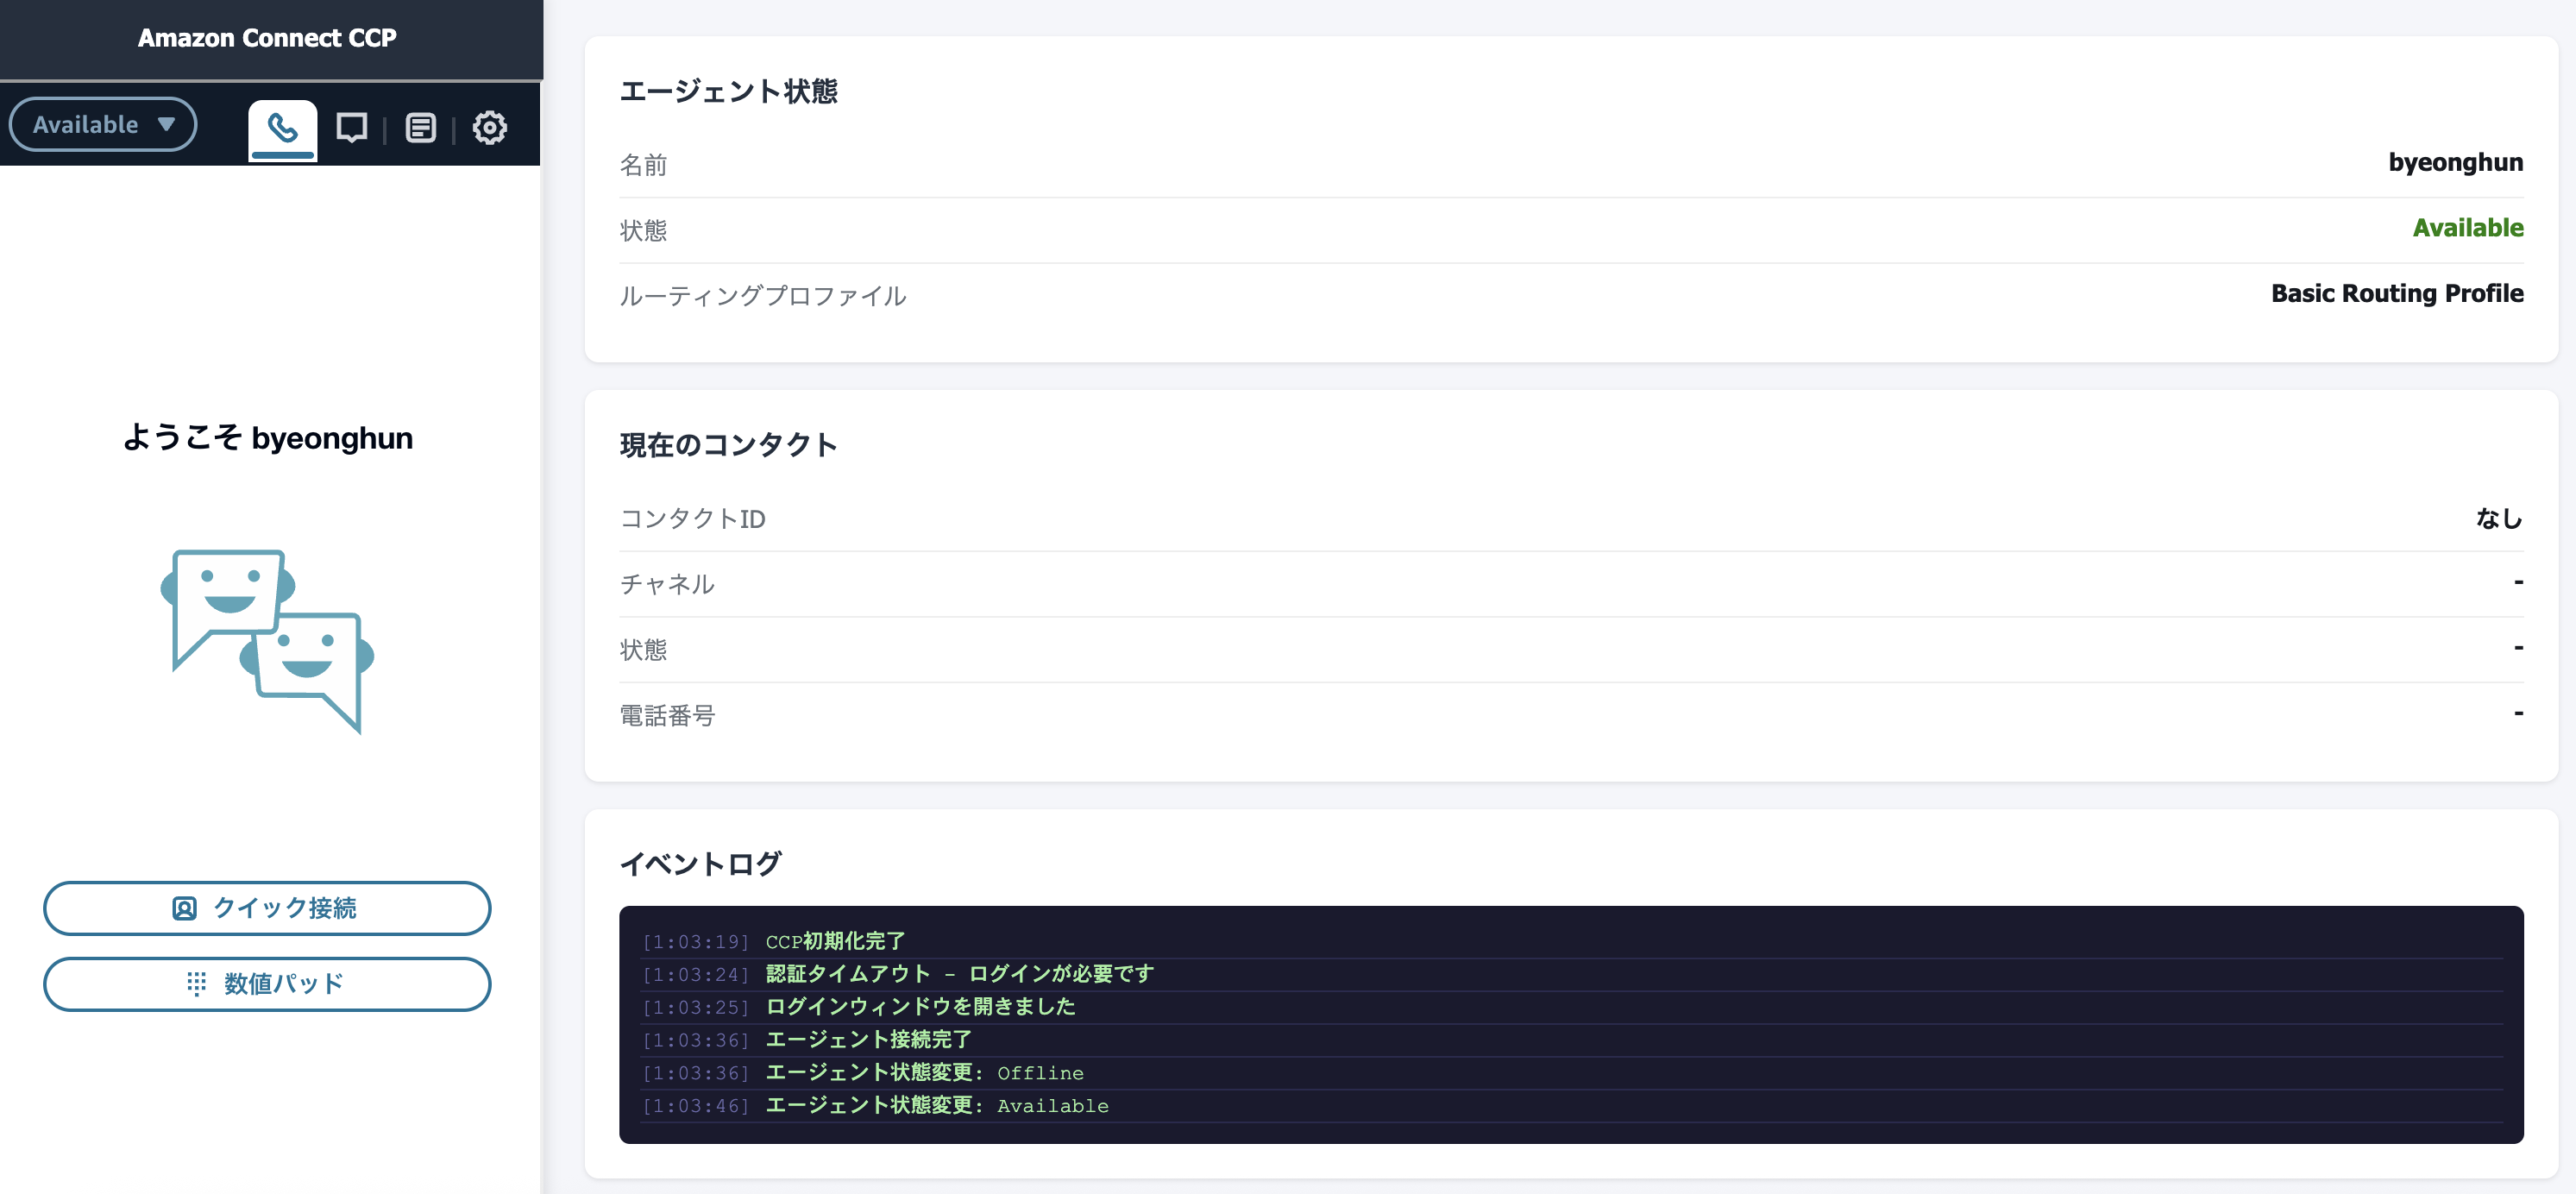
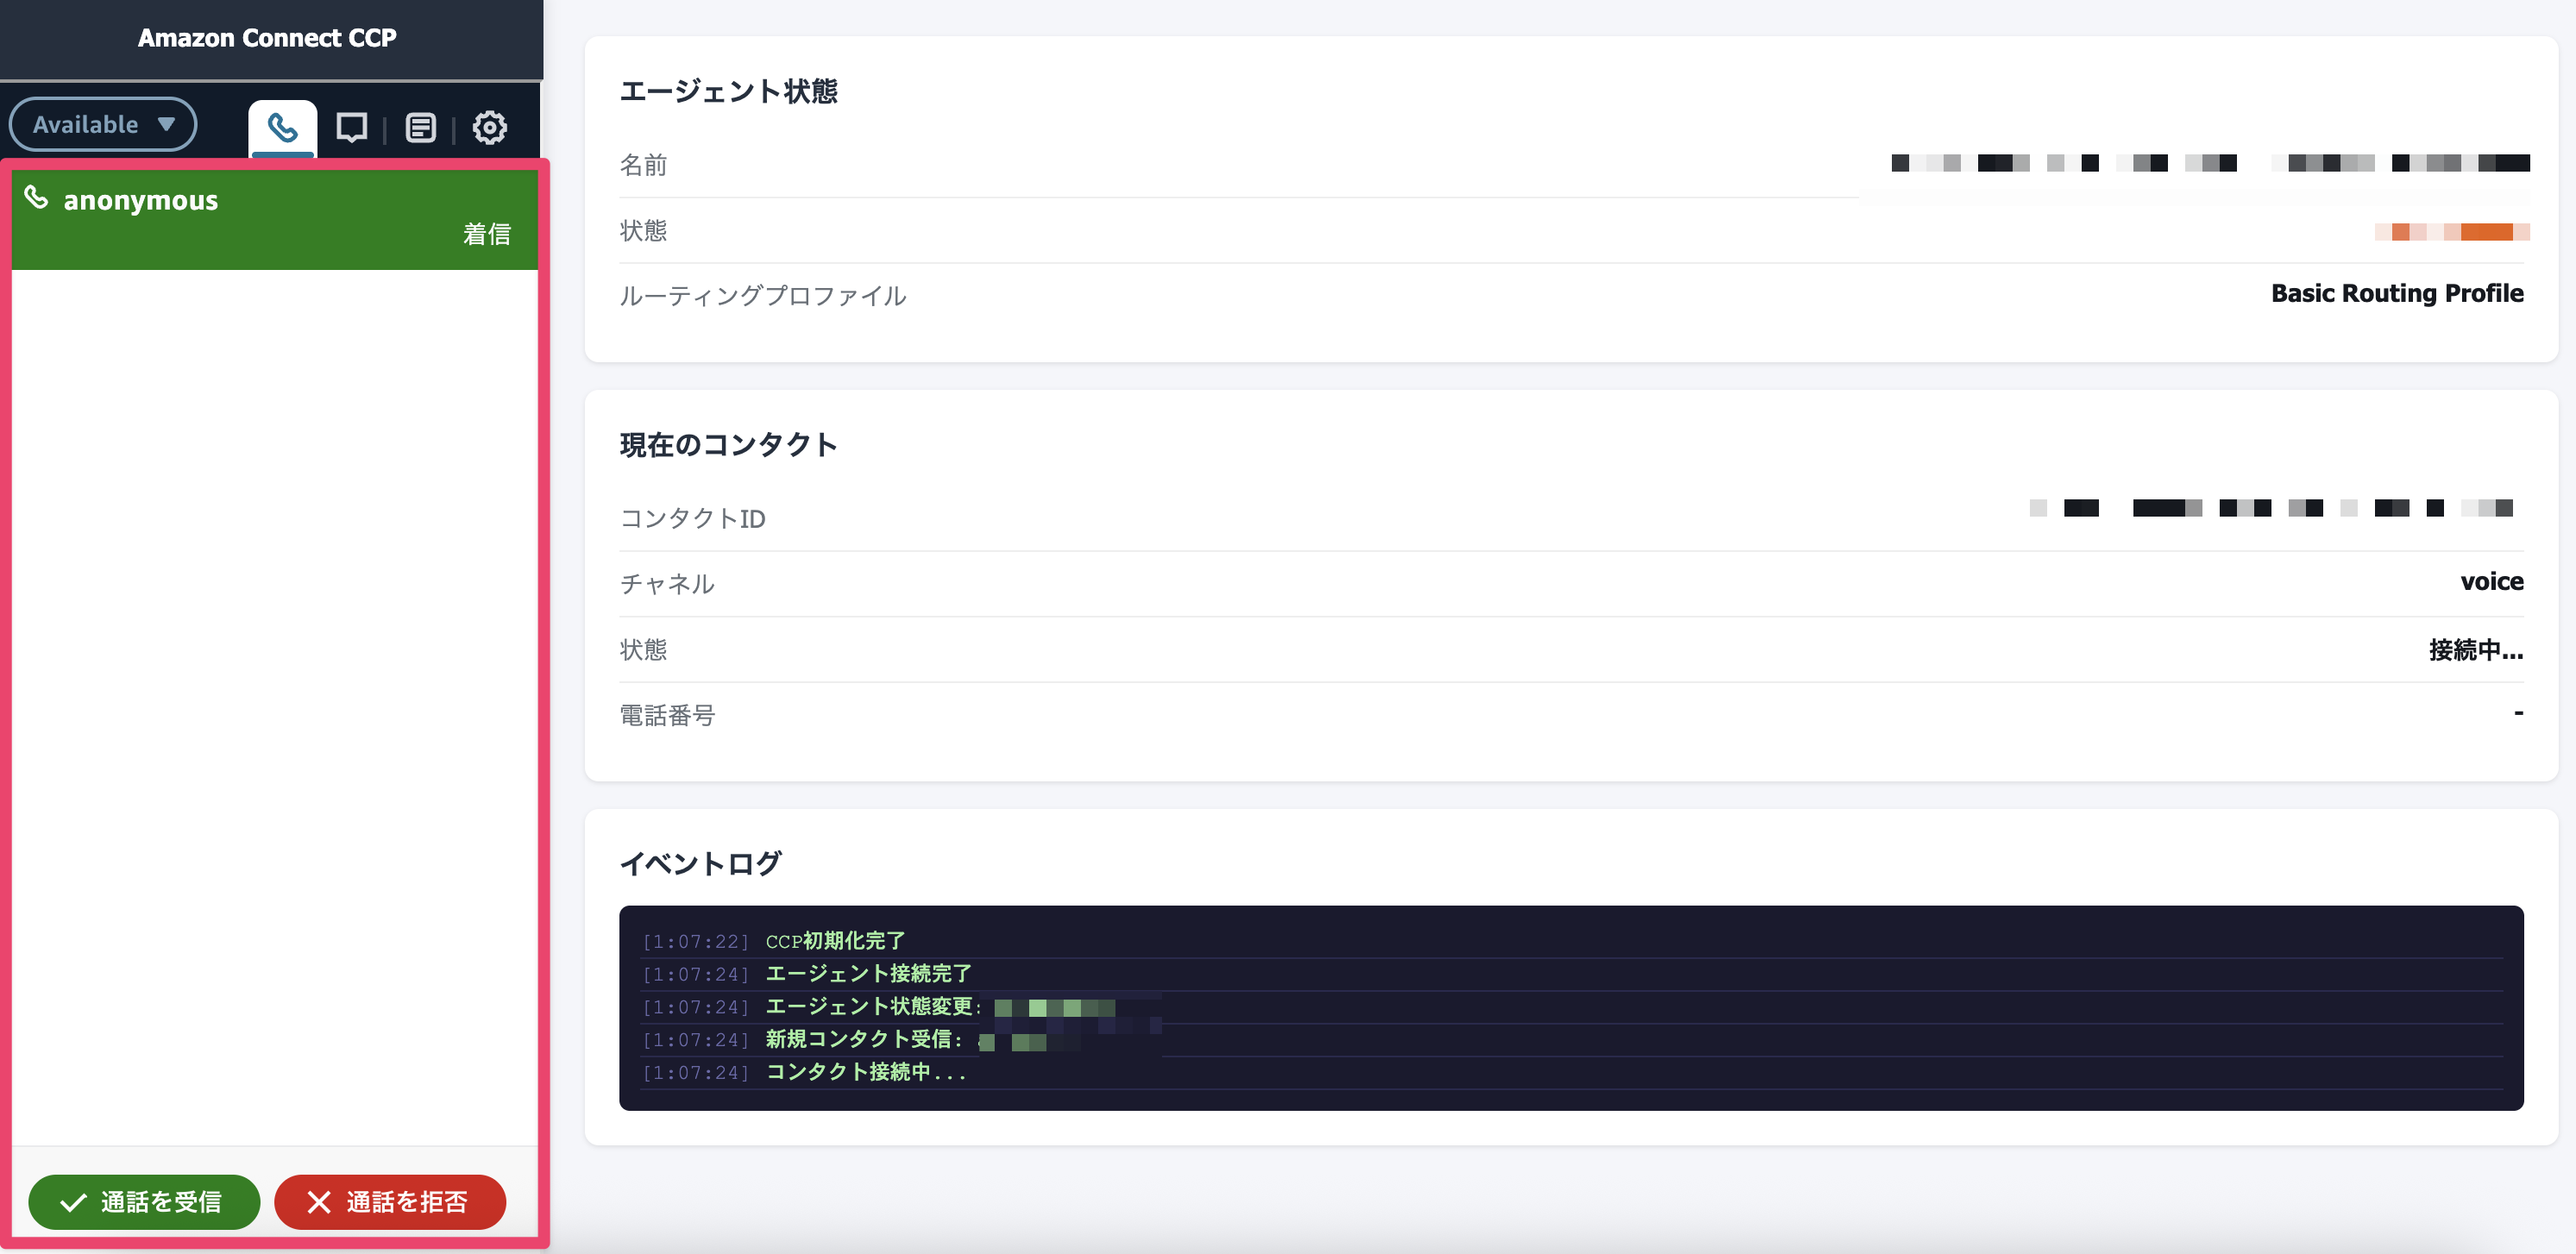
CCP 画面が画像のように表示され、電話も利用可能な状態になっていることが確認できました。
さいごに
今回は、Amazon Connect Streams API を利用して、Windows EC2 上に CCP を統合する方法についてご紹介しました。
この記事が誰かの助けになれば幸いです。
参考