Enhancing Customer Support with Zendesk’s Conversation Bots and Auto-Reply
この記事は公開されてから1年以上経過しています。情報が古い可能性がありますので、ご注意ください。
Hi, this is Charu from Classmethod. Today is the fourth day of Classmethod's Zendesk Advent Calendar.
Here are two important links for you to refer,
Class method Zendesk Advent Calendar 2023 article list | DevelopersIO
Class method Zendesk calendar | Advent Calendar 2023 - Qiita
In this blog, we will be talking about how to enhance customer support with Zendesk's Conversation Bots and Auto-Reply.
Let's get started!
We all know that we are living in the World of AI. And customers expect the efficient and quick response. Hence, prompt service enhances customer satisfaction and boosts company reputation. That is why Zendesk provides two powerful tools to achieve this: Conversation Bots and Auto-Reply. Let's get to know them.
Understanding the Tools:
Conversation Bot:
This bot engages in interactive dialogues with customers, guiding them towards solutions. It's highly customizable and can be tailored to your specific customer support needs.
Auto-Reply:
This feature offers immediate, trigger-based responses to customer requests. It’s ideal for email and web form inquiries, often recommending articles or providing standard information instantly.
Set up:
Go to your settings, then go to Admin Center.

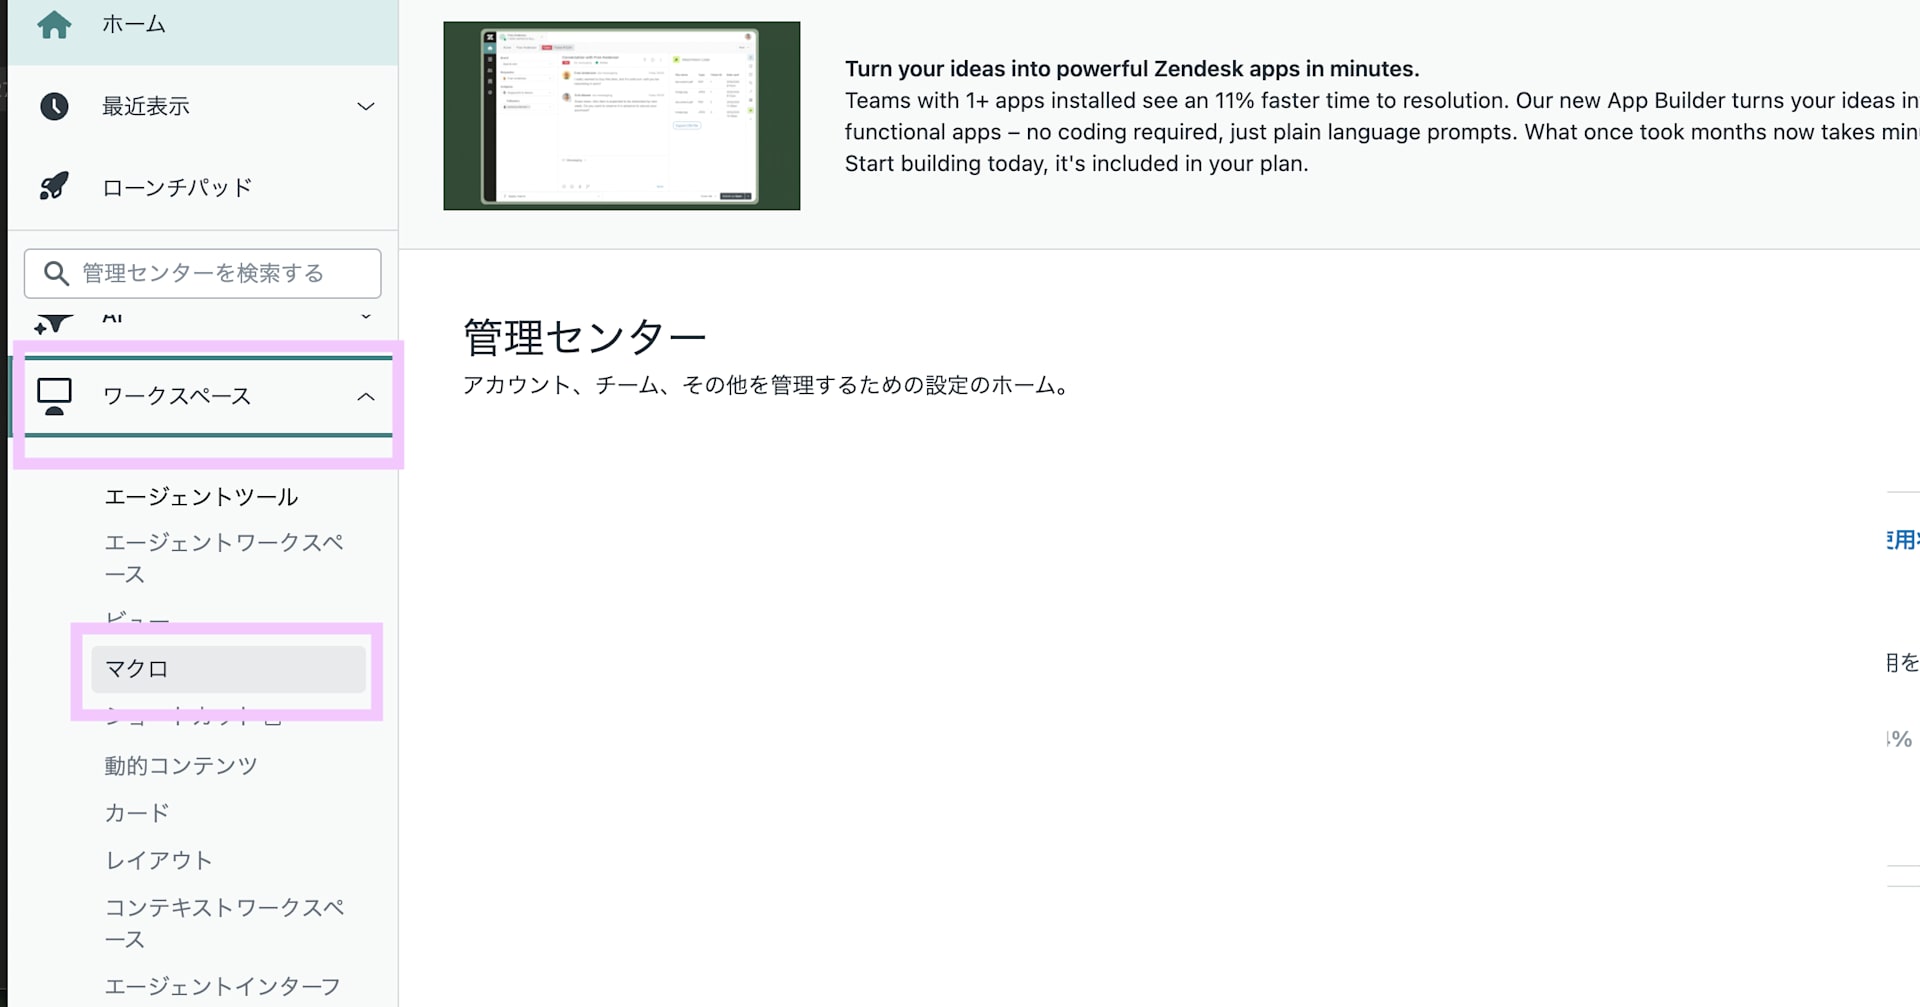
Under channel > Bots and automation > bot, you will find the two bots Zendesk provides.
Let's start setting up each one of those,
Conversation Bot
Click on Conversation Bot and then Create Bot,

Give a name and select the language.

Decide how the bot will greet customers, the types of questions it will ask, and how it will guide them towards solutions. You can select the greeting from the given 3 options, I chose the playful one.

After creating the bot, it should look something like this,

You can go to Purpose and choose whatever prompt you like and edit. You can put your custom ideas and apply like I did with 'New account activation code'.

You can even edit the response for example frequently asked questions and their answers into the bot's dialogue options.

You can publish the bot after testing it. It is good to regularly test the bot’s performance and refine its conversation flow based on customer interactions and feedback.

This is how you create a Conversation Bot.
Auto-Reply:
To create auto-reply, go to Bot > Auto-Reply.
Auto-reply works based on triggers. These triggers can be based on keywords, the type of inquiry, or the source of the request. Click on Create Trigger to get started.

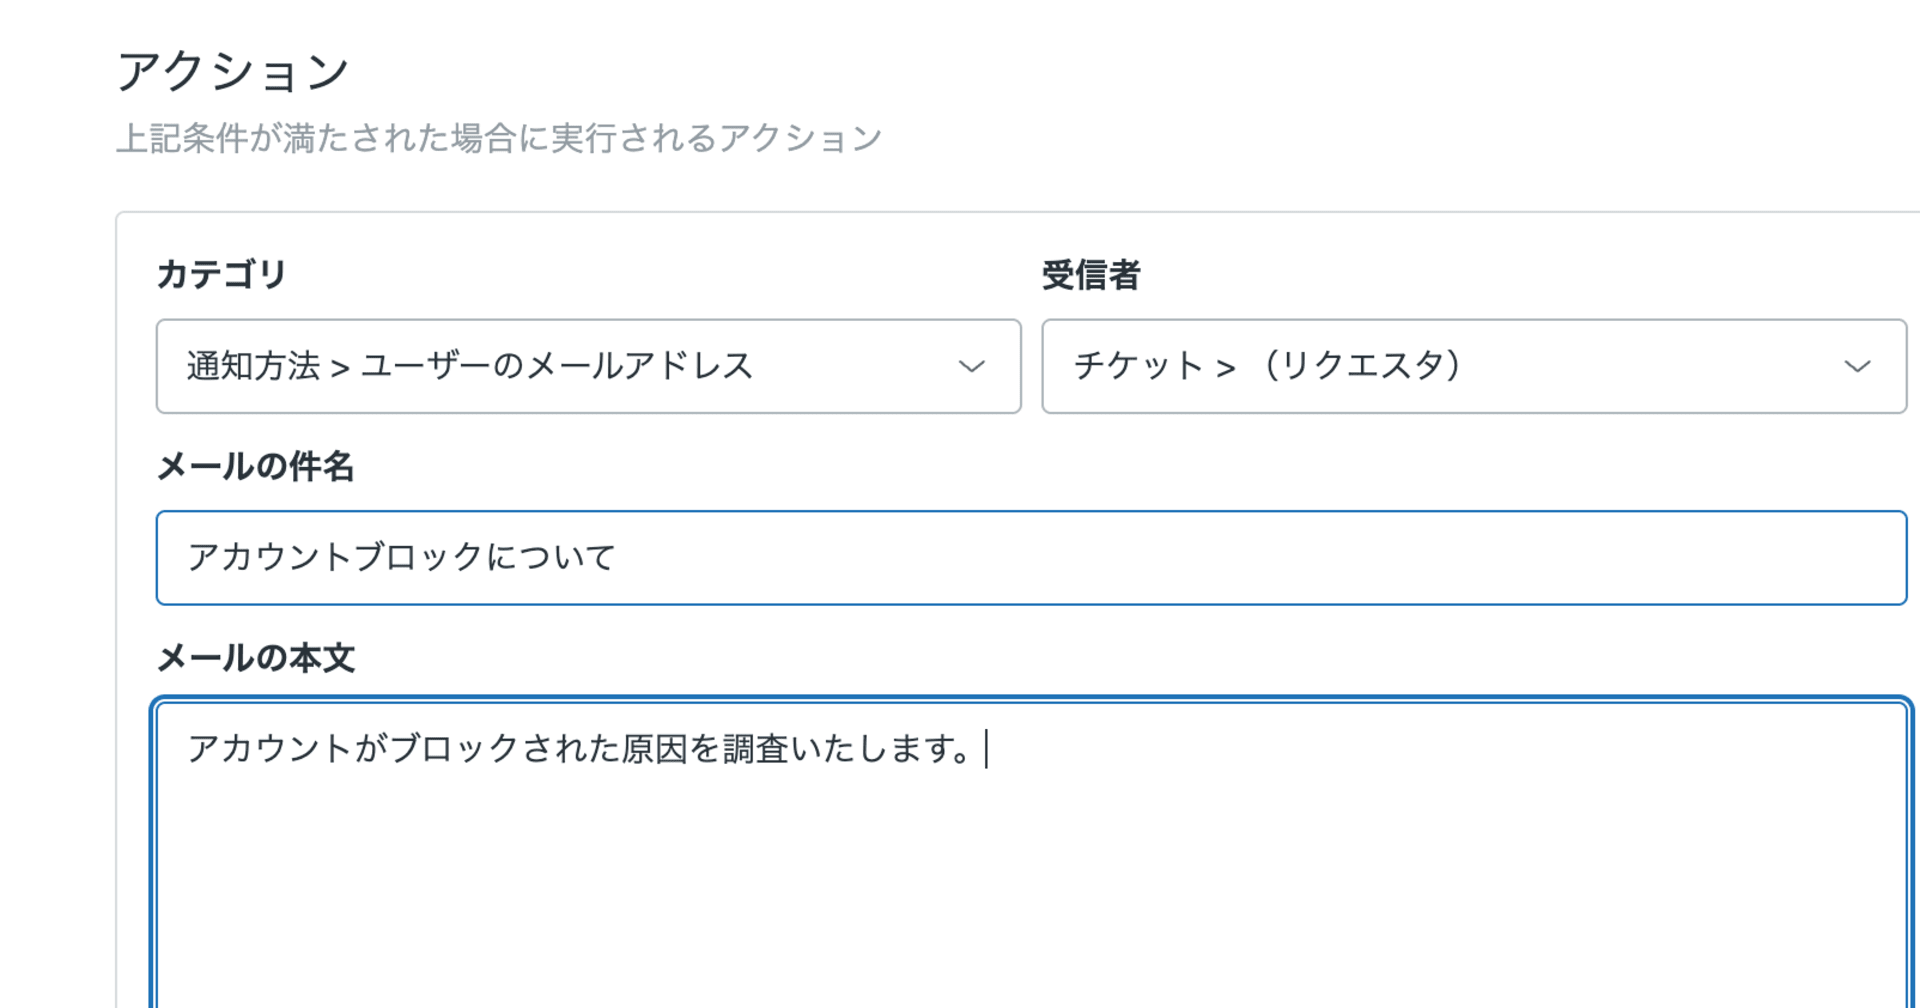
You can create tailored responses for different triggers. Ensure these responses are helpful and guide the customer towards a solution. I created a simple email trigger here for demo.


You can test your trigger and regularly review the performance of your auto-replies.

Make adjustments to ensure they remain relevant and useful.
Conclusion:
Zendesk’s Conversation Bots and Auto-Reply features offer a dynamic duo for enhancing customer support. By providing immediate, accurate, and interactive responses, these tools not only improve customer satisfaction but also increase the efficiency of your support team.
Thank you for reading!
Happy Learning:)