![[AWS Step Functions]Terraformでネストしたステートマシンを作成してみた](https://images.ctfassets.net/ct0aopd36mqt/wp-thumbnail-5f8ac6d1392d52f09eefb00a5ad1b303/fceee02f9b8607d60014a828933bc45b/aws-step-functions?w=3840&fm=webp)
[AWS Step Functions]Terraformでネストしたステートマシンを作成してみた
この記事は公開されてから1年以上経過しています。情報が古い可能性がありますので、ご注意ください。
はじめに
AWS事業本部コンサルティング部の神野です。 皆さんはStep Functionsを活用していますか? Step Functionsのステートマシンはネスト可能で、バッチのジョブネット(一連の処理をまとめたもの)のような階層構造を構築できます。
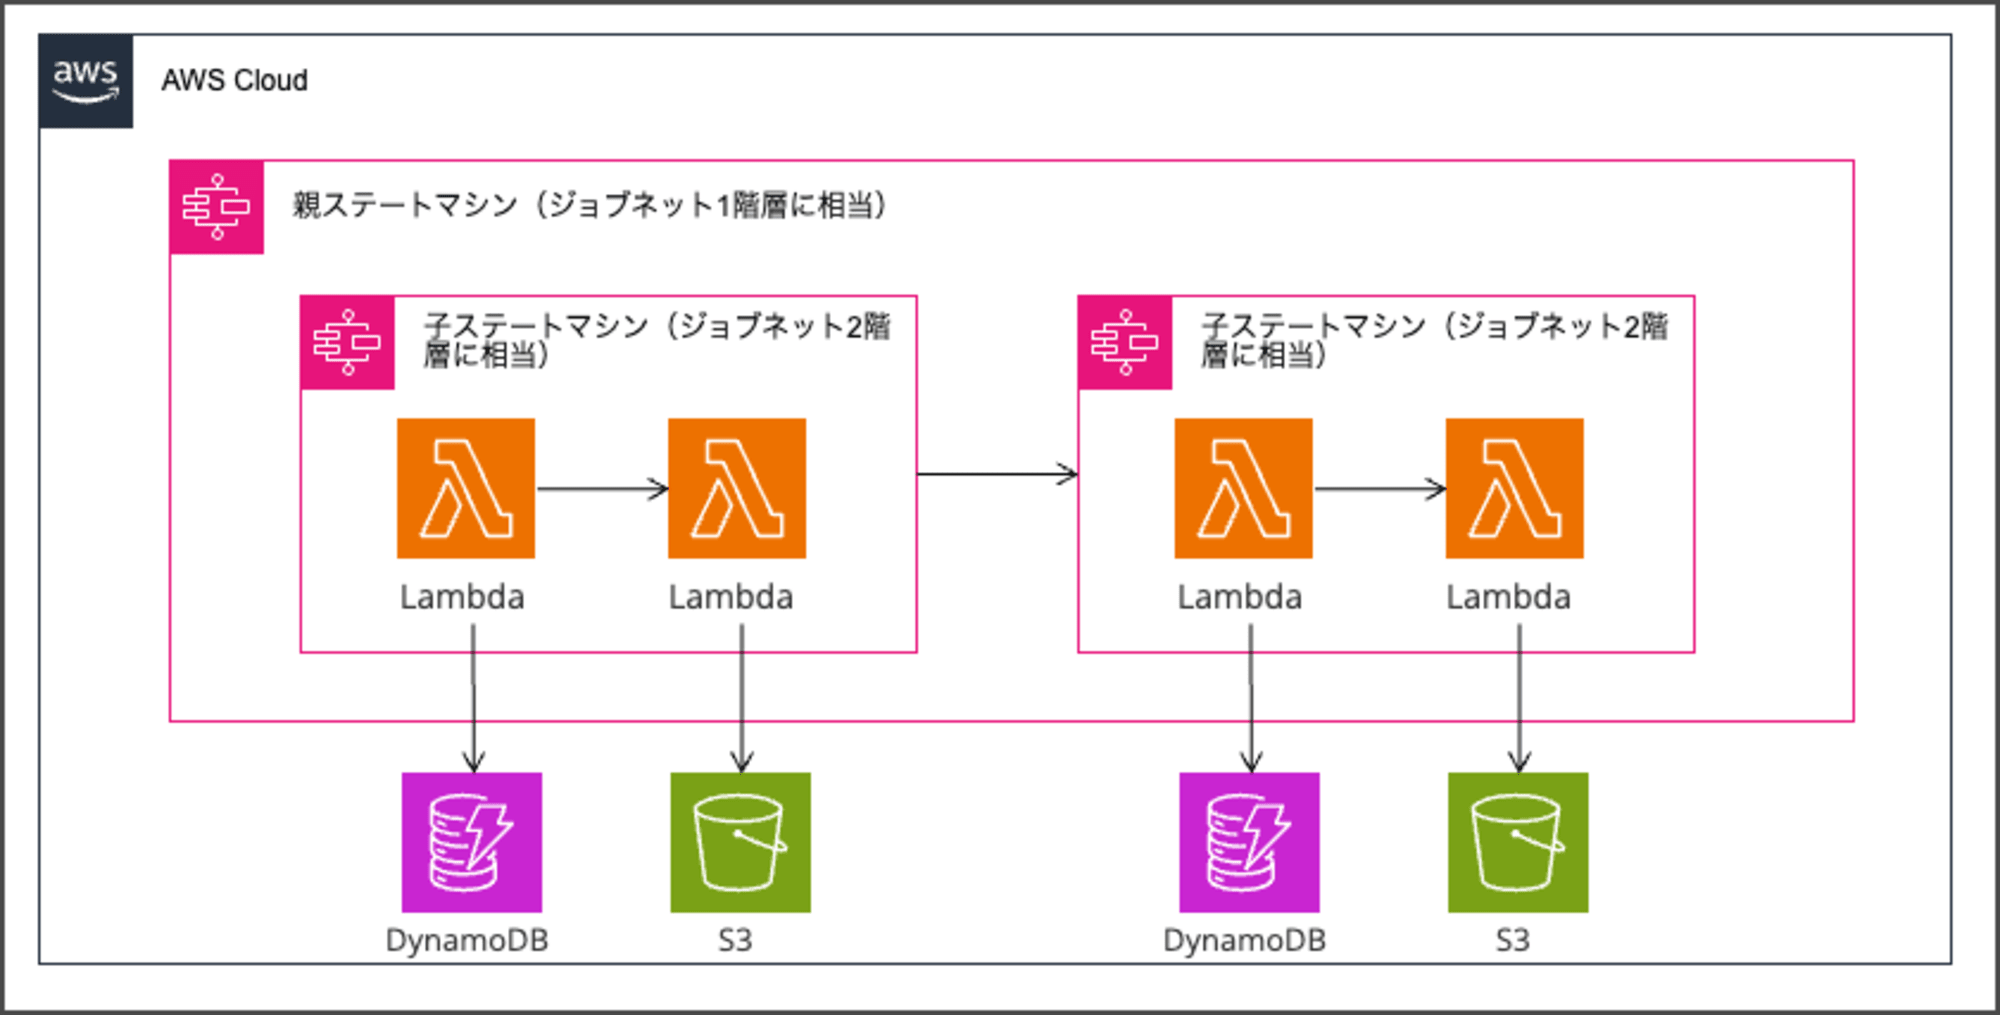
階層構造をとることで、複雑なワークフローをある程度の処理単位に分割することが可能となり下記がそのイメージです。
イメージ図
 イメージ図
イメージ図
今回はあくまでイメージのファーストステップとして、ステートマシンをネストした簡易的なシステムをTerraformで構築してみました。
今回構築するシステム構成図
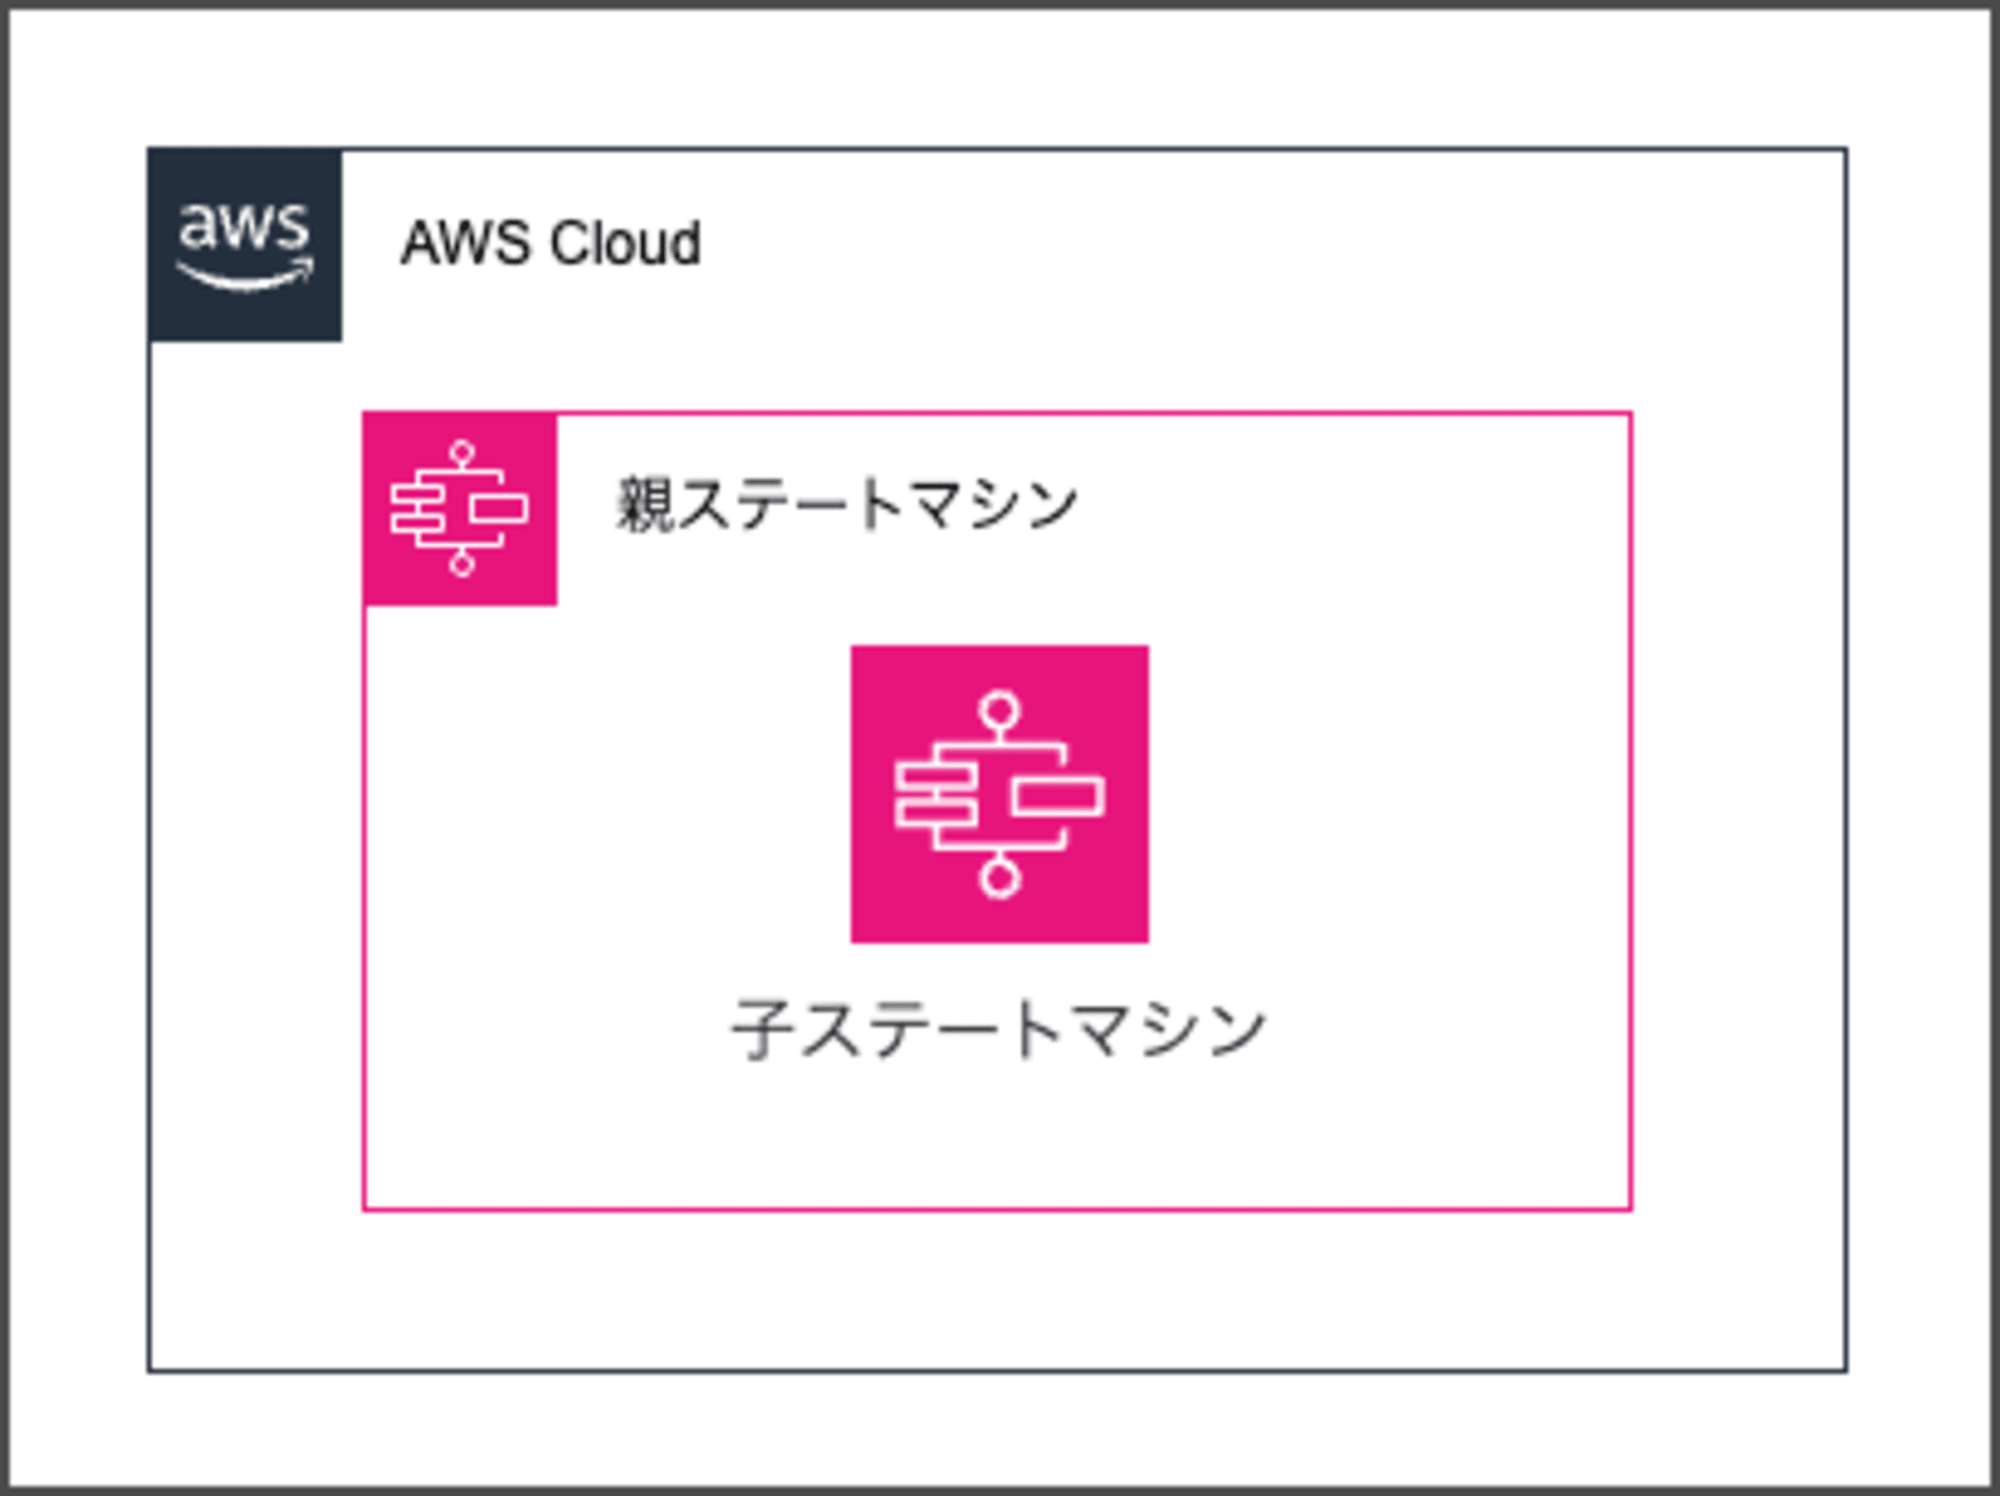
今回構築するシステム構成図
親子のステートマシンを作成します。親がジョブネット1階層、子がジョブネット2階層みたいなイメージです。
- 親ステートマシン :
- ジョブネットの1階層に相当
- 子ステートマシンの実行を開始し、その完了を監視
- 子ステートマシン :
- ジョブネットの2階層に相当
- 特定のタスクや一連の処理を実行
- 親ステートマシンから独立して管理され、再利用可能
実装
前提
今回はTerraformを使用するため事前にインストールが必要になります。
使用したバージョンは下記となります。
- Terraform・・・v1.9.4(provider registry.terraform.io/hashicorp/aws v5.61.0)
ディレクトリ構成
├── asls・・・ステートマシンの定義ファイル格納フォルダ
│   ├── main_state.asl.json・・・親ステートマシン定義ファイル
│   └── nested_state.asl.json・・・子ステートマシン定義ファイル
├── modules・・・Module格納用フォルダ
│   └── statemachine・・・ステートマシンModule格納用フォルダ
│       ├── main.tf
│       ├── outputs.tf
│       └── variables.tf
├── main.tf
├── outputs.tf
└── variables.tf
構築のソースコードは下記Githubにアップロードしているので、必要に応じてご参照ください。
ステートマシンModule
ステートマシンは繰り返し使用できるようにModule化します。
variables.tf
Moduleを使用する際は変数としてname, role_arn, definition_file, definition_varsを設定します。
| 変数名 | 役割 |
|---|---|
| name | ステートマシンの名前 |
| role_arn | ステートマシン実行時のRole |
| definition_file | ステートマシンの定義ファイル |
| definition_vars | 定義ファイル内の変数を置換するためのキーと値のマップ |
variable "name" {
  description = "Name of the State Machine"
  type        = string
}

variable "role_arn" {
  description = "ARN of the IAM role for the State Machine"
  type        = string
}

variable "definition_file" {
  description = "Path to the JSON file containing the State Machine definition"
  type        = string
}

variable "definition_vars" {
  description = "Map of variables to replace in the State Machine definition"
  type        = map(string)
  default     = {}
}
main.tf
ステートマシンの定義部分です。変数で受け取った値を使用してステートマシンを作成します。
templatefile関数を使用して、定義ファイル内に埋め込んだ変数を一括で置換できるようにします。
# ---------------------------------------------
# ステートマシン(Module)
# ---------------------------------------------
resource "aws_sfn_state_machine" "this" {
  name     = var.name
  role_arn = var.role_arn

  # 引数で定義ファイル名と置換するパラメータを受け取る
  definition = templatefile(var.definition_file, var.definition_vars)
}
outputs.tf
作成したステートマシンのARNを外部から参照できるように出力します。
(親ステートマシンから子ステートマシンを参照できるようにするため)
output "arn" {
  description = "ARN of the State Machine"
  value       = aws_sfn_state_machine.this.arn
}
ステートマシン定義と作成
親子のステートマシン作成をこのセクションで進めていきます。
ステートマシン定義
親ステートマシンの定義をmain_state.asl.json、子ステートマシンの定義をnested_state_asl.jsonに記載します。
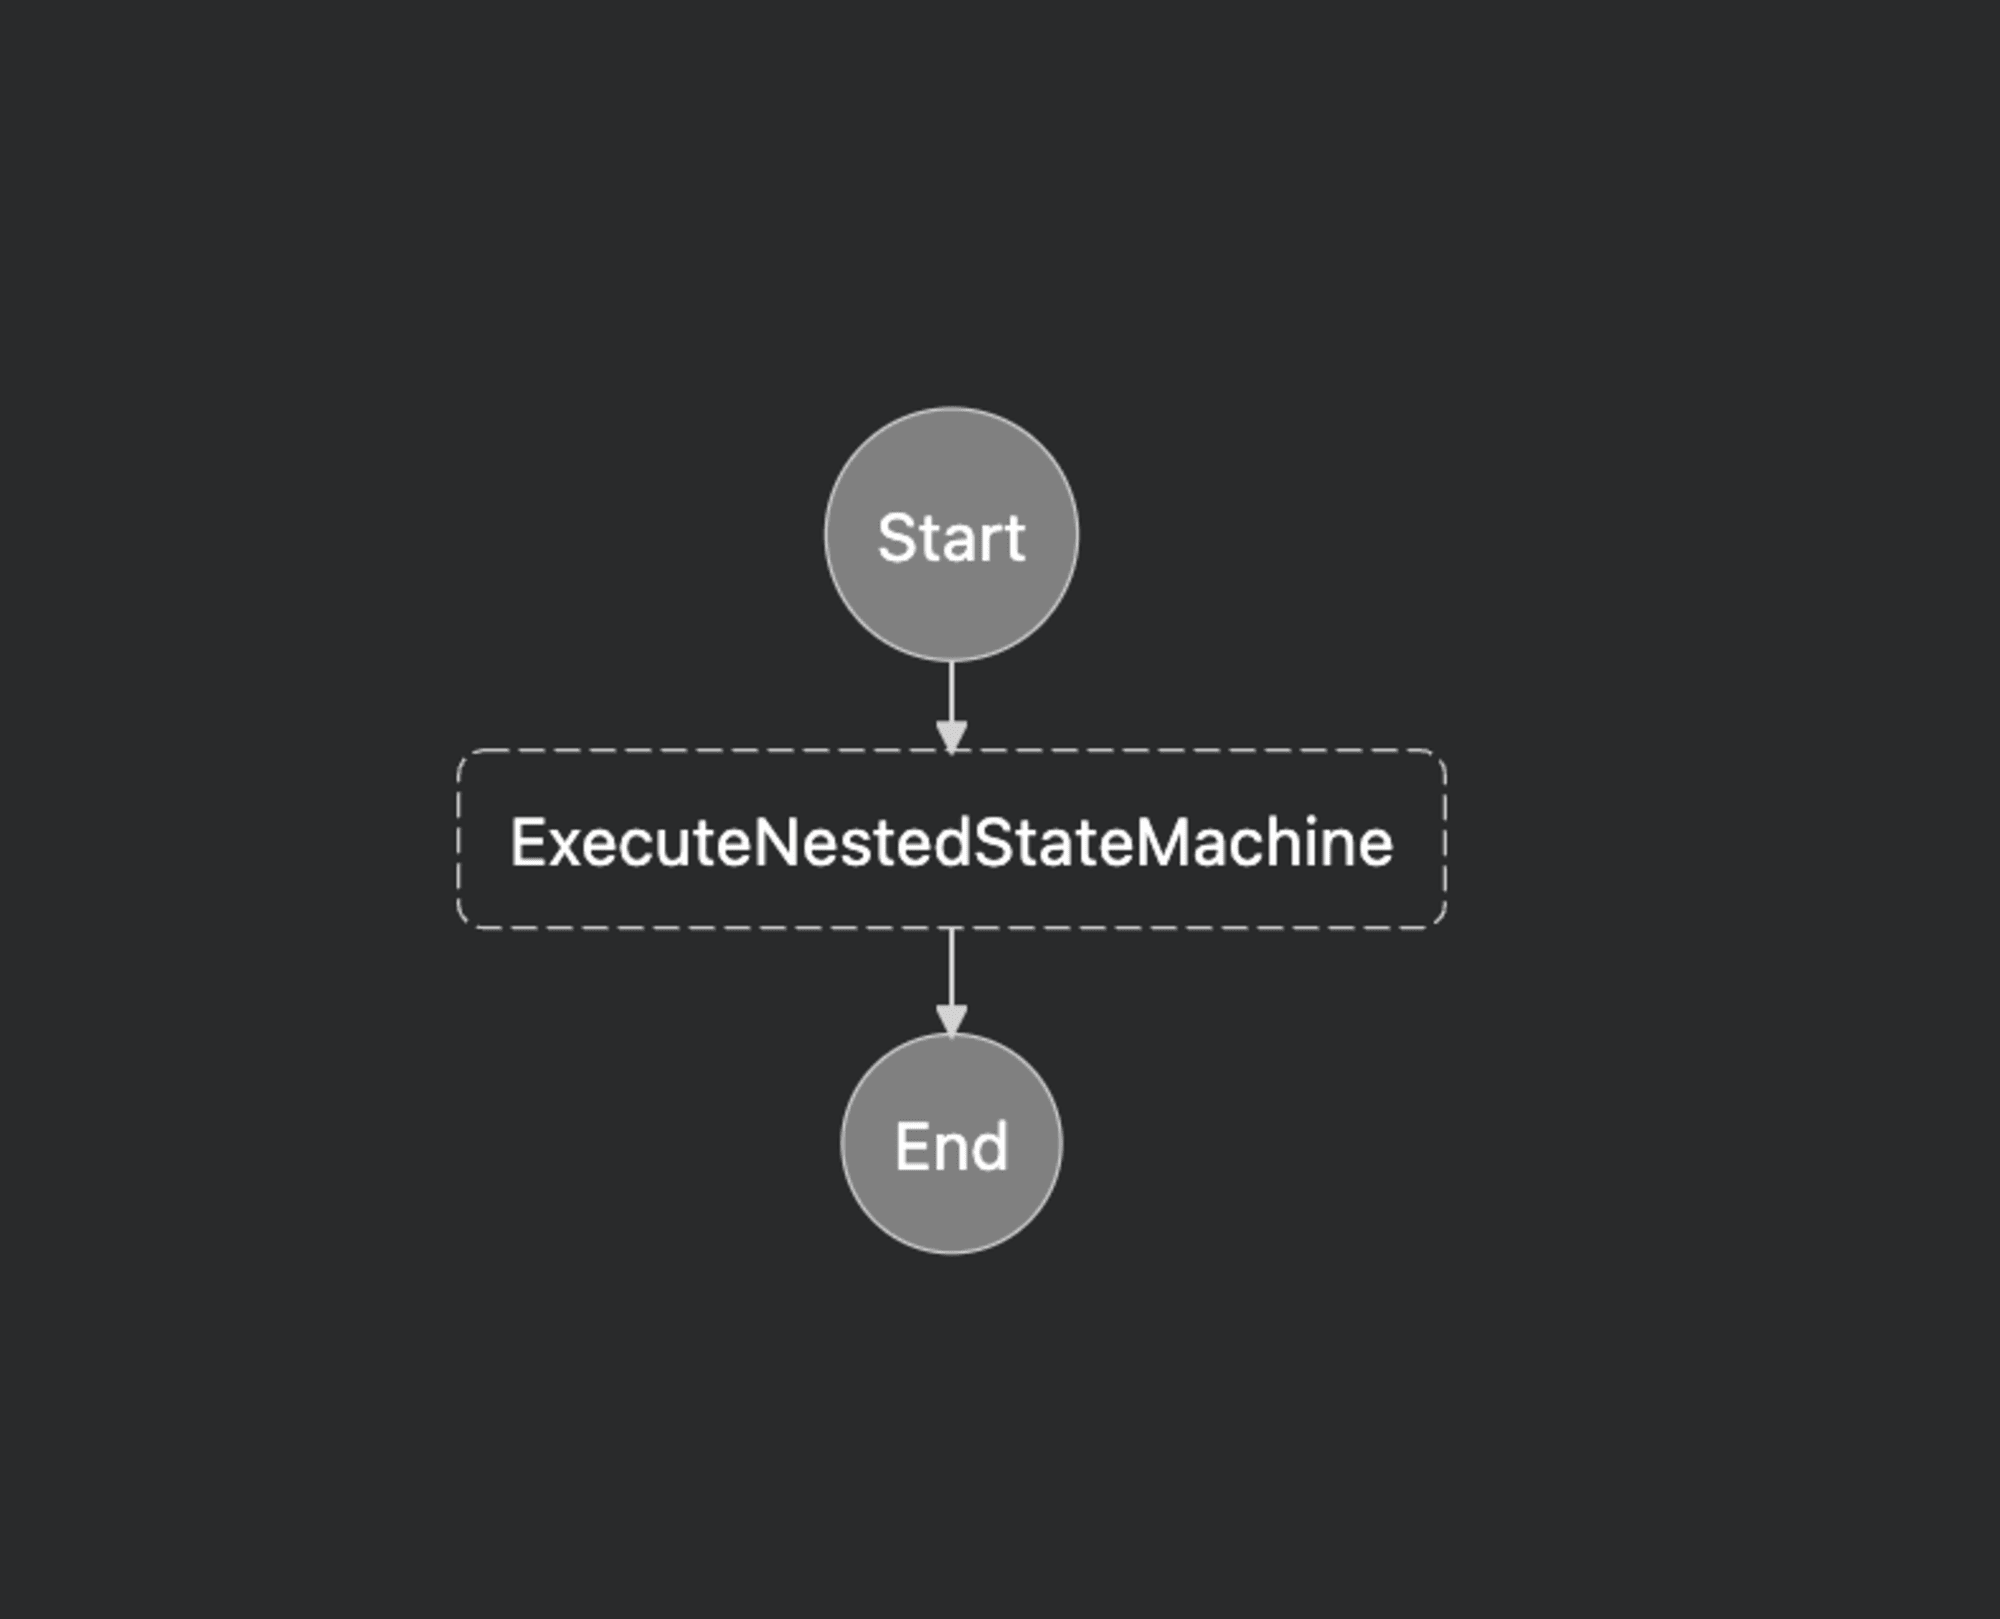
親ステートマシン定義(main_state.asl.json)
親ステートマシンは子ステートマシンを同期実行します。
また、Module作成時に定義したtemplatefile関数で子ステートマシンのARNを置換するため、${nested_state_machine_arn}で変数を定義ファイル内に設定します。
{
  "StartAt": "ExecuteNestedStateMachine",
  "States": {
    "ExecuteNestedStateMachine": {
      "Type": "Task",
      "Resource": "arn:aws:states:::states:startExecution.sync:2",
      "Parameters": {
        "StateMachineArn": "${nested_state_machine_arn}",
        "Input": {
          "AWS_STEP_FUNCTIONS_STARTED_BY_EXECUTION_ID.$": "$$.Execution.Id"
        }
      },
      "ResultPath": "$.nested",
      "End": true
    }
  }
}
親ステートマシンの実行フロー
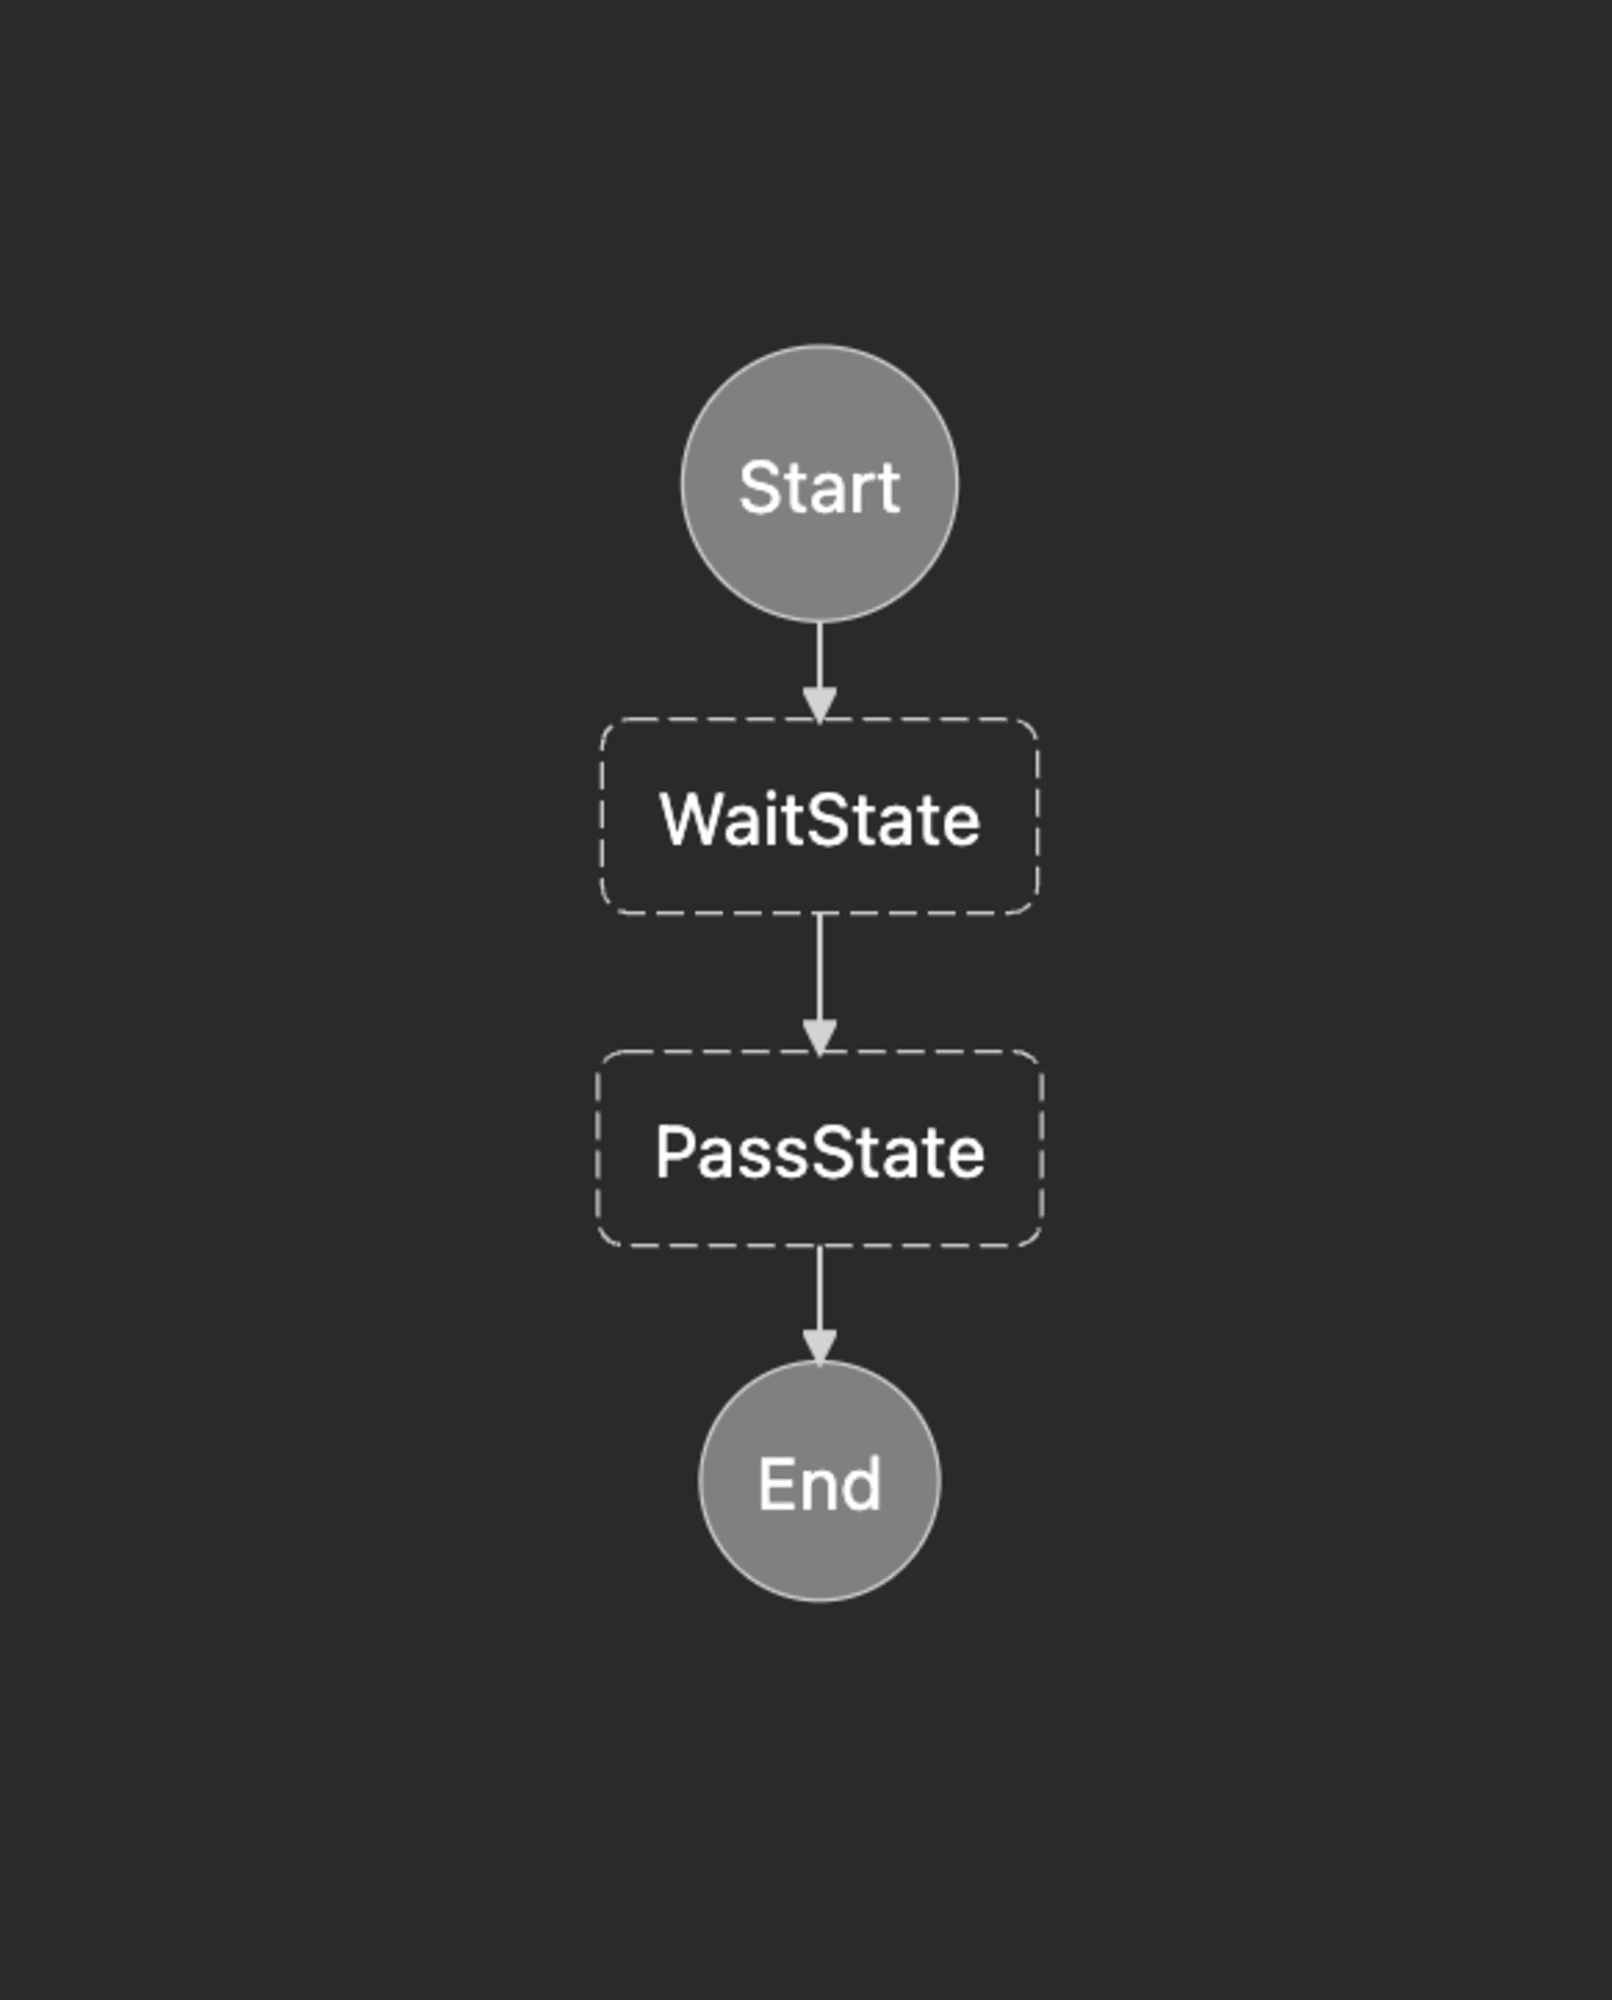
子ステートマシン定義(nested_state.asl.json)
単純にWaitして、Passするだけの処理を記載しています。
{
  "StartAt": "WaitState",
  "States": {
    "WaitState": {
      "Type": "Wait",
      "Seconds": 10,
      "Next": "PassState"
    },
    "PassState": {
      "Type": "Pass",
      "Result": {
        "message": "Nested execution completed"
      },
      "End": true
    }
  }
}
子ステートマシンの実行フロー
main.tf
親子のステートマシンを作成する箇所で、事前に作成したModuleを使用します。
親ステートマシンの引数definition_varsに、main_state.asl.json作成時に埋め込んだ変数名nested_state_machine_arnを設定し、子ステートマシンは特に変数の埋め込みはないため、definition_varsは何も設定せず作成します。
# ---------------------------------------------
# 親ステートマシン
# ---------------------------------------------
module "main_state" {
  source          = "./modules/statemachine"
  name            = "main_state"
  role_arn        = aws_iam_role.state_machine_role.arn
  definition_file = "./asls/main_state.asl.json"
  definition_vars = {
    nested_state_machine_arn = module.nested_state.arn
  }
}

# ---------------------------------------------
# 子ステートマシン
# ---------------------------------------------
module "nested_state" {
  source          = "./modules/statemachine"
  name            = "nested_state"
  role_arn        = aws_iam_role.state_machine_role.arn
  definition_file = "./asls/nested_state.asl.json"
  definition_vars = {}
}
動作確認
コードを実行して環境を作成し、親ステートマシンを実行して問題なくネストできているか確認してみます。
aws stepfunctions start-execution --state-machine-arn <親ステートマシンのARN>
親ステートマシン、子ステートマシンの実行結果をそれぞれ見てみます!
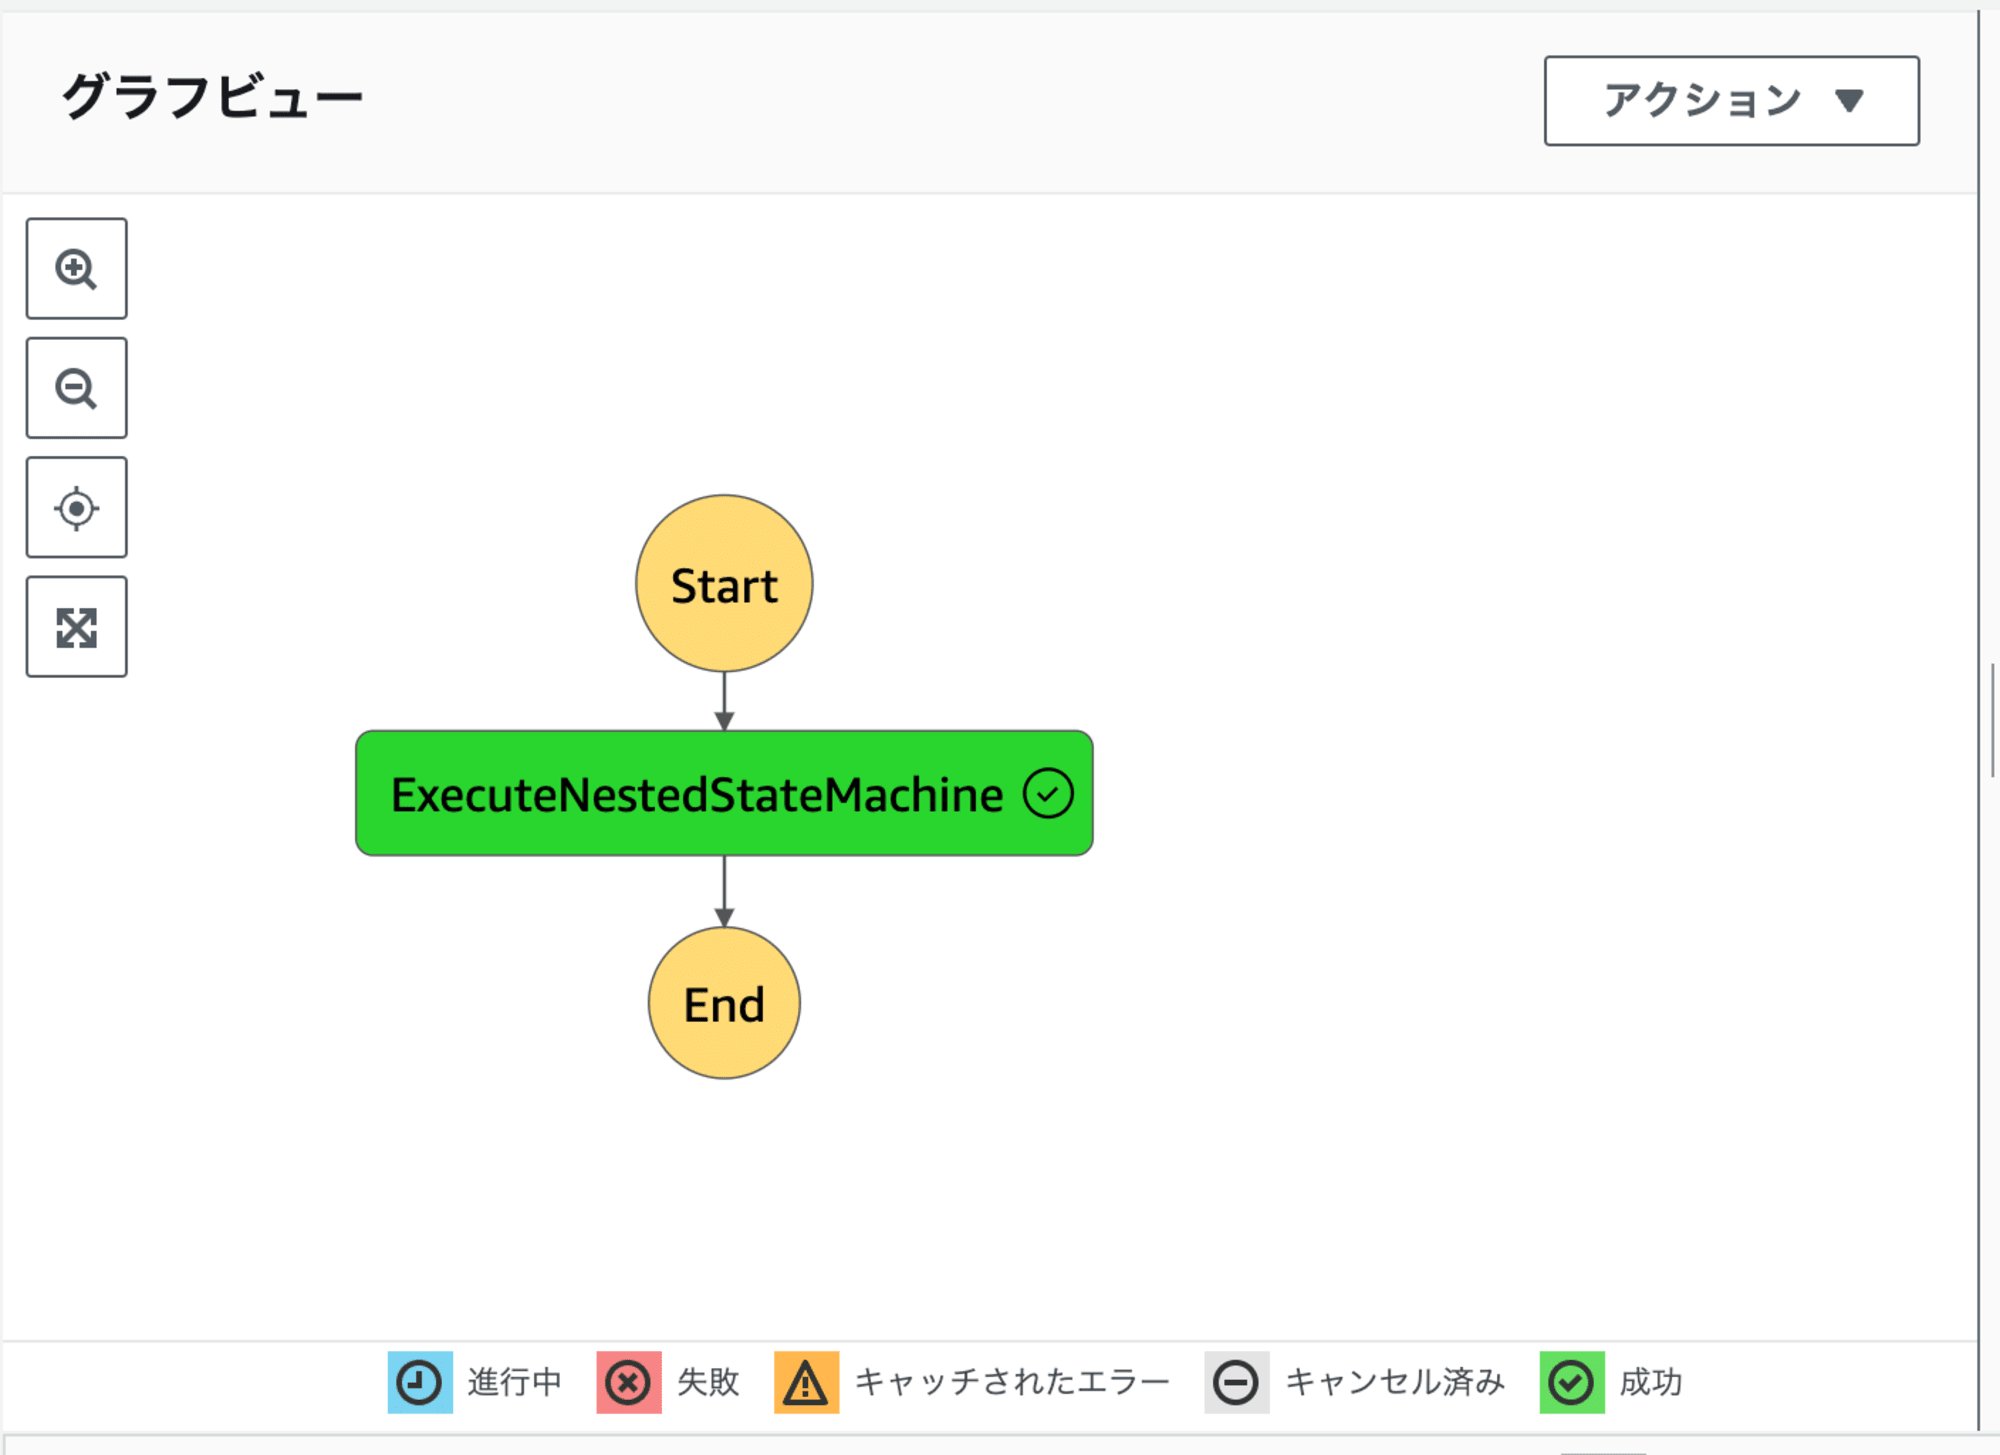
親ステートマシン(main_state)の実行結果
子ステートマシン(nested_state)の実行結果
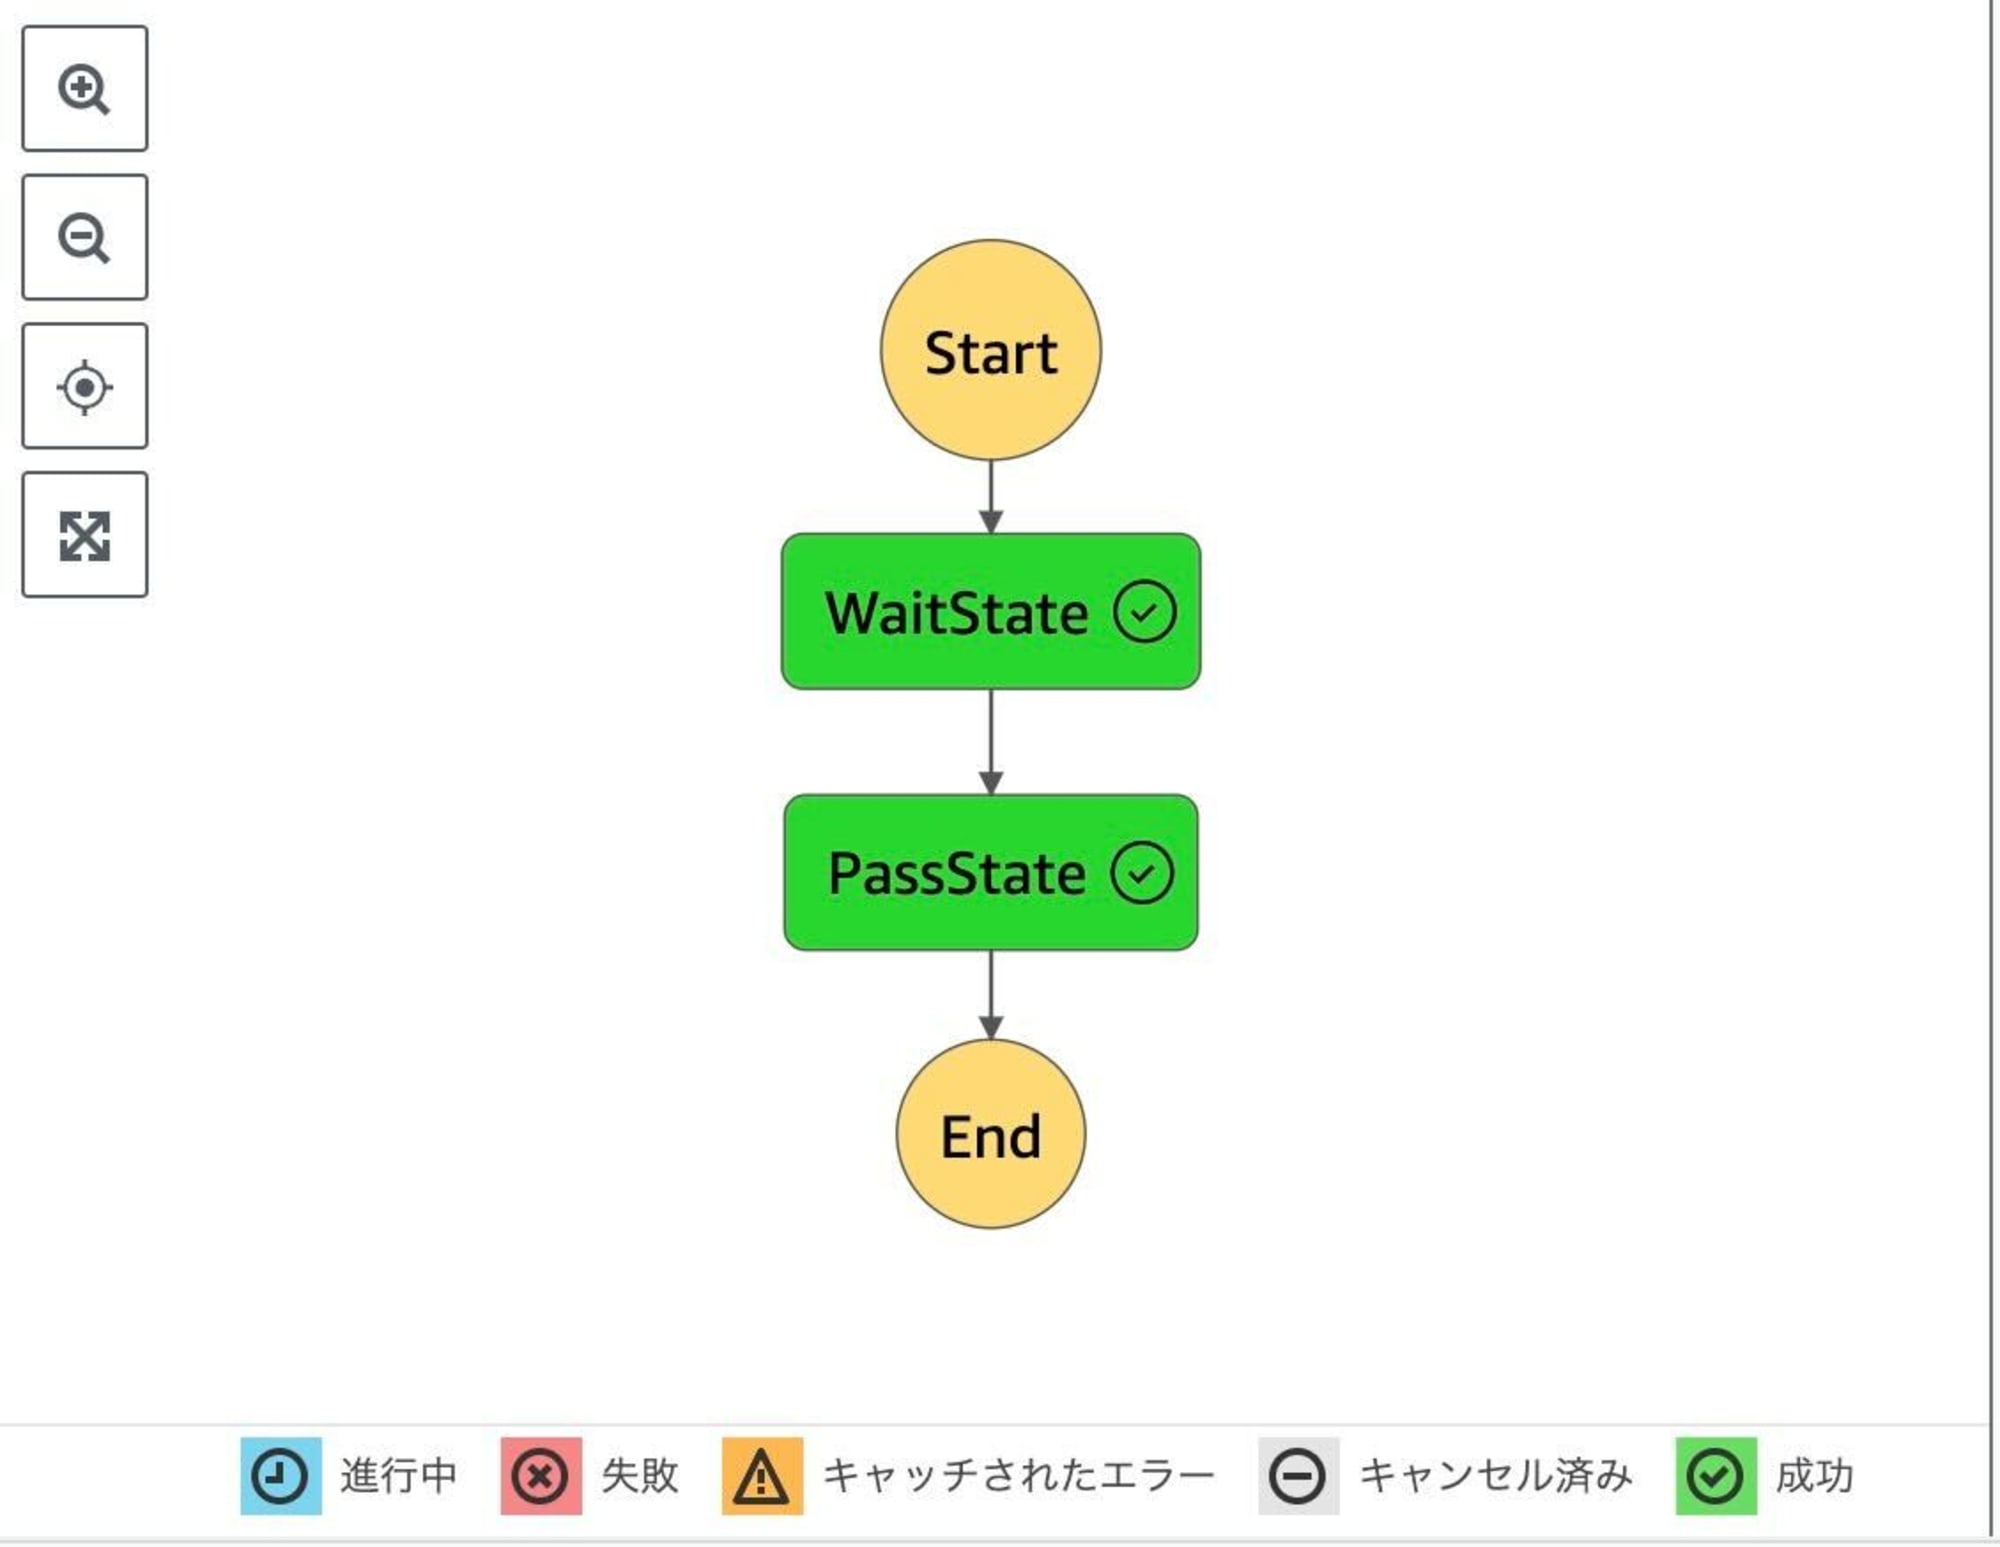
親ステートマシンの実行で、親子共に実行されていますね!
おわりに
実際のバッチを作成する際はもっと複雑なフローとなると思いますが、ファーストステップとしてネストしたステートマシンの構築は記事のように実現できるかと思います。
本記事が少しでも参考になったら幸いです。


