
Twilio Messaging API のデモ用アプリを Vercel でサクッとデプロイしてみた
はじめに
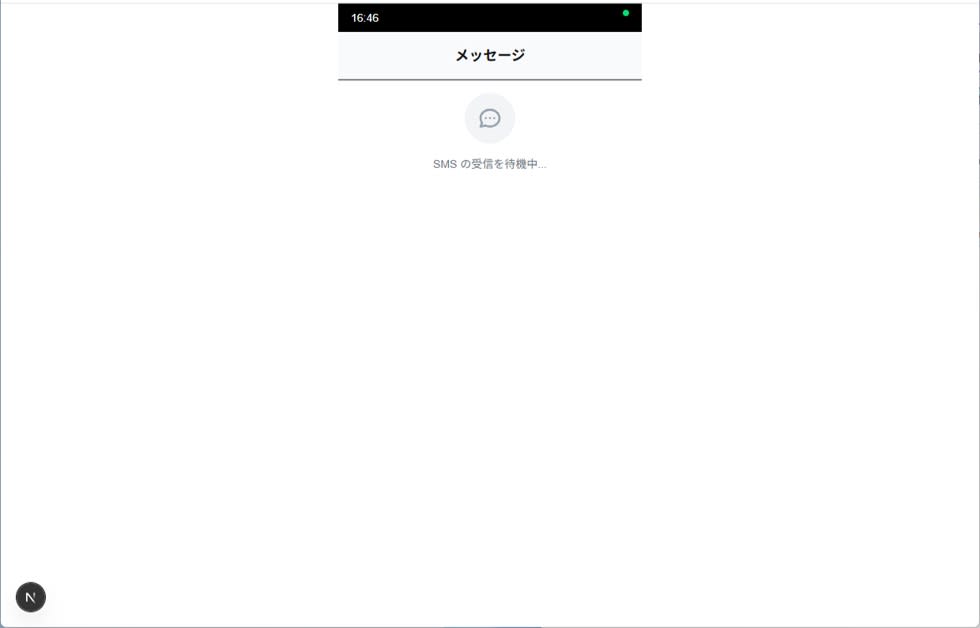
Twilio の Messaging 機能をデモンストレーションするため、iOS 風の SMS 受信 UI を Vercel でデプロイしました。本記事では、その実装内容を紹介します。
Twilio とは
Twilio は、 SMS 、音声通話、ビデオ通話などの通信機能を API で提供するクラウドサービスです。開発者は簡単に通信機能をアプリケーションに組み込むことができます。今回は Messaging API を使用して SMS の受信機能を実装します。
Vercel とは
Vercel は、フロントエンドアプリケーションのデプロイとホスティングに特化したプラットフォームです。 Next.js で作成したアプリを Git リポジトリと連携して簡単にデプロイすることが可能です。
対象読者
- Next.js の基本的な知識がある方
- Twilio の Messaging API に興味がある方
- Vercel の活用事例が知りたい方
参考
プロジェクトセットアップ
まず、 Next.js プロジェクトを作成し、必要な依存関係をインストールします。
npx create-next-app@latest sms-receiver-app --typescript --tailwind --eslint --app
cd sms-receiver-app
npm install framer-motion
Twilio Webhook エンドポイントの実装
app/api/sms/route.ts に、 Twilio からの webhook を受け取り、クライアントに配信するエンドポイントを実装します。
import { NextRequest, NextResponse } from 'next/server'

// SSE 接続中のクライアントを管理するセット
const clients = new Set<ReadableStreamDefaultController>()

/**
 * SSE (Server-Sent Events) エンドポイント
 * クライアントからの GET リクエストで SSE 接続を確立
 */
export async function GET() {
    const stream = new ReadableStream({
        start(controller) {
            // 新しいクライアントを接続リストに追加
            clients.add(controller)
            // 接続確認メッセージを送信
            controller.enqueue(`data: {"type":"connected"}\n\n`)
        },
        cancel(controller) {
            // 接続が切断された際にクライアントをリストから削除
            clients.delete(controller)
        }
    })

    return new Response(stream, {
        headers: {
            'Content-Type': 'text/event-stream',
            'Cache-Control': 'no-cache',
            'Connection': 'keep-alive',
        },
    })
}

/**
 * Twilio Webhook エンドポイント
 * SMS 受信時に Twilio から POST リクエストが送信される
 */
export async function POST(request: NextRequest) {
    try {
        // Twilio からの form データを取得
        const formData = await request.formData()

        // Vercel は UTC 環境のため、日本時間に変換
        const now = new Date()
        const japanTime = new Date(now.toLocaleString("en-US", {timeZone: "Asia/Tokyo"}))

        // メッセージオブジェクトを構築
        const message = {
            from: formData.get('From') as string,
            body: formData.get('Body') as string,
            time: japanTime.toLocaleTimeString('ja-JP', {
                hour: '2-digit',
                minute: '2-digit',
                hour12: false
            })
        }

        console.log('SMS received at:', now.toISOString(), 'Japan time:', message.time)

        // 接続中の全クライアントにメッセージを配信
        const data = `data: ${JSON.stringify({ type: 'message', ...message })}\n\n`
        clients.forEach(controller => {
            try {
                controller.enqueue(data)
            } catch {
                // 送信に失敗したクライアントは接続リストから削除
                clients.delete(controller)
            }
        })

        // Twilio に対する XML レスポンスを返却
        return new NextResponse(
            '<?xml version="1.0" encoding="UTF-8"?><Response></Response>',
            { headers: { 'Content-Type': 'text/xml' } }
        )
    } catch (error) {
        console.error('Webhook error:', error)
        return NextResponse.json({ error: 'Error' }, { status: 500 })
    }
}
フロントエンド UI の実装
app/page.tsx に、 iOS 風の SMS 受信画面を実装します。
'use client'

import { useEffect, useState } from 'react'
import { motion } from 'framer-motion'

/**
 * SMS メッセージの型定義
 */
interface Message {
    from: string
    body: string
    time: string
}

/**
 * SMS 受信デモ用の iOS 風 UI コンポーネント
 */
export default function SMSDemo() {
    const [message, setMessage] = useState<Message | null>(null)
    const [connected, setConnected] = useState(false)
    const [currentTime, setCurrentTime] = useState('')

    useEffect(() => {
        /**
         * ステータスバーの現在時刻を更新する関数
         */
        const updateTime = () => {
            const now = new Date()
            setCurrentTime(now.toLocaleTimeString('ja-JP', {
                hour: '2-digit',
                minute: '2-digit',
                hour12: false
            }))
        }

        // 初回実行と1秒ごとの時刻更新を設定
        updateTime()
        const timeInterval = setInterval(updateTime, 1000)

        // SSE 接続を確立してリアルタイムメッセージを受信
        const eventSource = new EventSource('/api/sms')

        eventSource.onmessage = (event) => {
            const data = JSON.parse(event.data)

            if (data.type === 'connected') {
                // サーバーとの接続が確立された場合
                setConnected(true)
            } else if (data.type === 'message') {
                // 新しい SMS メッセージを受信した場合
                setMessage({
                    from: data.from,
                    body: data.body,
                    time: data.time
                })
            }
        }

        // クリーンアップ処理
        return () => {
            clearInterval(timeInterval)
            eventSource.close()
        }
    }, [])

    return (
        <div className="min-h-screen bg-black flex flex-col max-w-sm mx-auto">
            {/* iOS 風ステータスバー */}
            <div className="bg-black text-white text-sm px-4 py-2 flex justify-between">
                <span>{currentTime}</span>
                {/* 接続状態インジケーター */}
                <div className={`w-2 h-2 rounded-full ${connected ? 'bg-green-400' : 'bg-red-400'}`}></div>
            </div>

            {/* アプリヘッダー */}
            <div className="bg-gray-50 px-4 py-4 border-b">
                <h1 className="text-lg font-semibold text-center">メッセージ</h1>
            </div>

            {/* メッセージ表示エリア */}
            <div className="flex-1 bg-white p-4">
                {message ? (
                    // メッセージ受信時のアニメーション付き表示
                    <motion.div
                        initial={{ opacity: 0, y: 30, scale: 0.8 }}
                        animate={{ opacity: 1, y: 0, scale: 1 }}
                        transition={{
                            duration: 0.8,
                            ease: [0.25, 0.46, 0.45, 0.94],
                            scale: { type: "spring", damping: 15, stiffness: 200 }
                        }}
                    >
                        {/* 送信者情報 */}
                        <div className="text-xs text-gray-500 mb-2">{message.from}</div>

                        {/* メッセージバブル */}
                        <motion.div
                            className="bg-gray-100 rounded-2xl px-4 py-3 max-w-xs shadow-sm"
                            // 受信時の光るエフェクト
                            initial={{ boxShadow: "0 0 0 rgba(59, 130, 246, 0)" }}
                            animate={{
                                boxShadow: [
                                    "0 0 0 rgba(59, 130, 246, 0)",
                                    "0 0 20px rgba(59, 130, 246, 0.3)",
                                    "0 0 0 rgba(59, 130, 246, 0)"
                                ]
                            }}
                            transition={{ duration: 2 }}
                        >
                            <p className="text-sm">{message.body}</p>
                            <div className="text-xs text-gray-400 mt-2 text-right">{message.time}</div>
                        </motion.div>
                    </motion.div>
                ) : (
                    // メッセージ待機中の表示
                    <div className="flex items-center justify-center h-full text-center">
                        <div>
                            {/* メッセージアイコン */}
                            <div className="w-16 h-16 mx-auto mb-4 bg-gray-100 rounded-full flex items-center justify-center">
                                <svg className="w-8 h-8 text-gray-400" fill="none" stroke="currentColor" viewBox="0 0 24 24">
                                    <path strokeLinecap="round" strokeLinejoin="round" strokeWidth={2} d="M8 12h.01M12 12h.01M16 12h.01M21 12c0 4.418-4.03 8-9 8a9.863 9.863 0 01-4.255-.949L3 20l1.395-3.72C3.512 15.042 3 13.574 3 12c0-4.418 4.03-8 9-8s9 3.582 9 8z" />
                                </svg>
                            </div>
                            <p className="text-gray-500 text-sm">SMS の受信を待機中...</p>
                        </div>
                    </div>
                )}
            </div>
        </div>
    )
}
ローカルでの動作確認
下記コマンドを実行してローカル環境で正しく動作することを確認します。
npm run dev
http://localhost:3000 にアクセスし、アプリ画面を開きます。
curl コマンドで sms 送信をシミュレートし、画面に表示が浮かぶのを確認します。
curl -X POST http://localhost:3000/api/sms \
  -H "Content-Type: application/x-www-form-urlencoded" \
  -d "From=%2B819012345678&Body=テストメッセージです"
<?xml version="1.0" encoding="UTF-8"?><Response></Response>koshiitakumi@HL01580:~/work/sms-receiver-app$ curl -X POST http://localhost:3000/api/sms   -H "Content-Type: application/x-www-form-urlencoded"   -d "From=%2B819012345678&Body=テストメッセージです"
<?xml version="1.0" encoding="UTF-8"?><Response></Response>
Vercel へのデプロイ
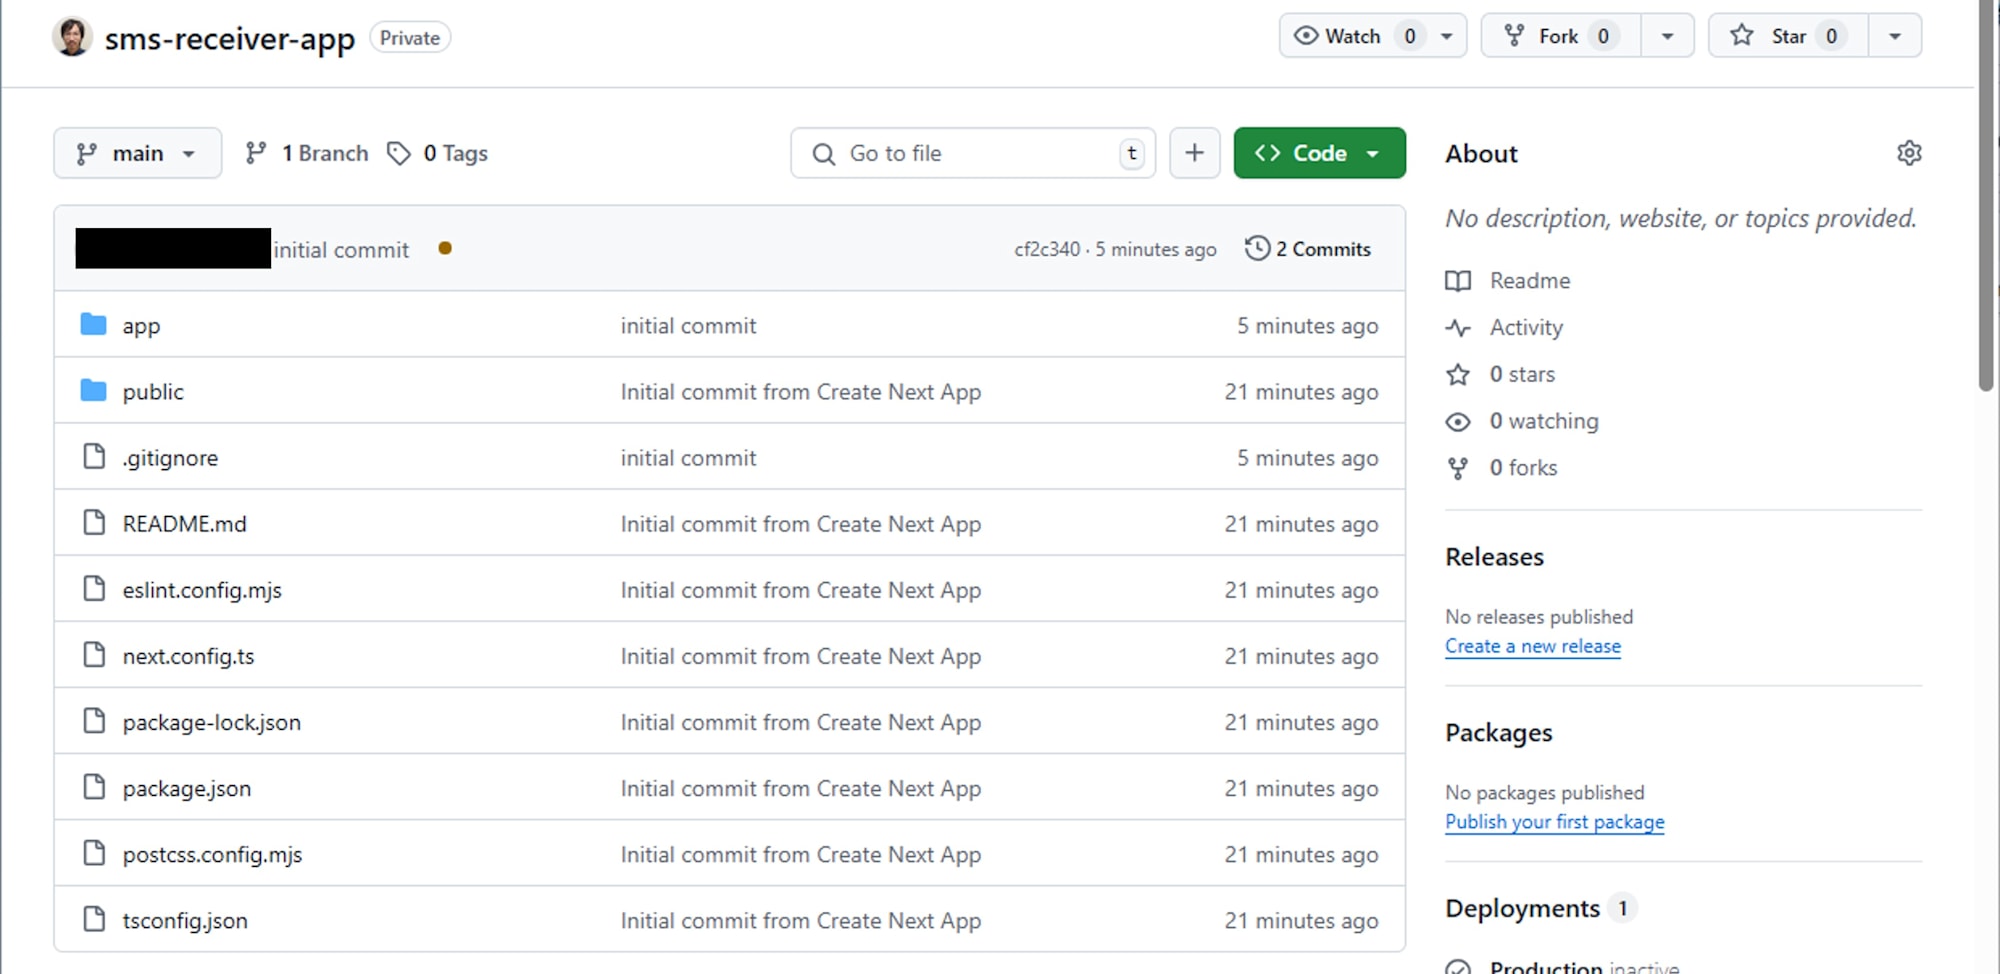
GitHub リポジトリにプッシュします。リポジトリは private でもかまいません。
git add .
git commit -m "Initial commit"
git push origin main
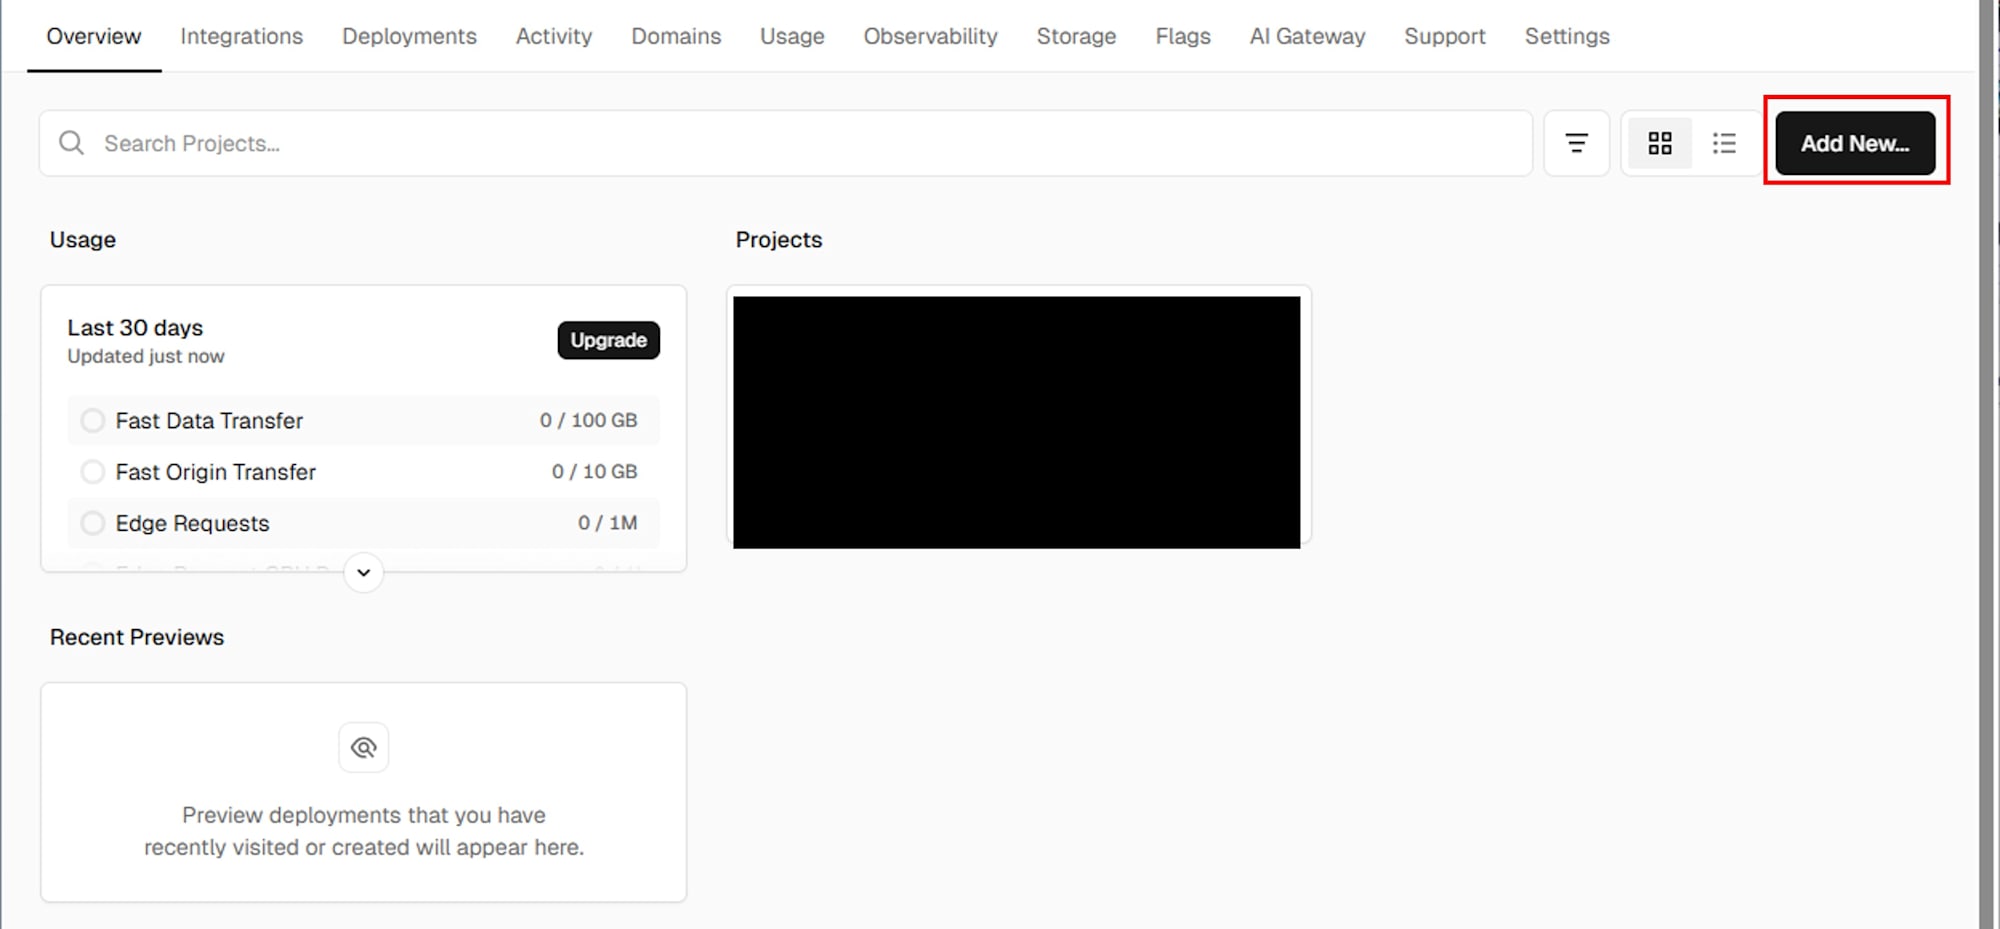
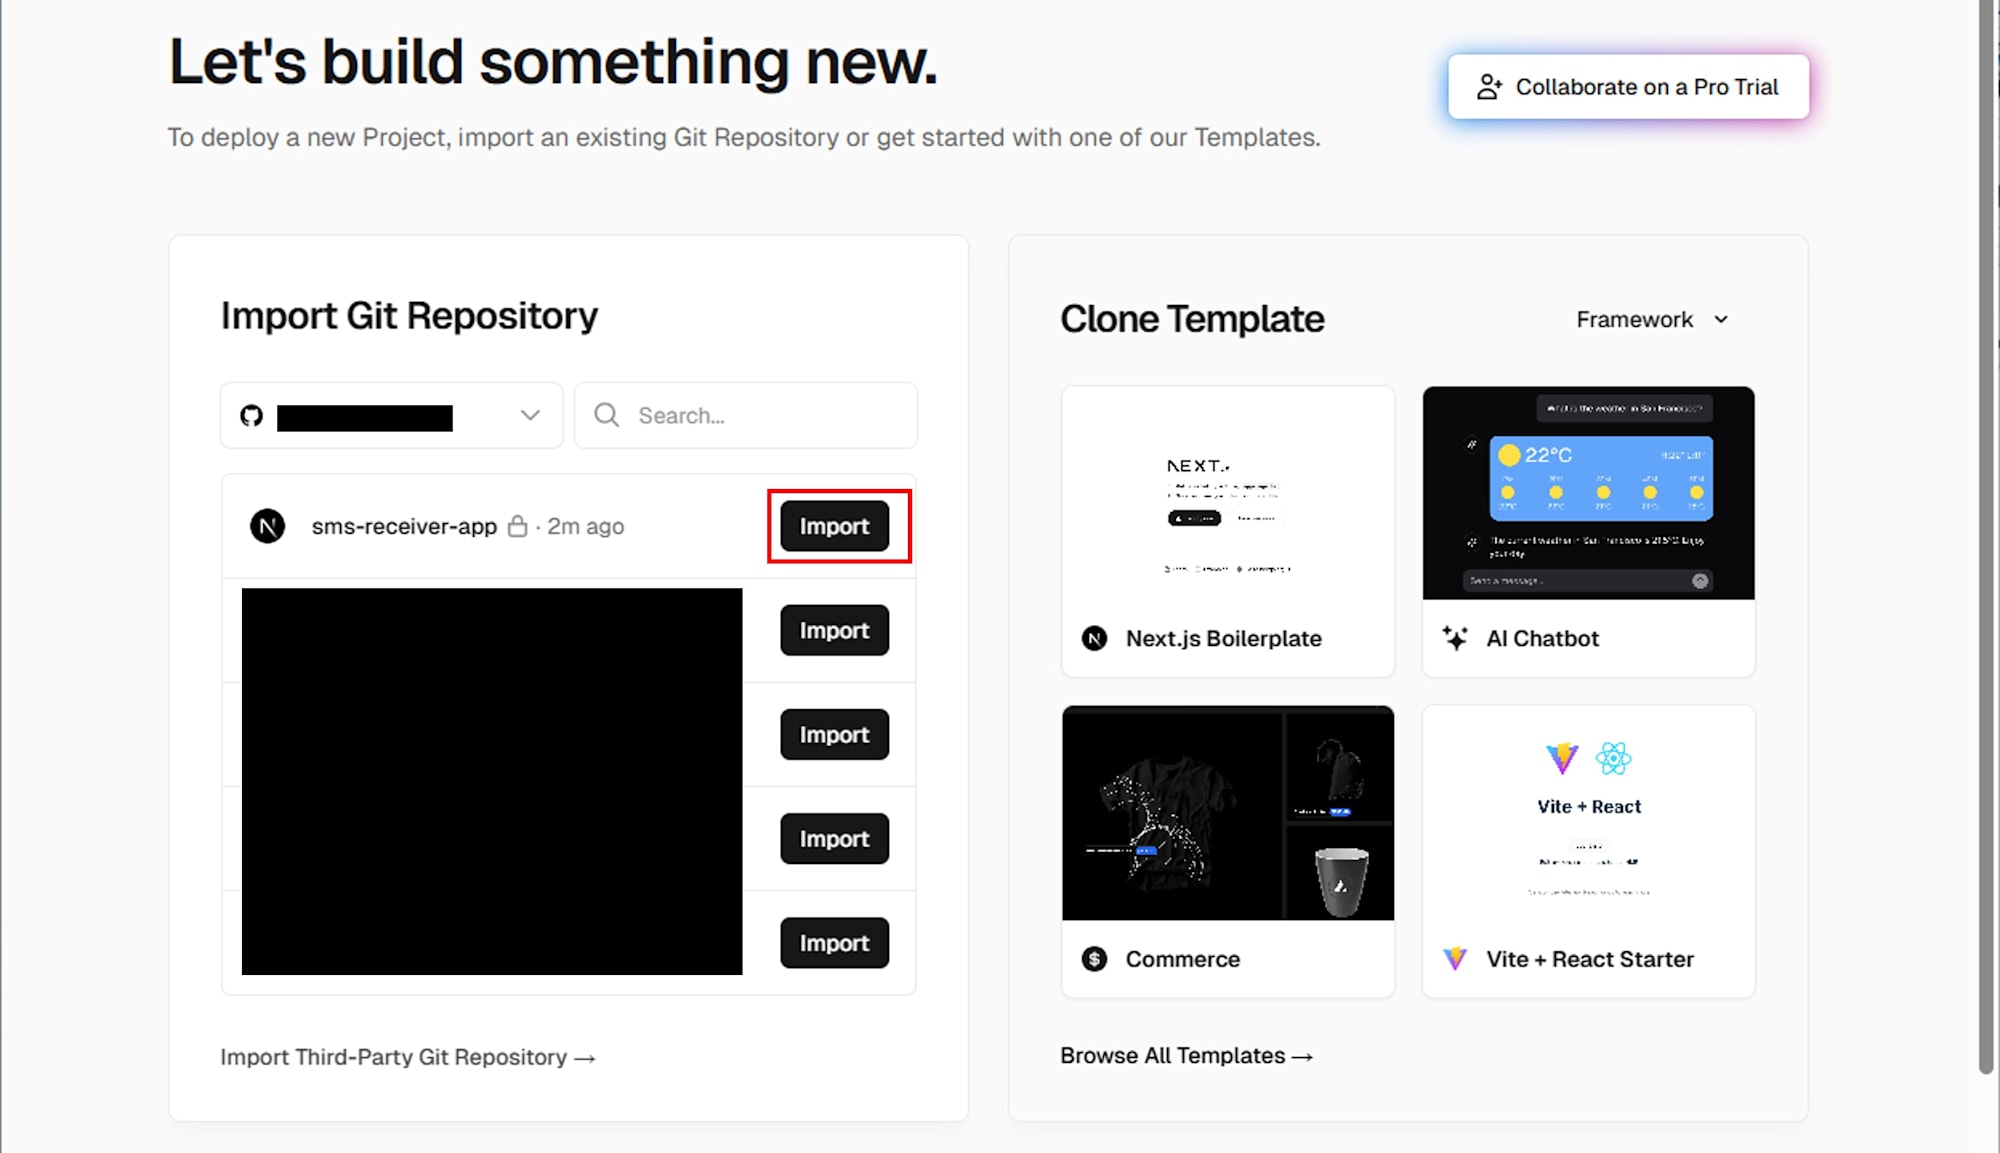
Overview > Add New... > Project より新規のプロジェクトを作成します。
作成したリポジトリをインポートします。
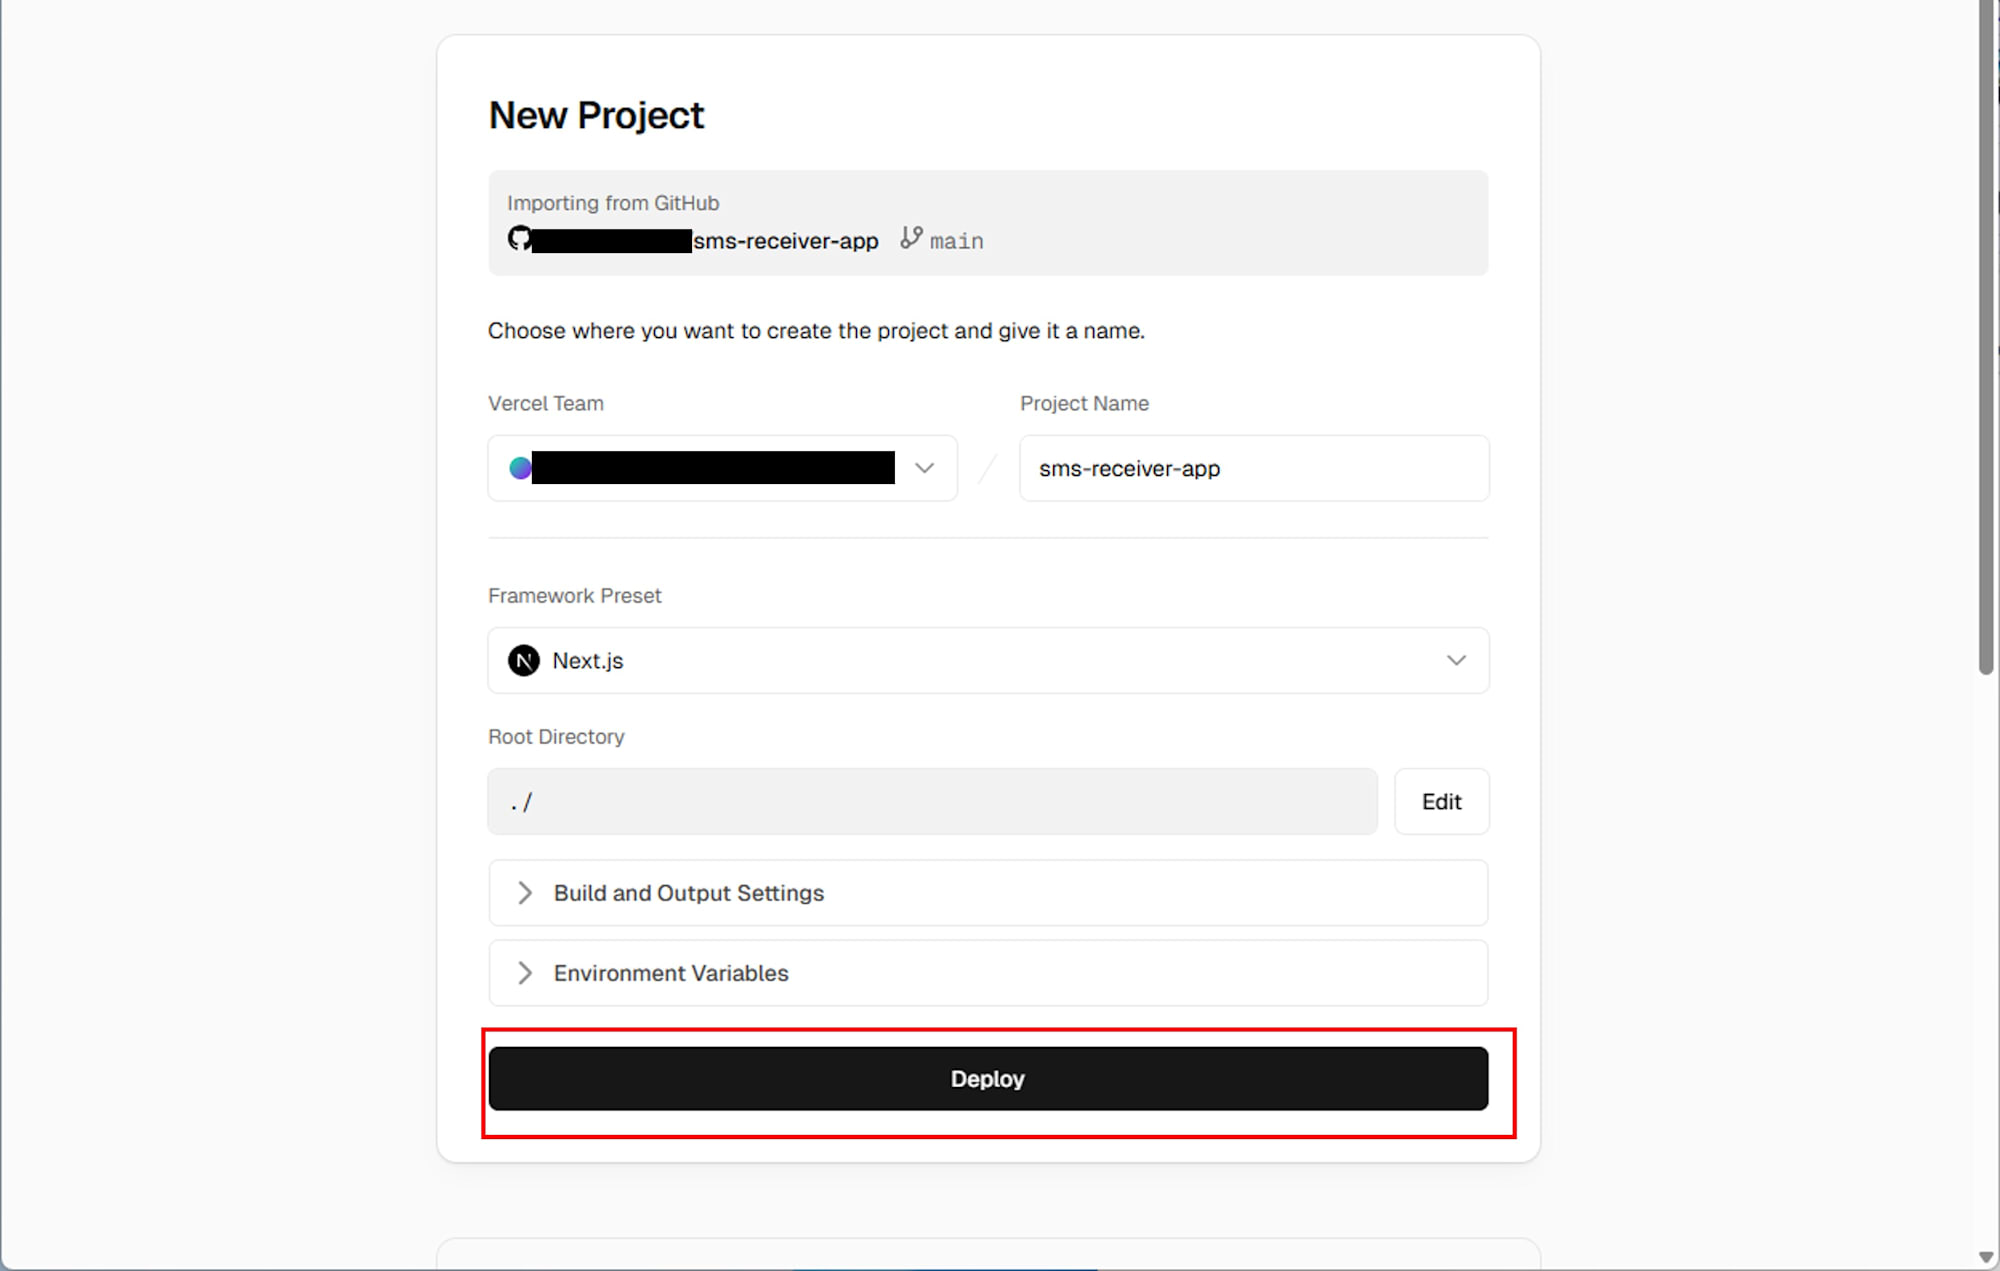
Framework Preset に Next.js が選ばれていることを確認し、デプロイします。
デプロイが完了すると次のような画面となります。
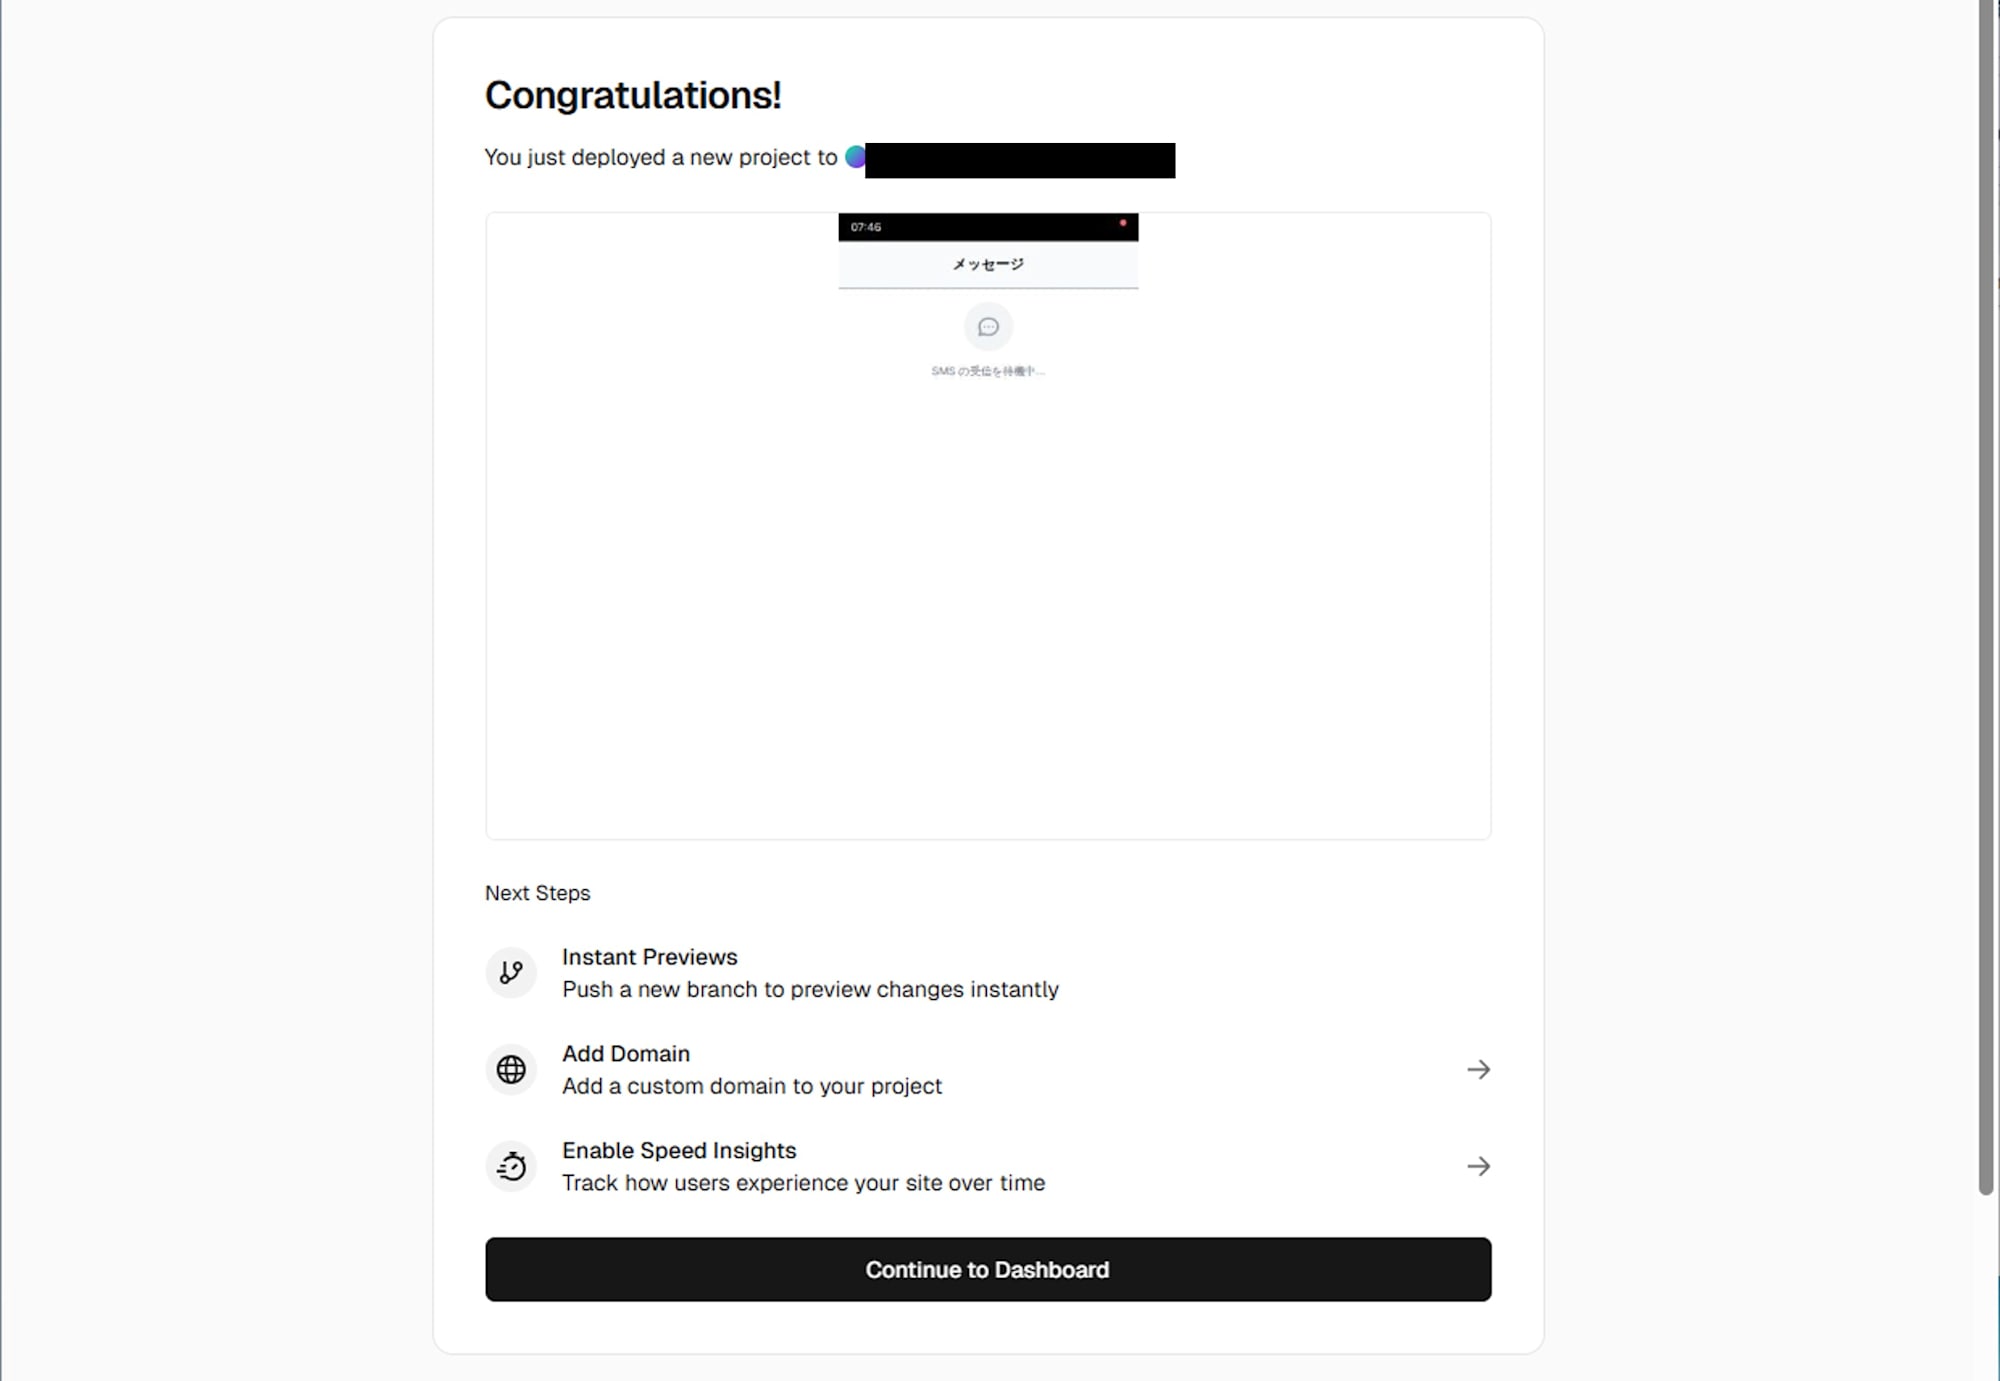
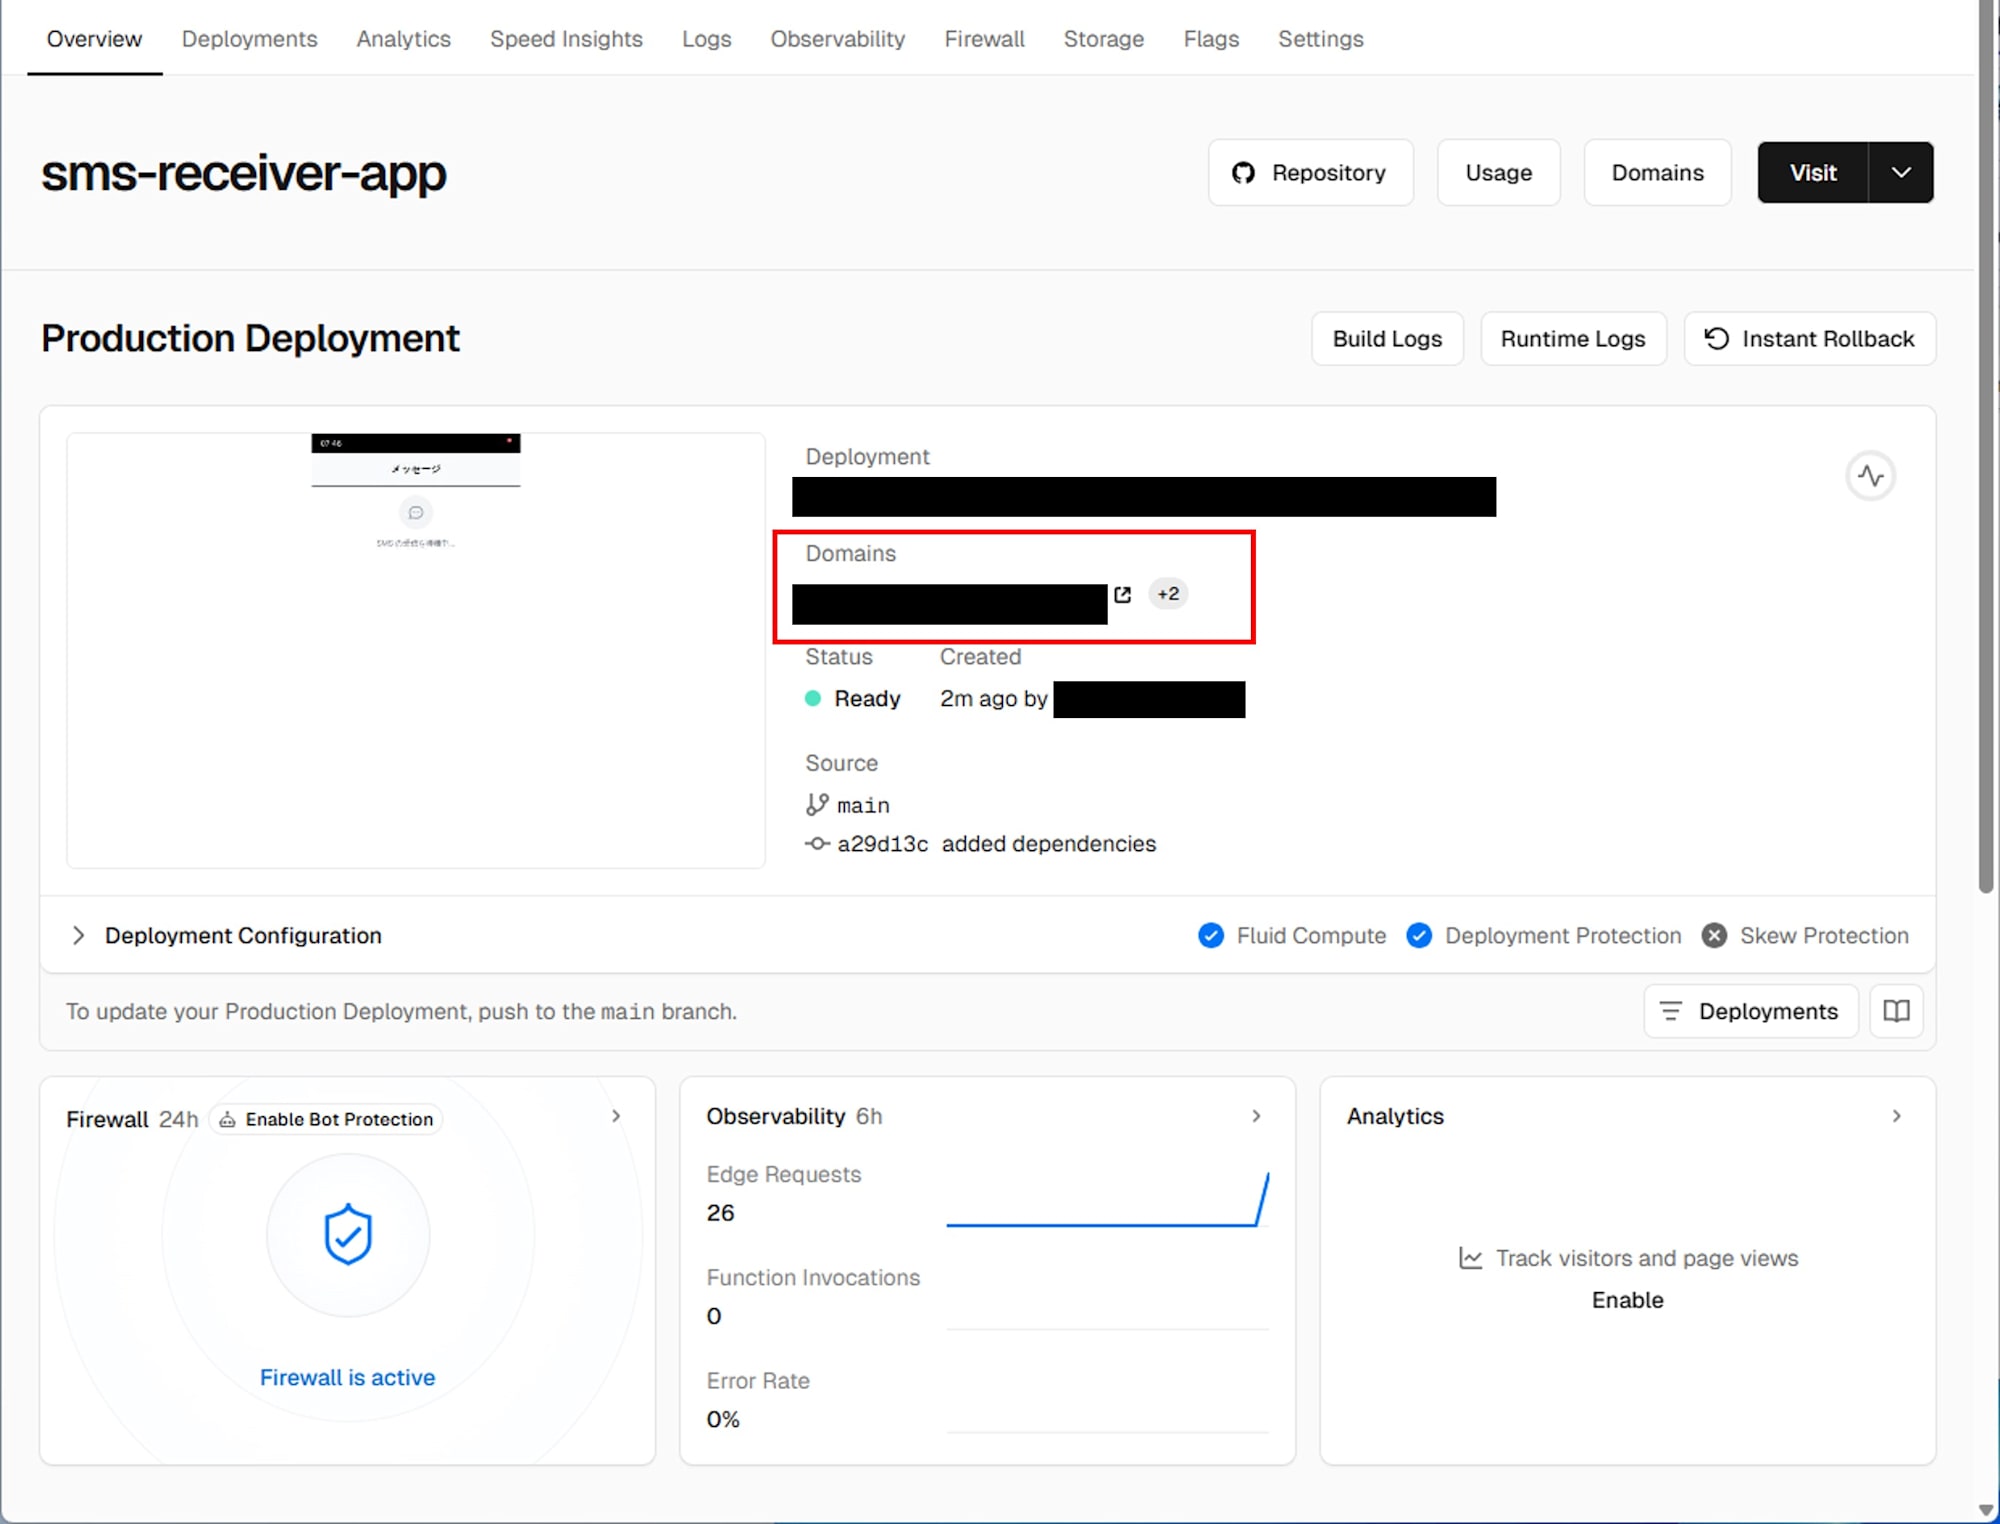
https://your-app.vercel.app のような URL が発行されるので控えておきます。
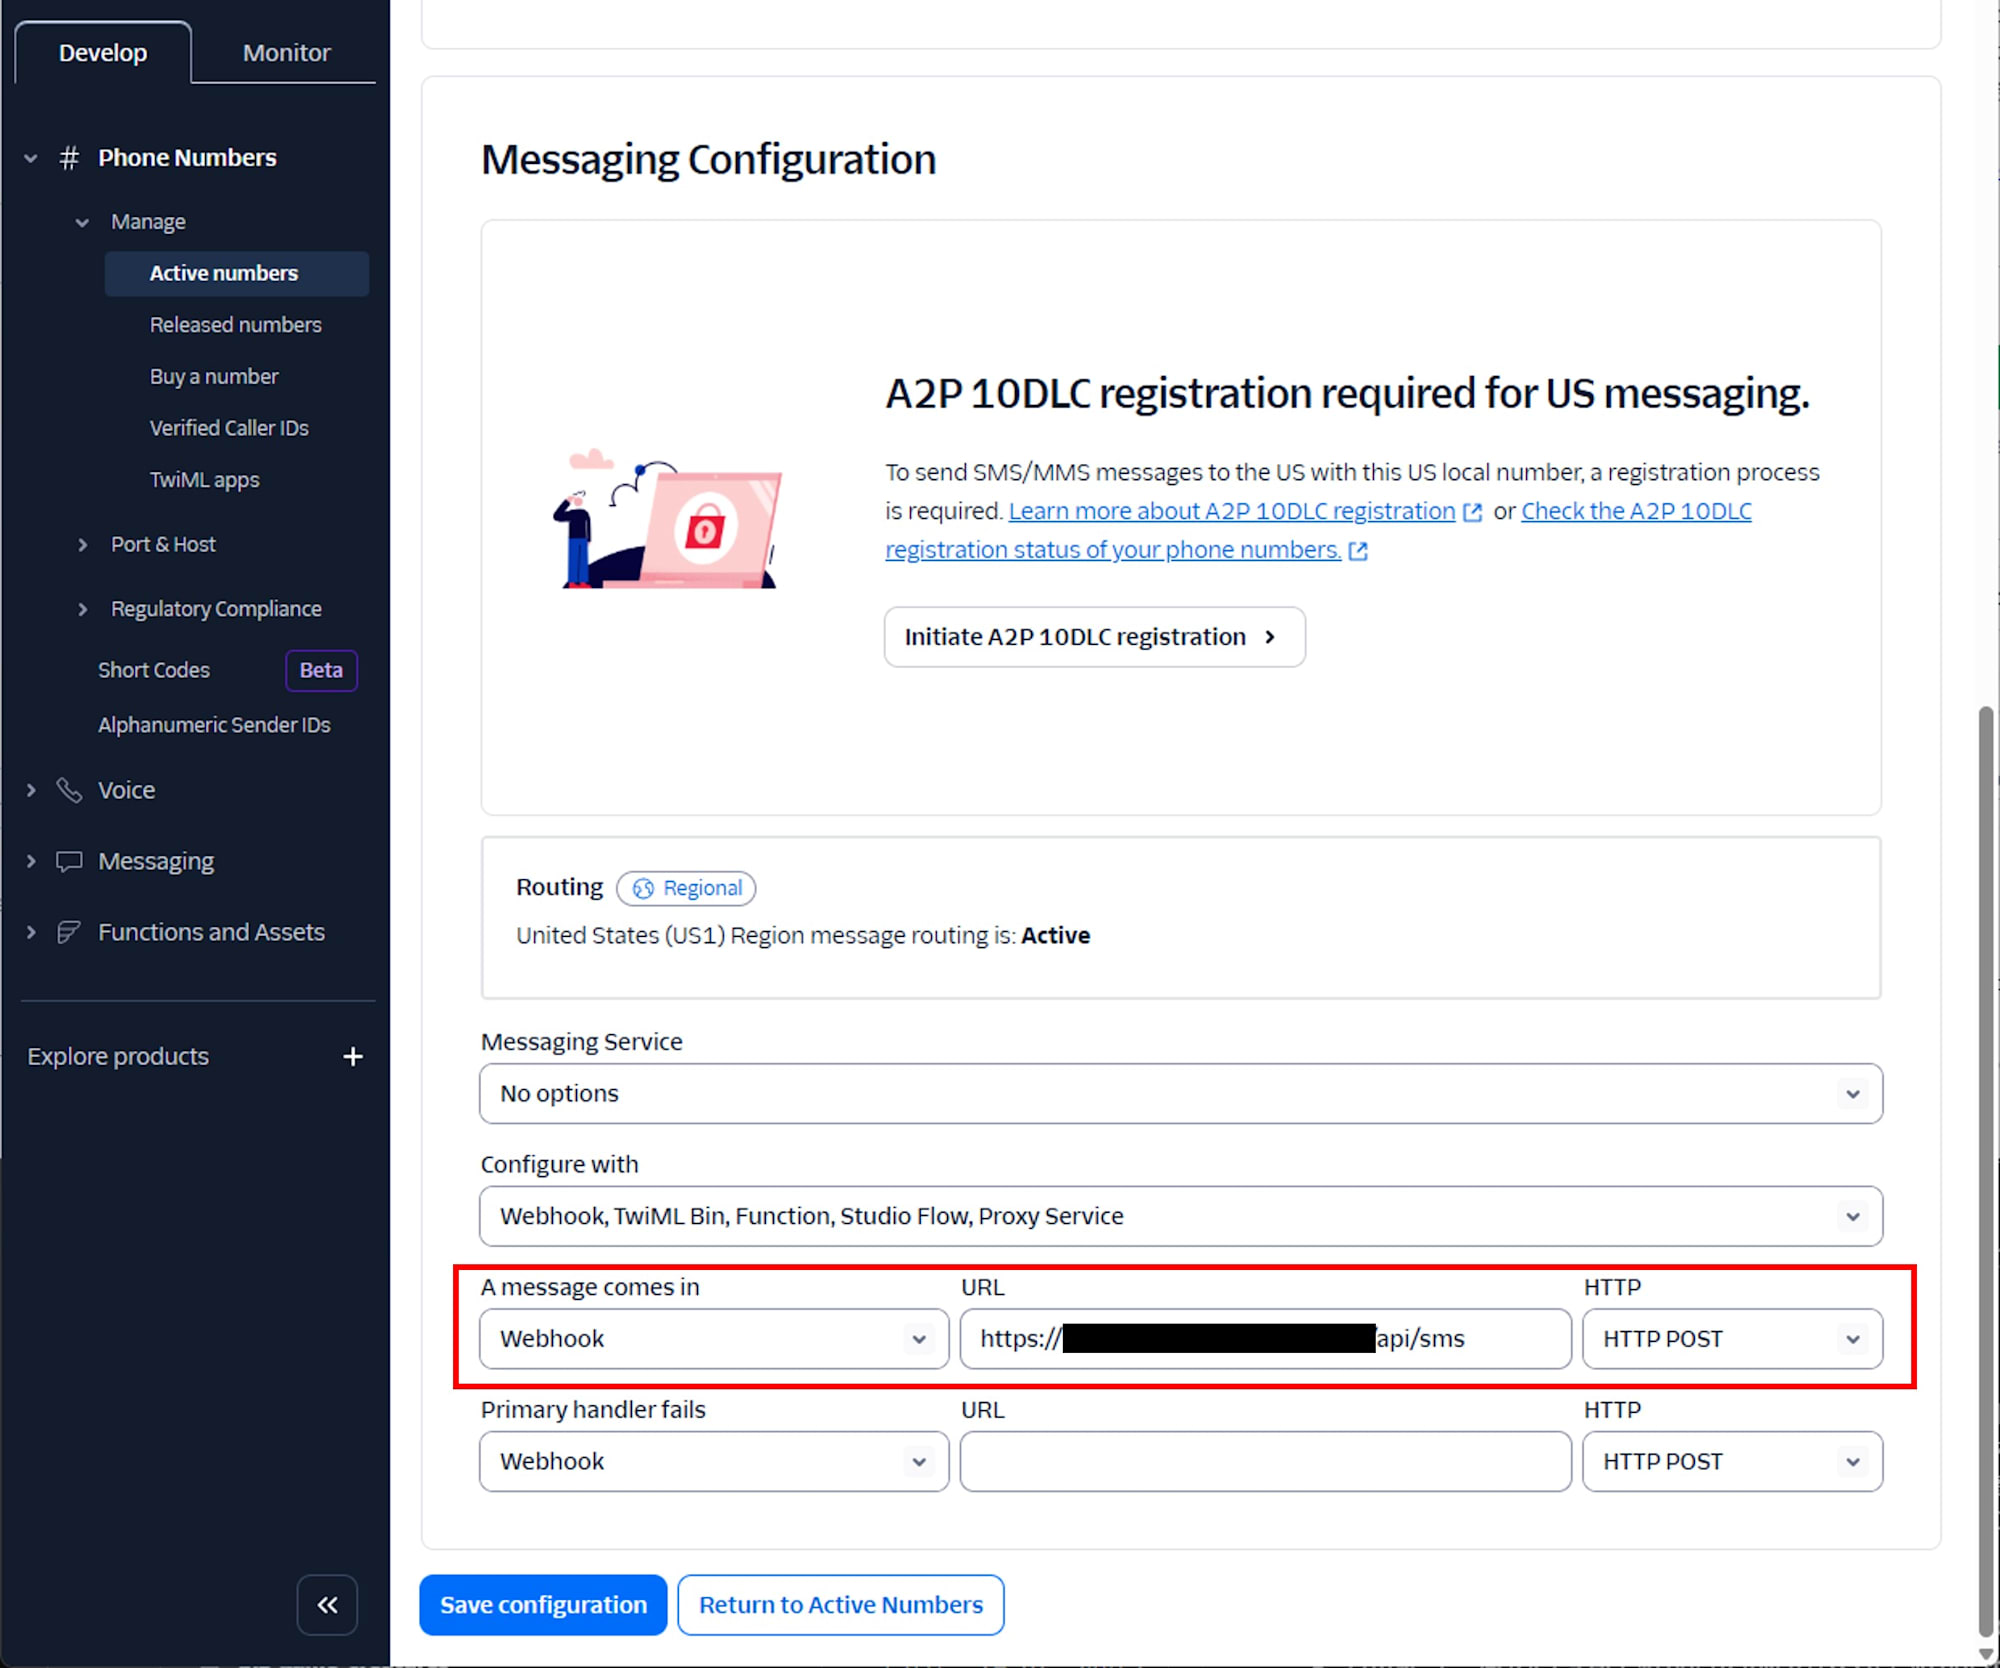
Twilio の設定
Twilio Console で以下の設定を行います。
- Phone Numbers > Manage > Active numbers で、SMS を受信する電話番号をクリック
- Messaging Configuraton セクションで以下を設定
- A message comes in: Webhook
- URL: 先に控えた URL +
/api/sms(例:https://your-app.vercel.app/api/sms) - HTTP: POST
- Save configuration をクリック
Vercel 環境での動作確認
ブラウザで先に控えた URL (例: https://your-app.vercel.app) にアクセスします。

SMS を送信し、メッセージが表示されることを確認します。
まとめ
Twilio Webhook の仕組みと Vercel を組み合わせることで、簡単に SMS 受信デモアプリをデプロイできました。この実装は Twilio API のデモンストレーションや SMS 通知システムのプロトタイプとして活用が期待できます。


