
validatorをGitHub Actionsに組み込み、VST3プラグインの不整合をPRで検知する
はじめに
VST3 プラグインは、DAW で読み込んで音が出れば安心しやすいです。しかし手動確認は後工程になりやすく、プルリクエスト (以下 PR) の段階で壊れた状態が混入すると、原因調査のコストが上がります。
そこで、 VST3 SDK に含まれている validator を実行する CI 環境を構築することで、プラグインの不整合を拾えます。この記事では、Steinberg VST3 SDK の sample である AGain を題材に、GitHub Actions で validator を自動実行する環境の構築例を紹介します。
VST プラグインとは
VST (Virtual Studio Technology) は、DAW などのホストアプリケーションと、エフェクトやシンセサイザーなどのオーディオプラグインをつなぐための共通インターフェースです。
2025 年 10 月、Steinberg は VST 3.8 SDK を公開すると同時に、ライセンスを MIT ライセンスに変更 しました (参考)。以前は Steinberg 独自ライセンス (+ 場合によっては個別契約) が必要でしたが、現在は MIT ライセンスに従うことで、商用製品への組み込みも含めて自由に利用できる ようになりました。主な条件は、著作権表示とライセンス文を残すことです。詳しくはライセンス本文を確認してください。
なぜ validator を CI に入れるのか
validator は VST3 プラグインを読み込み、VST3 の仕様に照らして基本的なチェックを行うためのツールです。CI で validator を回すと、たとえば次のような問題が PR の段階で見つかります。
- プラグインがロードできない
- 初期化処理で例外やクラッシュが起きる
- VST3 の基本仕様 (ホストが期待する API の呼び出し順、戻り値、参照カウント、process の前提 など) に反する挙動がある
DAW での手動確認も重要ですが、それより前に最低限の不整合を自動で発見できると、開発の流れが安定します。
対象読者
- VST3 SDK の sample を Visual Studio 2022 でビルドできる
- GitHub Actions を使って C++ プロジェクトの CI を作りたい
- DAW での手動確認だけに依存せず、PR の段階で自作 VST プラグインの不整合を検知したい
- Steinberg 公式の validator を、まずは動かしてみたい
参考
- Validator command line - VST 3 Developer Portal
- VST 3 Plug-In SDK (GitHub リポジトリ)
- VST 3 Now Available Under MIT License (Steinberg Press)
- Host compatibility testing (Steinberg Forums)
ローカルのセットアップ
SDK の取得とビルド
まず、VST3 SDK を取得し、公式サンプルをビルドできる状態にします。
-
GitHub から VST3 SDK を clone します。
git clone --recursive https://github.com/steinbergmedia/vst3sdk.git cd vst3sdk -
ビルド用ディレクトリを作成し、CMake で Visual Studio 用プロジェクトを生成します。
mkdir build cd build cmake -G "Visual Studio 17 2022" -A x64 .. -DSMTG_CREATE_PLUGIN_LINK=OFF -
生成された
vstsdk.slnを Visual Studio で開きます。
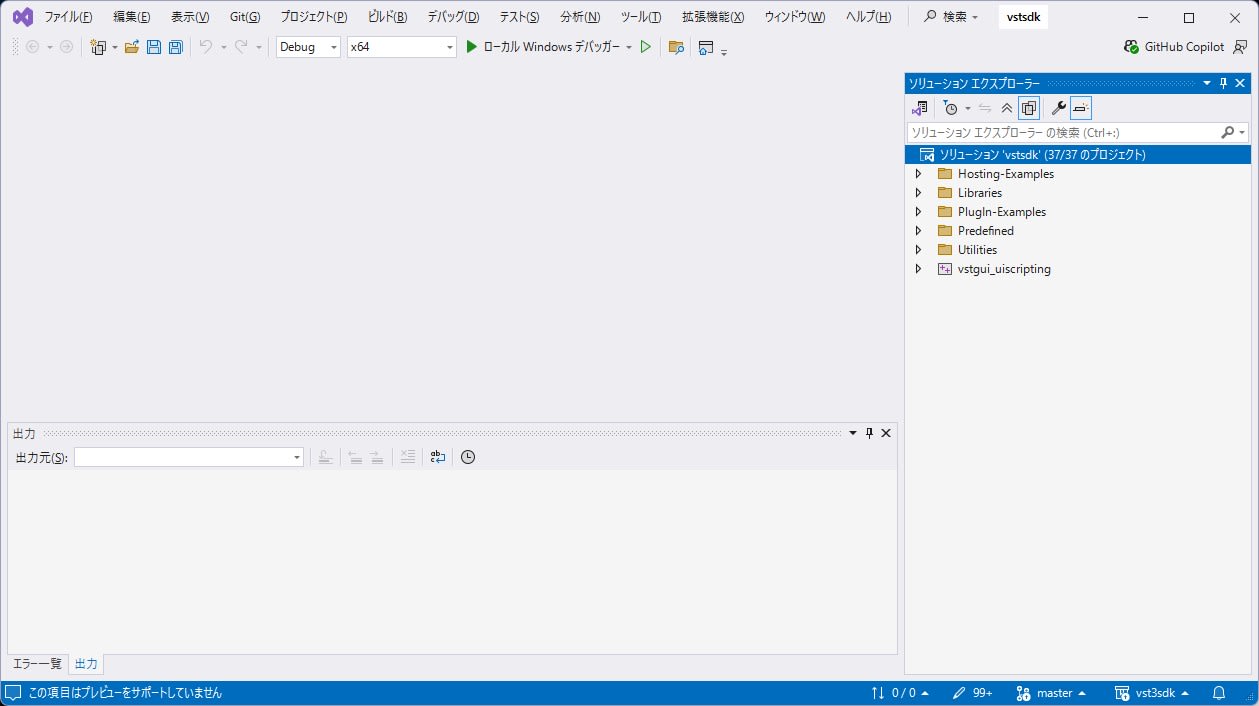
-
ソリューションのプロパティを開き、
共通プロパティ > スタートアップ プロジェクトの構成をシングル スタートアップ プロジェクト > againに設定します。
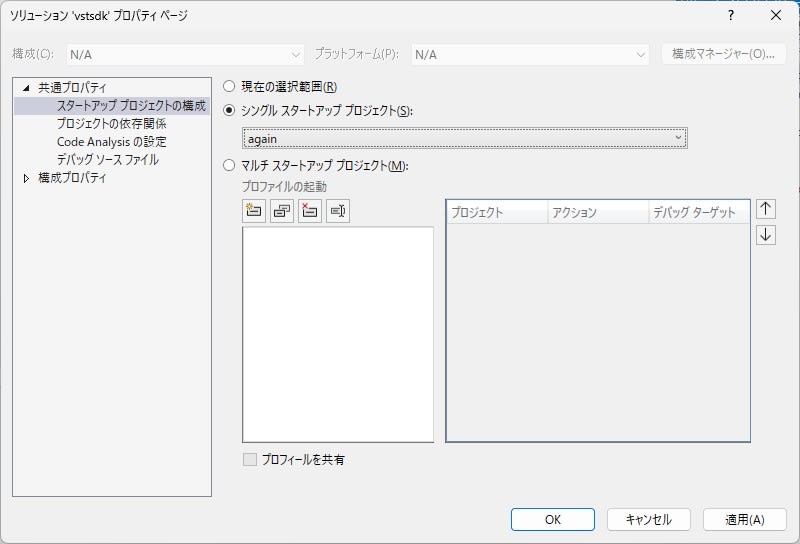
-
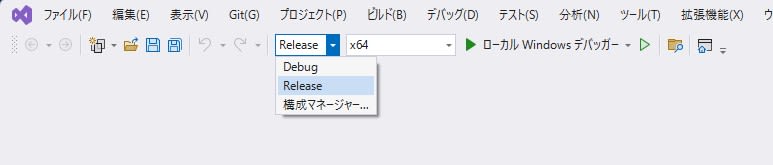
プロパティのウインドウを OK で閉じます。構成を
Release、プラットフォームをx64としビルド > ソリューションのビルド(またはリビルド) でビルドファイルを作成します。
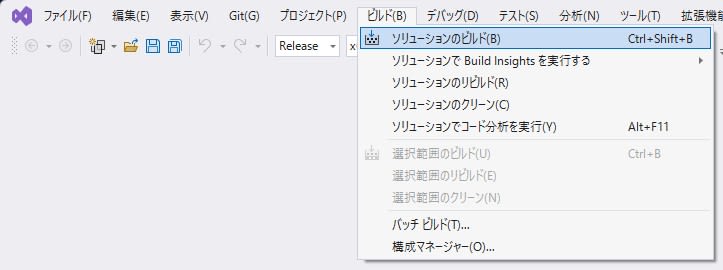
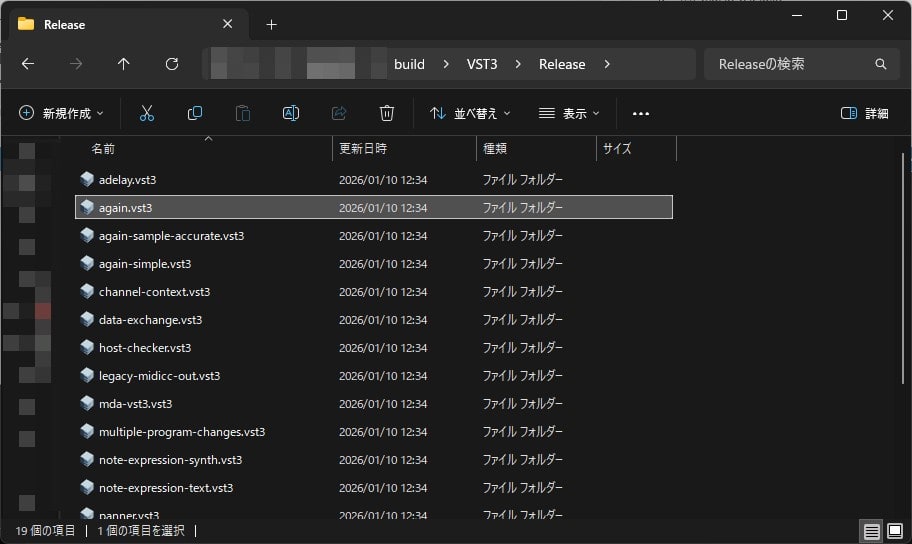
ビルドが通ると、build/VST3/Release に again.vst3 が生成されます。
VST3PluginTestHost の準備
VST3PluginTestHost は、フル版 VST3 SDK の同梱物として提供されています。公式サイト からフル SDK の zip を取得します。解凍後、下記のパスにある VST3PluginTestHost_x64_Installer_x.xx.xx.zip を解凍します。
VST_SDK/
  vst3sdk/
    bin/
      Windows_x64/
        VST3PluginTestHost_x64_Installer_x.xx.xx.zip
解凍して得られる VST3PluginTestHost_x64.msi を実行すると、VST3PluginTestHost がインストールされます。

Visual Studio からホストを起動
AGain の挙動を観察するため、Visual Studio から VST3PluginTestHost を起動します。
-
Visual Studio のソリューションエクスプローラーで
Plugin-Examples > againプロジェクトを右クリックし、「プロパティ」を開きます。

-
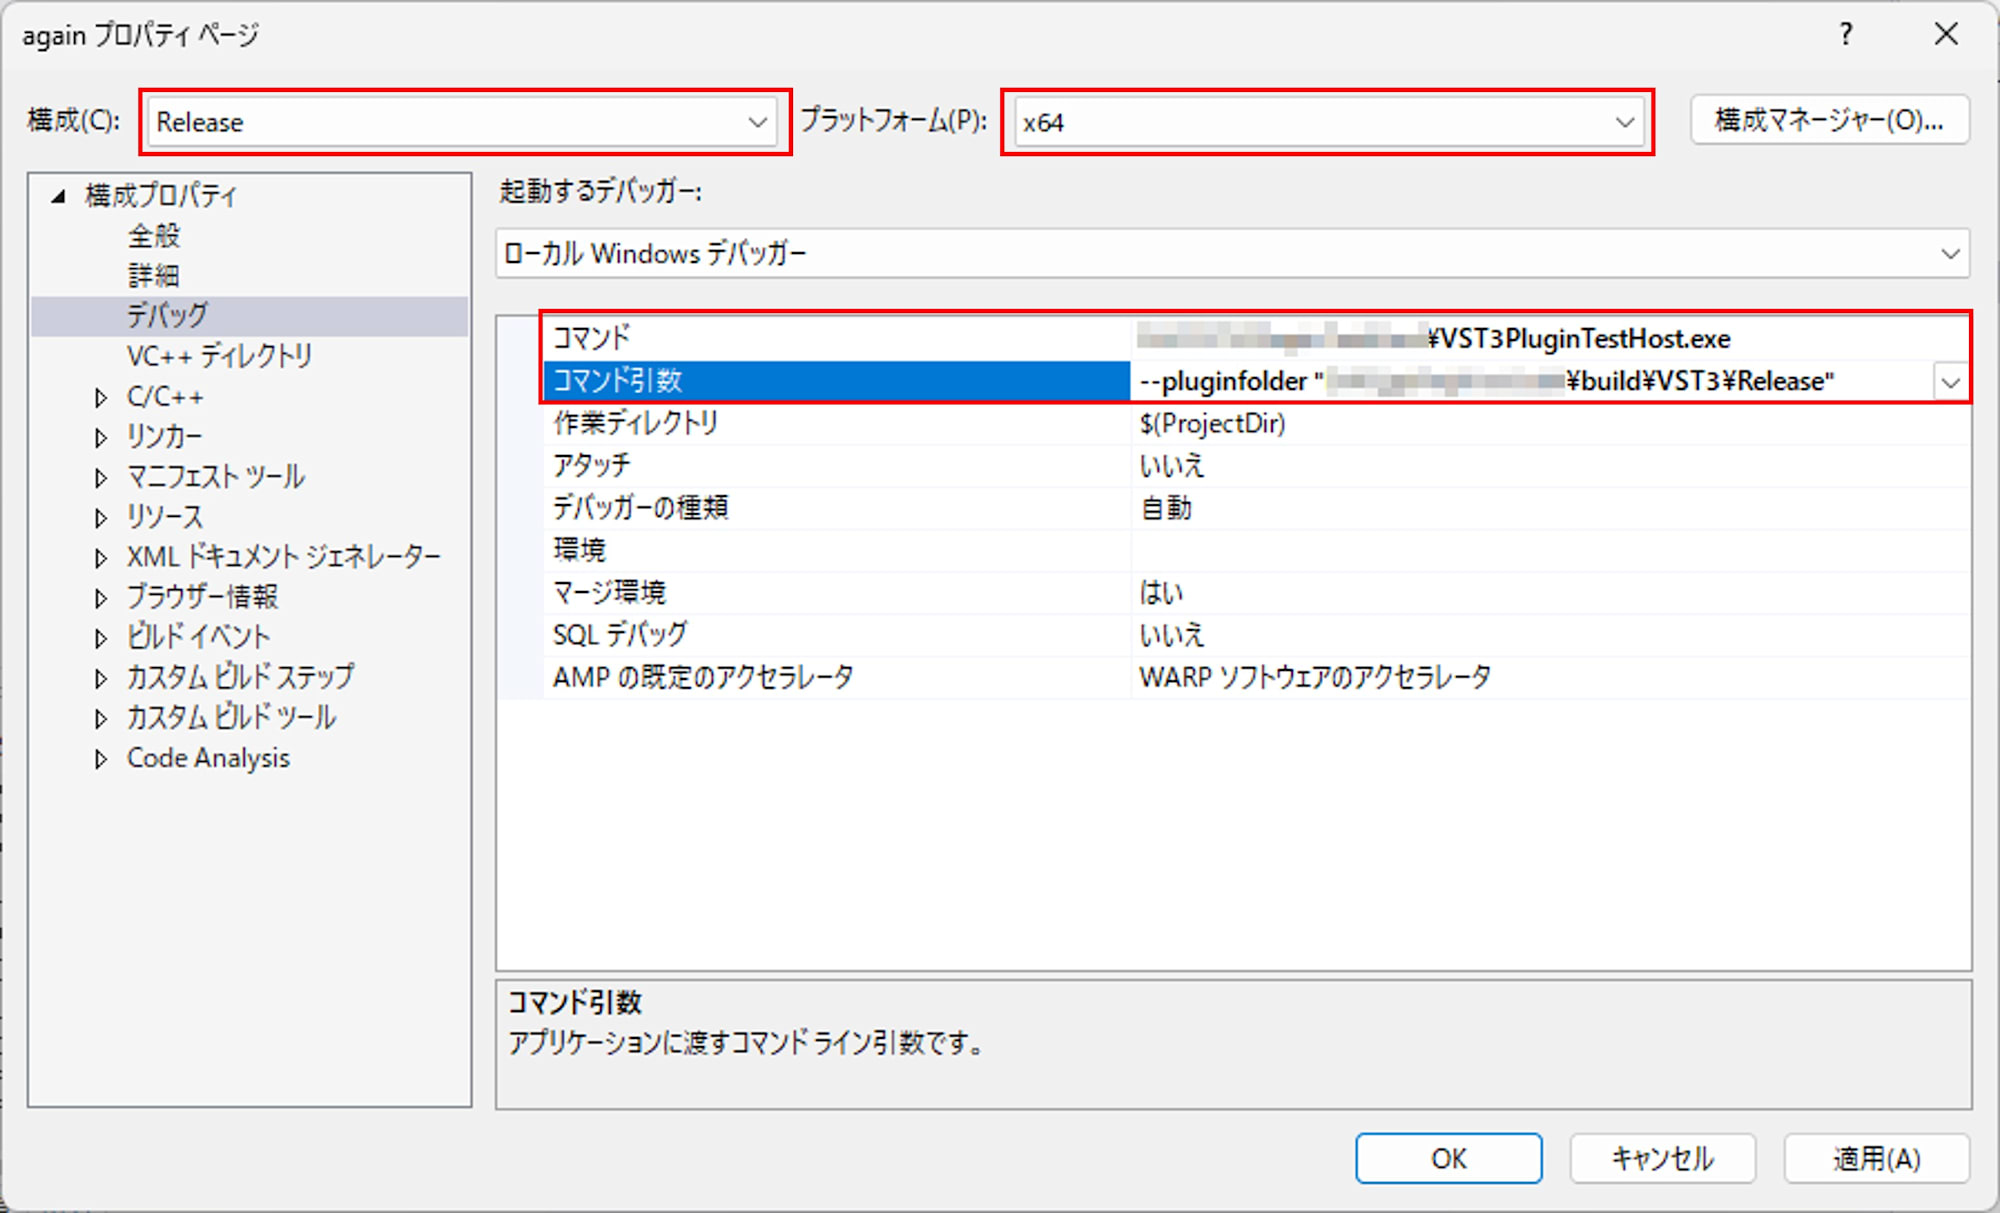
構成を
Releaseプラットフォームをx64に設定し、 「構成プロパティ > デバッグ」を次のように設定します。- コマンド :
C:\path\to\VST3PluginTestHost.exe(先の手順でインストールした VST3PluginTestHost.exe のパス) - コマンド引数 :
--pluginfolder "C:\path\to\build\VST3\Release"(先にビルドした again.vst3 が格納されたフォルダー)
- コマンド :
-
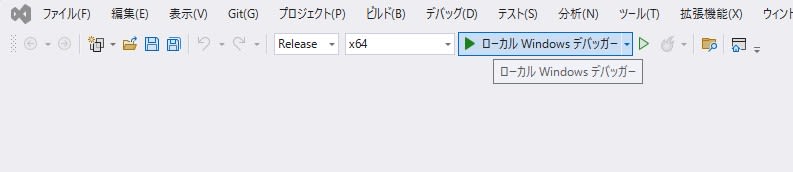
プロパティ画面を OK で閉じ、構成を
Releasex64としてローカル Windows デバッガーを押すと、VST3PluginTestHost が起動します。

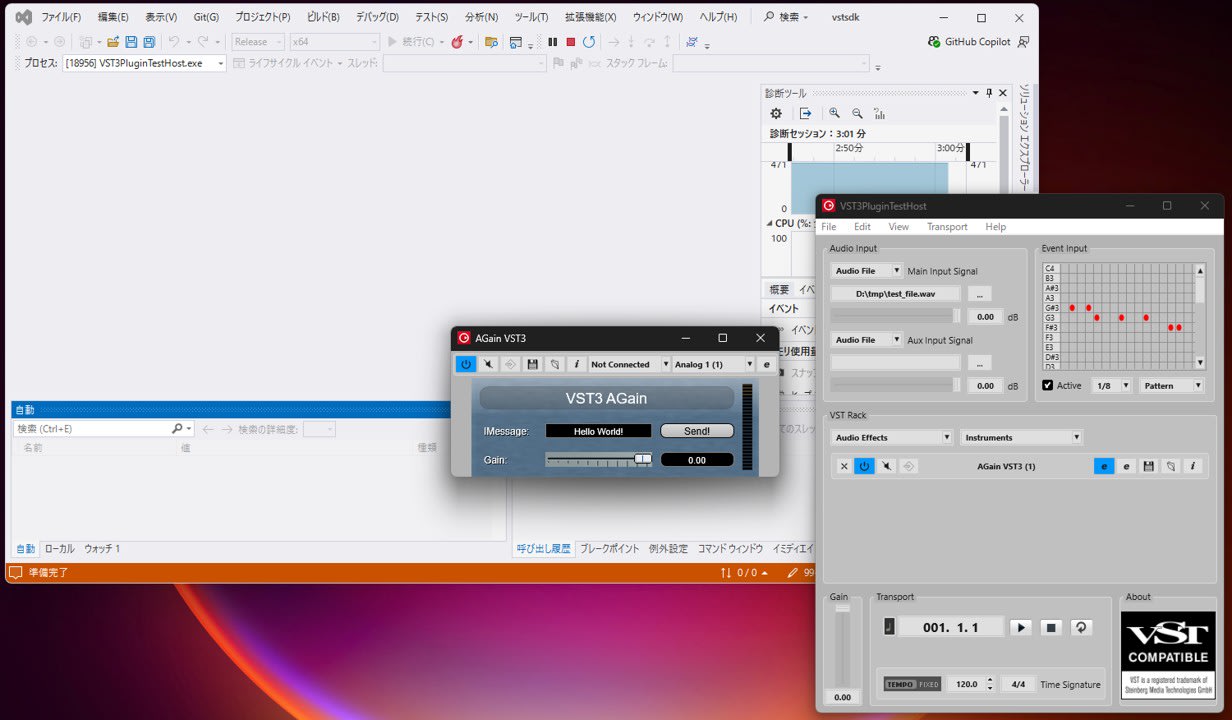
-
VST3PluginTestHost で AGain をロードすると、AGain の UI が表示されます。
validator と AGain の場所を確認して実行する
試しに validator を手動で実行してみましょう。今回の環境では、validator は build\bin\Release\validator.exe に出力されています。
Git Bash や PowerShell で、次のように実行し、ヘルプを確認します。
cd D:\CppProj\vst3sdk\build

./bin/Release/validator.exe -h
-h の実行結果は次の通りです。使用できるオプション、および、引数に vst3module を取ることが分かります。
VST 3.8.0 Plug-in Validator:
-help           | Print help
-version        | Print version
-l              | Use local instance per test
-suite          | [name] Only run a special test suite
-e              | Run extensive tests [may take a long time]
-q              | Only print errors
-cid            | Only test processor with specified class ID
-test-component | [path] Path to an additional component which includes custom tests
-list           | Show all installed Plug-Ins
-selftest       | Run a selftest
-snapshots      | List snapshots from all installed Plug-Ins

Usage: vstvalidator [options] vst3module
次に、AGain を指定して実行します。validator には、.vst3 フォルダーのパスを渡します。
./bin/Release/validator.exe ./VST3/Release/again.vst3
実行結果の先頭では、モジュールを読み込み、bundle 構造を確認し、クラス情報を列挙します。
* Loading module...

        ./VST3/Release/again.vst3

* Check valid bundle structure...

* Scanning classes...

  Factory Info:
        vendor = Steinberg Media Technologies
        url = http://www.steinberg.net
        email = mailto:info@steinberg.de

  Class Info 0:
        name = AGain VST3
        category = Audio Module Class
        subCategories = Fx
        version = 3.8.0.0
        sdkVersion = VST 3.8.0
        cid = 84E8DE5F92554F5396FAE4133C935A18
中盤では、スナップショット (ホスト側がプラグイン一覧を表示する際の画像) の有無も確認します。
* Checking snapshots...

Found snapshots for 'AGain VST3'
 - ./VST3/Release/again.vst3/Contents/Resources/Snapshots/84E8DE5F92554F5396FAE4133C935A18_snapshot.png [1x]
 - ./VST3/Release/again.vst3/Contents/Resources/Snapshots/84E8DE5F92554F5396FAE4133C935A18_snapshot_2.0x.png [2x]
最後にテストが実行され、今回の環境では 94 tests passed, 0 tests failed で完了しました。
-------------------------------------------------------------
Result: 94 tests passed, 0 tests failed
-------------------------------------------------------------
このように validator は、プラグインのロードから基本的な検査までを 1 コマンドで実行できます。CI に入れると、PR の段階で最低限の不整合を検知できます。
GitHub Actions で Windows と macOS を回す
CI は次の方針にします。
actions/checkoutで submodule も含めて取得する- CMake で configure して build する
- build 後に validator を実行する
- validator のログを artifact として保存する
.github/workflows/vst3sdk-again-validator.yml
./.github/workflows/vst3sdk-again-validator.yml の例です。
name: vst3sdk-again-validator

on:
  pull_request:
  push:
    branches: [ main ]

jobs:
  build-and-validate:
    strategy:
      fail-fast: false
      matrix:
        os: [ windows-2022, macos-14 ]
    runs-on: ${{ matrix.os }}

    steps:
      - name: Checkout (with submodules)
        uses: actions/checkout@v4
        with:
          submodules: recursive

      - name: Configure (Windows)
        if: runner.os == 'Windows'
        shell: pwsh
        run: |
          $ErrorActionPreference = "Stop"
          cmake -S . -B build -G "Visual Studio 17 2022" -A x64 -DSMTG_CREATE_PLUGIN_LINK=OFF

      - name: Build (Windows, Release)
        if: runner.os == 'Windows'
        shell: pwsh
        run: |
          $ErrorActionPreference = "Stop"
          cmake --build build --config Release

      - name: Configure (macOS, Xcode)
        if: runner.os == 'macOS'
        shell: bash
        run: |
          set -euo pipefail
          cmake -S . -B build -G Xcode -DSMTG_CREATE_PLUGIN_LINK=OFF \
            -DCMAKE_XCODE_ATTRIBUTE_CODE_SIGNING_ALLOWED=NO \
            -DCMAKE_XCODE_ATTRIBUTE_CODE_SIGNING_REQUIRED=NO

      - name: Build (macOS, Release)
        if: runner.os == 'macOS'
        shell: bash
        run: |
          set -euo pipefail
          cmake --build build --config Release --target validator again

      - name: Run validator (Windows)
        if: runner.os == 'Windows'
        shell: pwsh
        run: |
          ./scripts/ci/run-validator-windows.ps1 -BuildDir build

      - name: Make scripts executable (macOS)
        if: runner.os == 'macOS'
        shell: bash
        run: |
          set -euo pipefail
          chmod +x ./scripts/ci/run-validator-macos.sh

      - name: Run validator (macOS)
        if: runner.os == 'macOS'
        shell: bash
        run: |
          ./scripts/ci/run-validator-macos.sh build

      - name: Upload validator logs
        if: always()
        uses: actions/upload-artifact@v4
        with:
          name: validator-log-${{ matrix.os }}
          path: |
            validator-windows.log
            validator-macos.log
- macOS は generator に
Xcodeを使い、Code Signing を無効化 - macOS の build は
--target validator againとし、必要なターゲットを明示 - validator 実行はスクリプトへ切り出し
- ログは artifact へアップロード
scripts/ci/run-validator-windows.ps1
scripts/ci/run-validator-windows.ps1
param(
  [Parameter(Mandatory = $true)]
  [string]$BuildDir
)

$ErrorActionPreference = "Stop"

$validatorPath = Join-Path $BuildDir "bin\Release\validator.exe"
if (-not (Test-Path $validatorPath)) {
  $validator = Get-ChildItem -Path $BuildDir -Recurse -Filter "validator.exe" | Select-Object -First 1
  if (-not $validator) { throw "validator.exe not found under $BuildDir" }
  $validatorPath = $validator.FullName
}

$pluginPath = Join-Path $BuildDir "VST3\Release\again.vst3"
if (-not (Test-Path $pluginPath)) {
  $plugin = Get-ChildItem -Path $BuildDir -Recurse -Filter "again.vst3" | Select-Object -First 1
  if (-not $plugin) {
    $plugin = Get-ChildItem -Path $BuildDir -Recurse -Filter "AGain.vst3" | Select-Object -First 1
  }
  if (-not $plugin) { throw "again.vst3 / AGain.vst3 not found under $BuildDir" }
  $pluginPath = $plugin.FullName
}

& $validatorPath -h | Out-Null
& $validatorPath $pluginPath 2>&1 | Tee-Object -FilePath "validator-windows.log"
if ($LASTEXITCODE -ne 0) { exit $LASTEXITCODE }
scripts/ci/run-validator-macos.sh
scripts/ci/run-validator-macos.sh
#!/usr/bin/env bash
set -euo pipefail

BUILD_DIR="${1:?build dir is required}"

VALIDATOR="$(find "${BUILD_DIR}" -type f -name validator -perm -111 | grep '/Release/' | head -n 1 || true)"
if [ -z "${VALIDATOR}" ]; then
  VALIDATOR="$(find "${BUILD_DIR}" -type f -name validator -perm -111 | head -n 1 || true)"
fi

PLUGIN="$(find "${BUILD_DIR}" -type d \( -name 'AGain.vst3' -o -name 'again.vst3' \) | grep '/Release/' | head -n 1 || true)"
if [ -z "${PLUGIN}" ]; then
  PLUGIN="$(find "${BUILD_DIR}" -type d \( -name 'AGain.vst3' -o -name 'again.vst3' \) | head -n 1 || true)"
fi

echo "VALIDATOR=${VALIDATOR}"
echo "PLUGIN=${PLUGIN}"

test -n "${VALIDATOR}"
test -n "${PLUGIN}"

"${VALIDATOR}" -h >/dev/null || true
"${VALIDATOR}" "${PLUGIN}" 2>&1 | tee validator-macos.log
- validator の引数には
.vst3を渡す (macOS の.vst3は bundle)
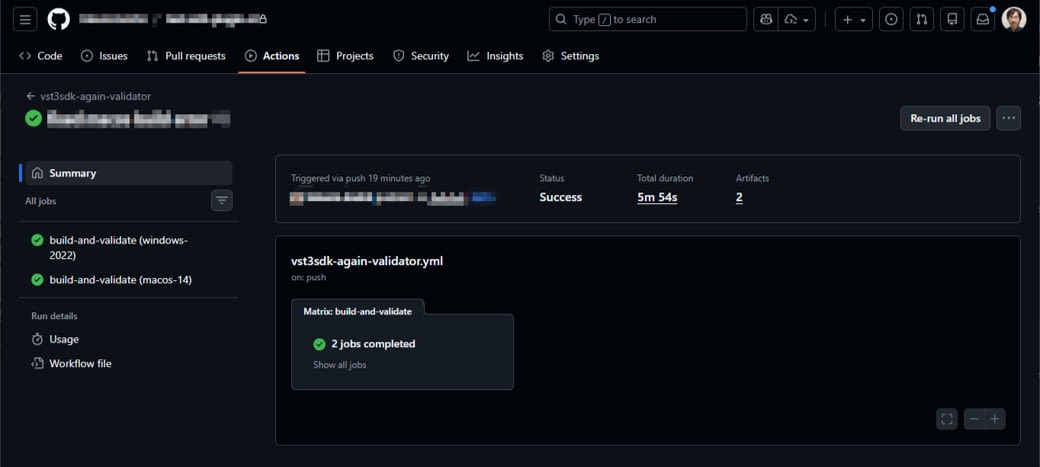
ジョブの実行確認
git push し、ジョブが実行されることを確認します。
考察: どこまでを自動化できるか
validator は CI の第一歩として相性が良いです。一方で、validator だけでホスト互換性を語るのは難しいです。Steinberg のフォーラム では、VST3PluginTestHost が、 validator より多くのスピーカー配置やパラメータ変更テストを持つ と説明されています。より踏み込んだ互換性検査が必要になったら、pluginval のような第三者ツールも検討可能です。
まとめ
本記事では、Steinberg 公式の validator を GitHub Actions に組み込み、PR の段階で VST3 プラグインの基本検査を自動化する方法について紹介しました。Windows 配布が前提でも、CI で macOS ビルドと validator を回すことで、環境差による崩れを早めに検知できます。


