![[React + Google Maps API] @react-google-maps/apiを使った地図アプリをローカルで起動してみた](https://devio2023-media.developers.io/wp-content/uploads/2021/02/google_map.jpg)
[React + Google Maps API] @react-google-maps/apiを使った地図アプリをローカルで起動してみた
この記事は公開されてから1年以上経過しています。情報が古い可能性がありますので、ご注意ください。
こんにちは、CX事業本部の若槻です。
Google Maps APIのReact向けライブラリは現在アクティブなものでもいくつか種類がありますが、そのうちのひとつに**@react-google-maps/api**があります。リポジトリやドキュメントは下記となります。
- @react-google-maps/api - npm
- JustFly1984/react-google-maps-api: React Google Maps API
- React Google Maps Api Style Guide
この@react-google-maps/apiは、前回の記事で紹介したものに比べてより頻繁にアップデートが行われているようです。
今回は、@react-google-maps/apiを使用した地図アプリをローカルで起動してみました。
やってみた
Reactのプロジェクト新規作成
下記コマンドを実行しReactのプロジェクトフォルダを新規作成します。
% npx create-react-app react-google-maps-api-local --typescript
% cd react-google-maps-api-local
パッケージインストール
@react-google-maps/apiおよびその他アプリの実行に必要なパッケージをインストールします。
% npm i @react-google-maps/api
% npm i
APIキーの用意
「Maps JavaScript API」を利用可能なGoogle Maps PlatformのAPIキーを用意します。まだの場合は下記を参考に作成してください。
App.tsxの編集
下記のドキュメントに@react-google-maps/apiを使う最もシンプルな方法が紹介されているので参考にしてみます。
src/App.tsxを下記のコードに変更します。googleMapsApiKeyには先程用意したAPIキーを指定してください。
@

### アプリの起動

アプリを起動します。

```shell
% npm run start
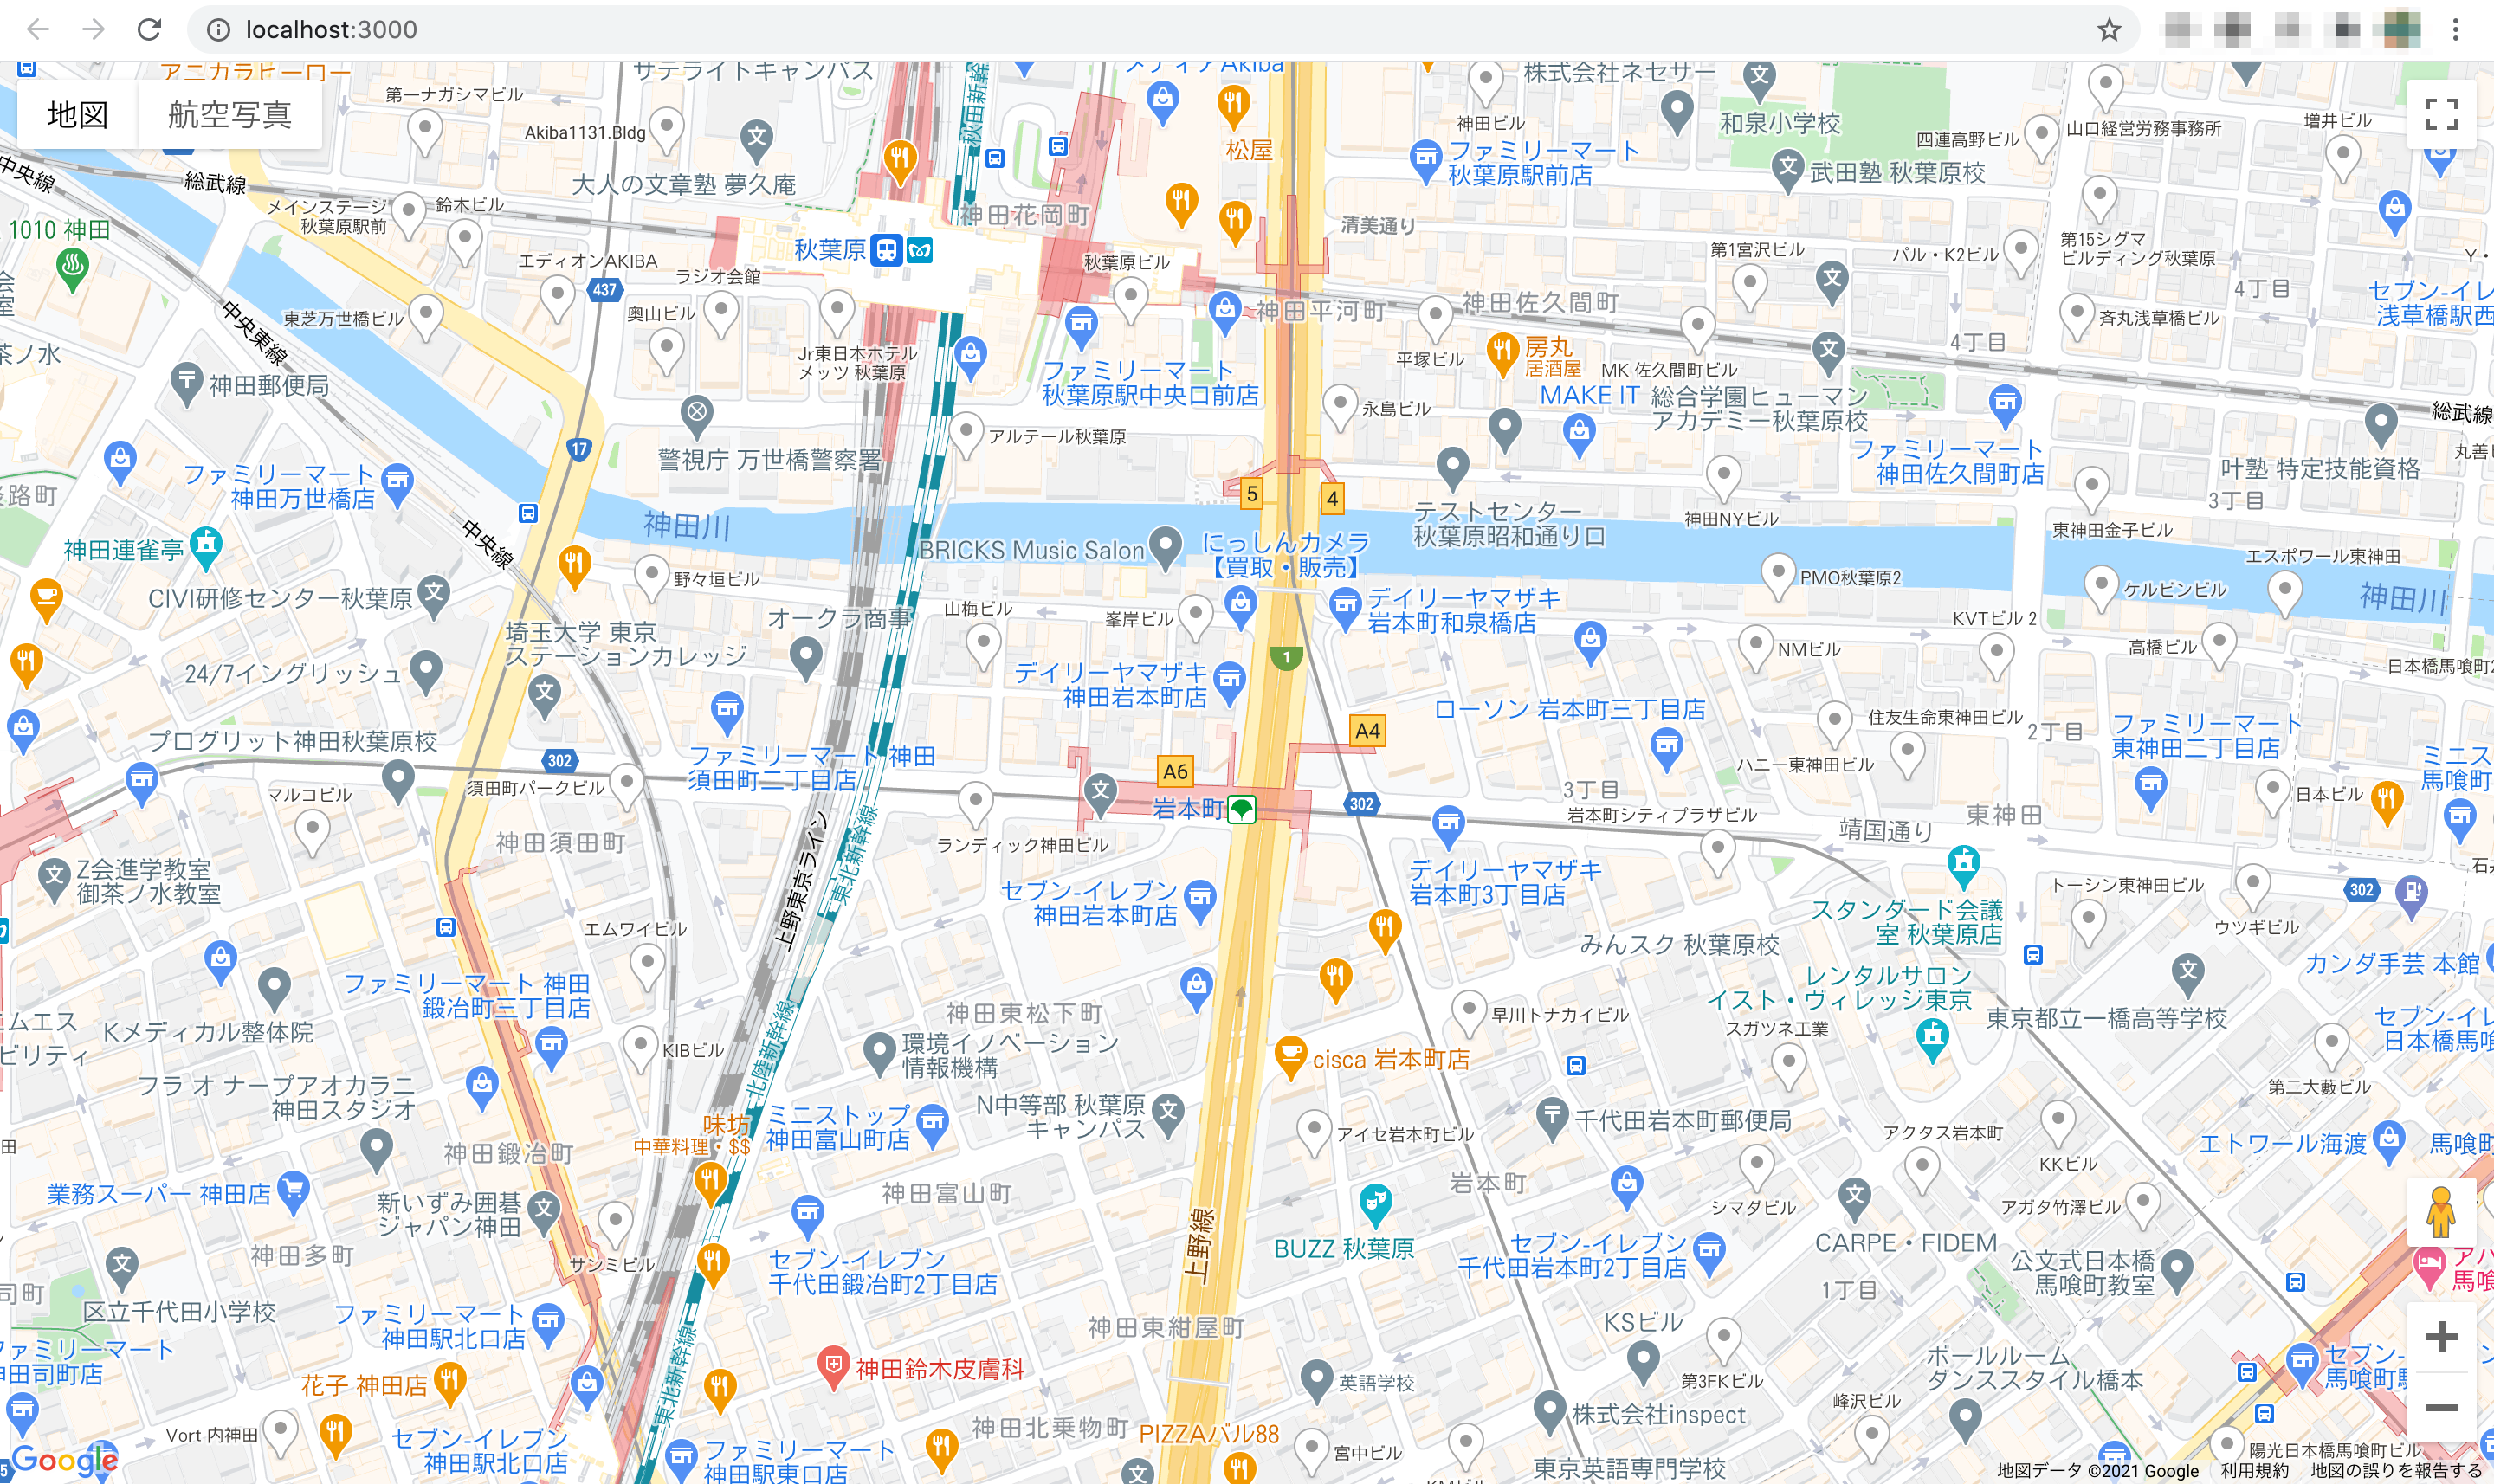
起動したアプリでGoogle Mapを表示させられました。

マップ領域を動的に表示する
mapContainerStyleでheightをvh、widthを%で指定することにより、マップ領域を動的に表示することができます。
下記のように100vhおよび100%の指定としてみます。
import { GoogleMap, LoadScript } from "@react-google-maps/api";

const containerStyle = {
  height: "100vh",
  width: "100%",
};

const center = {
  lat: 35.69575,
  lng: 139.77521,
};

const MyComponent = () => {
  return (
    <LoadScript googleMapsApiKey="API Key">
      <GoogleMap
        mapContainerStyle={containerStyle}
        center={center}
        zoom={17}
      ></GoogleMap>
    </LoadScript>
  );
};

export default MyComponent;
するとマップを全画面表示とすることができました。
マーカーを配置する
Markerを使うことによりマップ上の指定した位置にマーカーを配置できます。
import { GoogleMap, LoadScript, Marker } from "@react-google-maps/api";

const containerStyle = {
  height: "100vh",
  width: "100%",
};

const center = {
  lat: 35.69575,
  lng: 139.77521,
};

const positionAkiba = {
  lat: 35.69731,
  lng: 139.7747,
};

const positionIwamotocho = {
  lat: 35.69397,
  lng: 139.7762,
};

const MyComponent = () => {
  return (
    <LoadScript googleMapsApiKey="API Key">
      <GoogleMap mapContainerStyle={containerStyle} center={center} zoom={17}>
        <Marker position={positionAkiba} />
        <Marker position={positionIwamotocho} />
      </GoogleMap>
    </LoadScript>
  );
};

export default MyComponent;
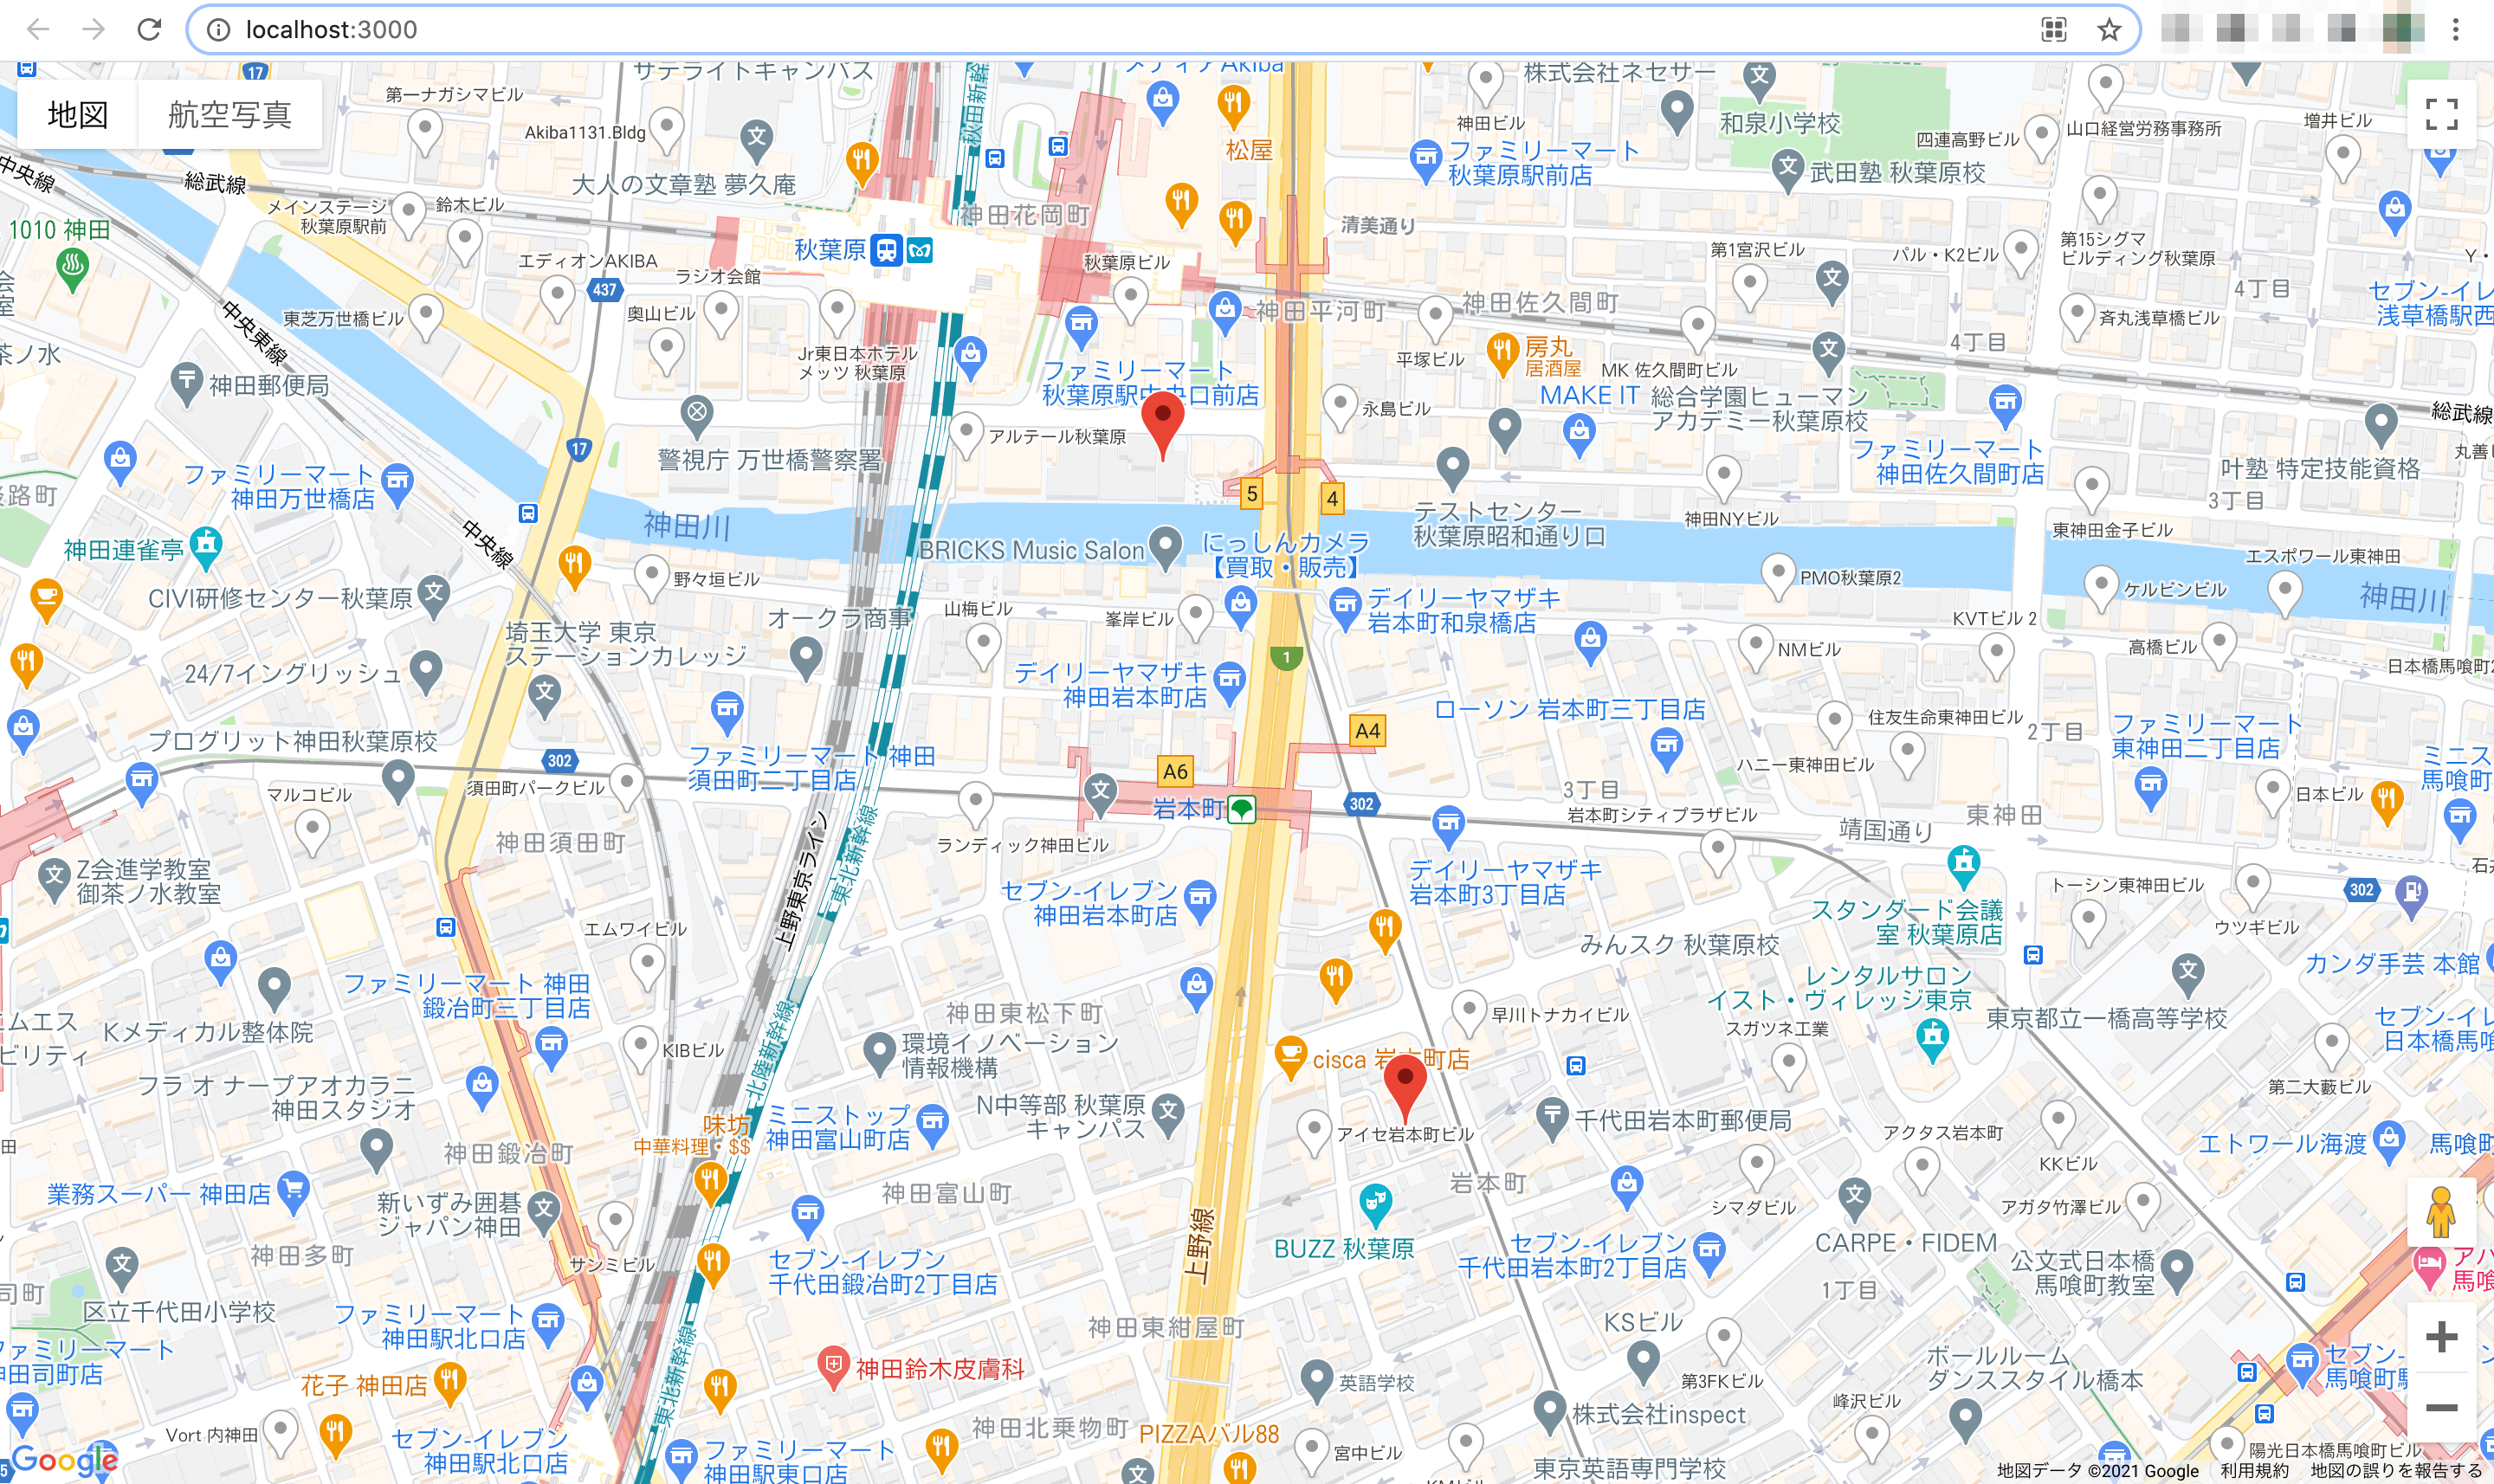
positionで指定した位置(弊社秋葉原オフィスと岩本町オフィス)にマーカーを配置できました。
マーカーにラベルを付ける
Markerではlabelオプションを使うことによりラベルを表示させることができます。指定タイプはstringかMarkerLabelが使えます。
stringの場合は表示するテキストを下記のように指定します。
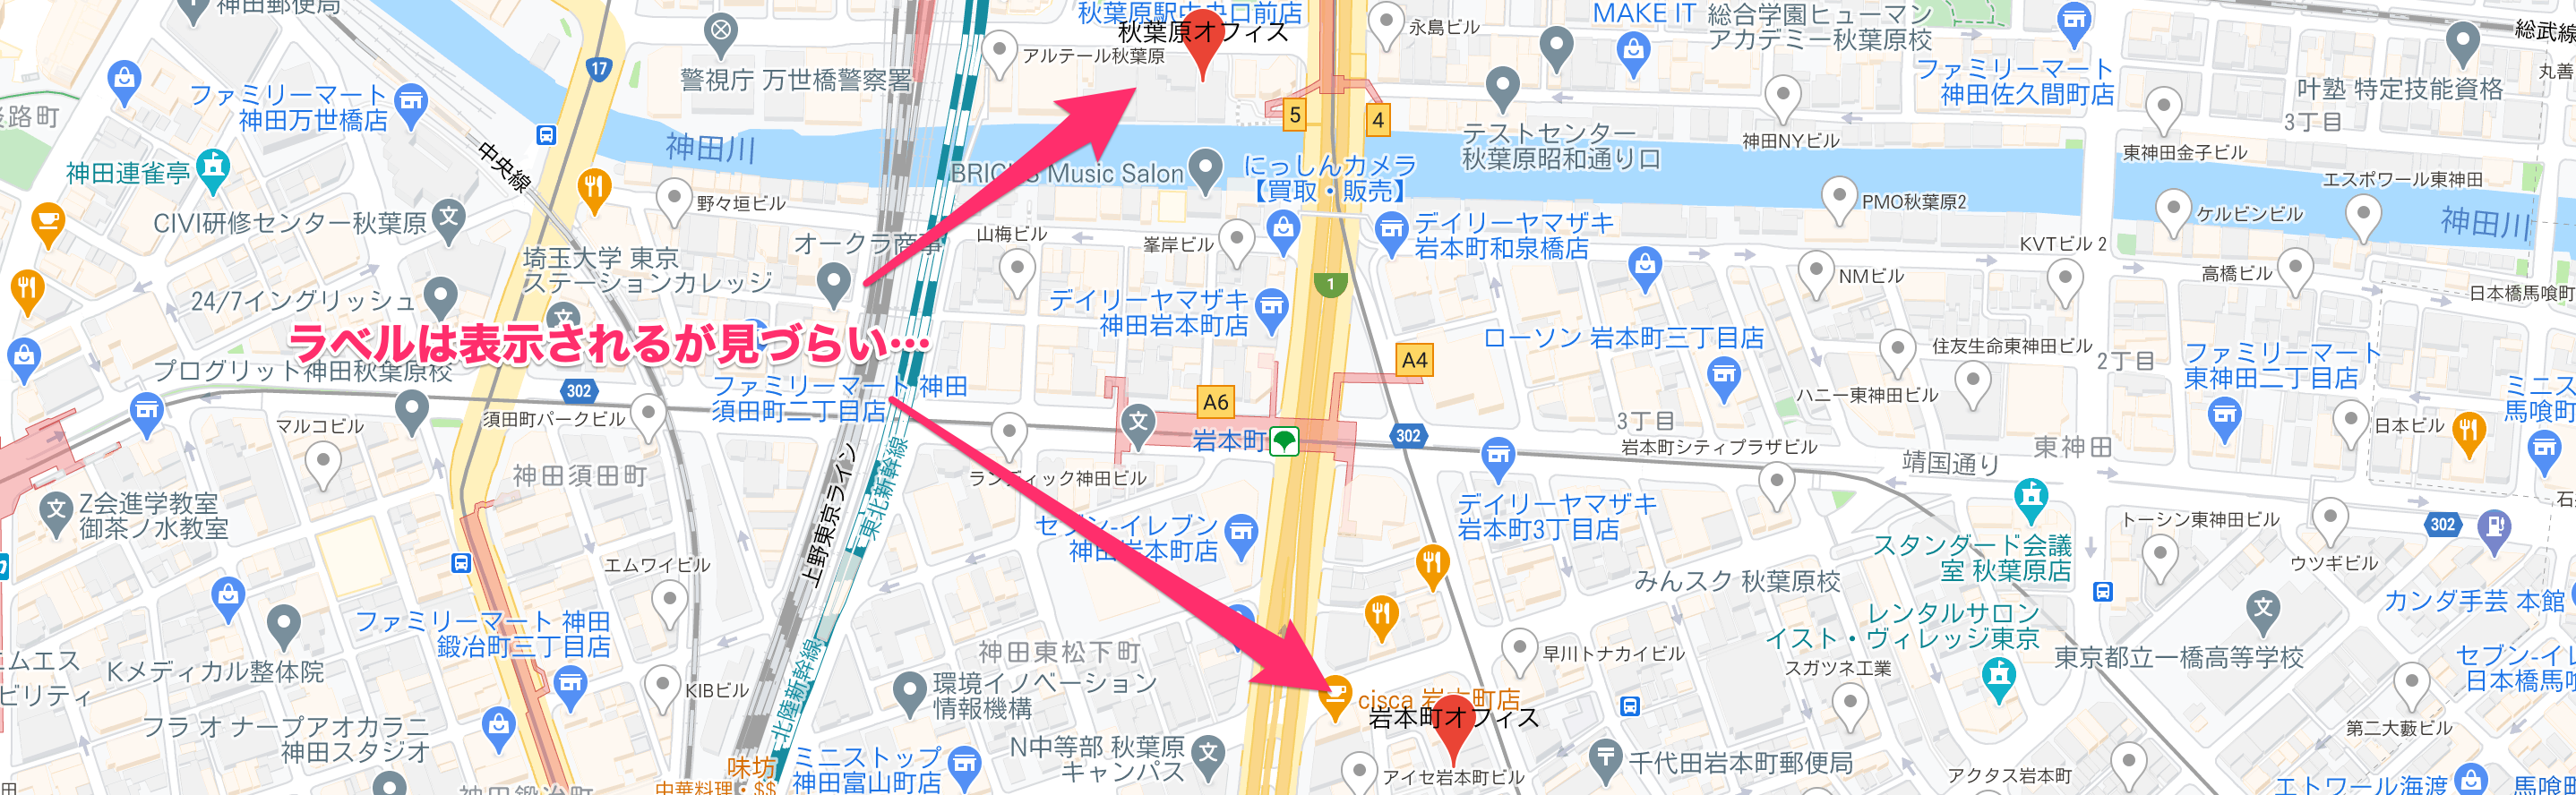
        <Marker position={positionAkiba} label={"秋葉原オフィス"} />
        <Marker position={positionIwamotocho} label={"岩本町オフィス"} />
これでもラベルは表示されますが、既定の黒色のフォントで、長いテキストだと少し見づらくなります。
MarkerLabelの場合はテキストに加えてフォントの指定が可能です。
import { GoogleMap, LoadScript, Marker } from "@react-google-maps/api";

const containerStyle = {
  height: "100vh",
  width: "100%",
};

const center = {
  lat: 35.69575,
  lng: 139.77521,
};

const positionAkiba = {
  lat: 35.69731,
  lng: 139.7747,
};

const positionIwamotocho = {
  lat: 35.69397,
  lng: 139.7762,
};

const markerLabelAkiba = {
  color: "white",
  fontFamily: "sans-serif",
  fontSize: "15px",
  fontWeight: "100",
  text: "5",
};

const markerLabelIwamotocho = {
  color: "white",
  fontFamily: "sans-serif",
  fontSize: "15px",
  fontWeight: "100",
  text: "12",
};

const MyComponent = () => {
  return (
    <LoadScript googleMapsApiKey="API Key">
      <GoogleMap mapContainerStyle={containerStyle} center={center} zoom={17}>
        <Marker position={positionAkiba} label={markerLabelAkiba} />
        <Marker position={positionIwamotocho} label={markerLabelIwamotocho} />
      </GoogleMap>
    </LoadScript>
  );
};

export default MyComponent;
フォントを白色に変更したら見やすくなりました。どちらかというと下記のように「マーカーに数字を振る」みたいな使い方が適していそうです。

バルーンを配置する
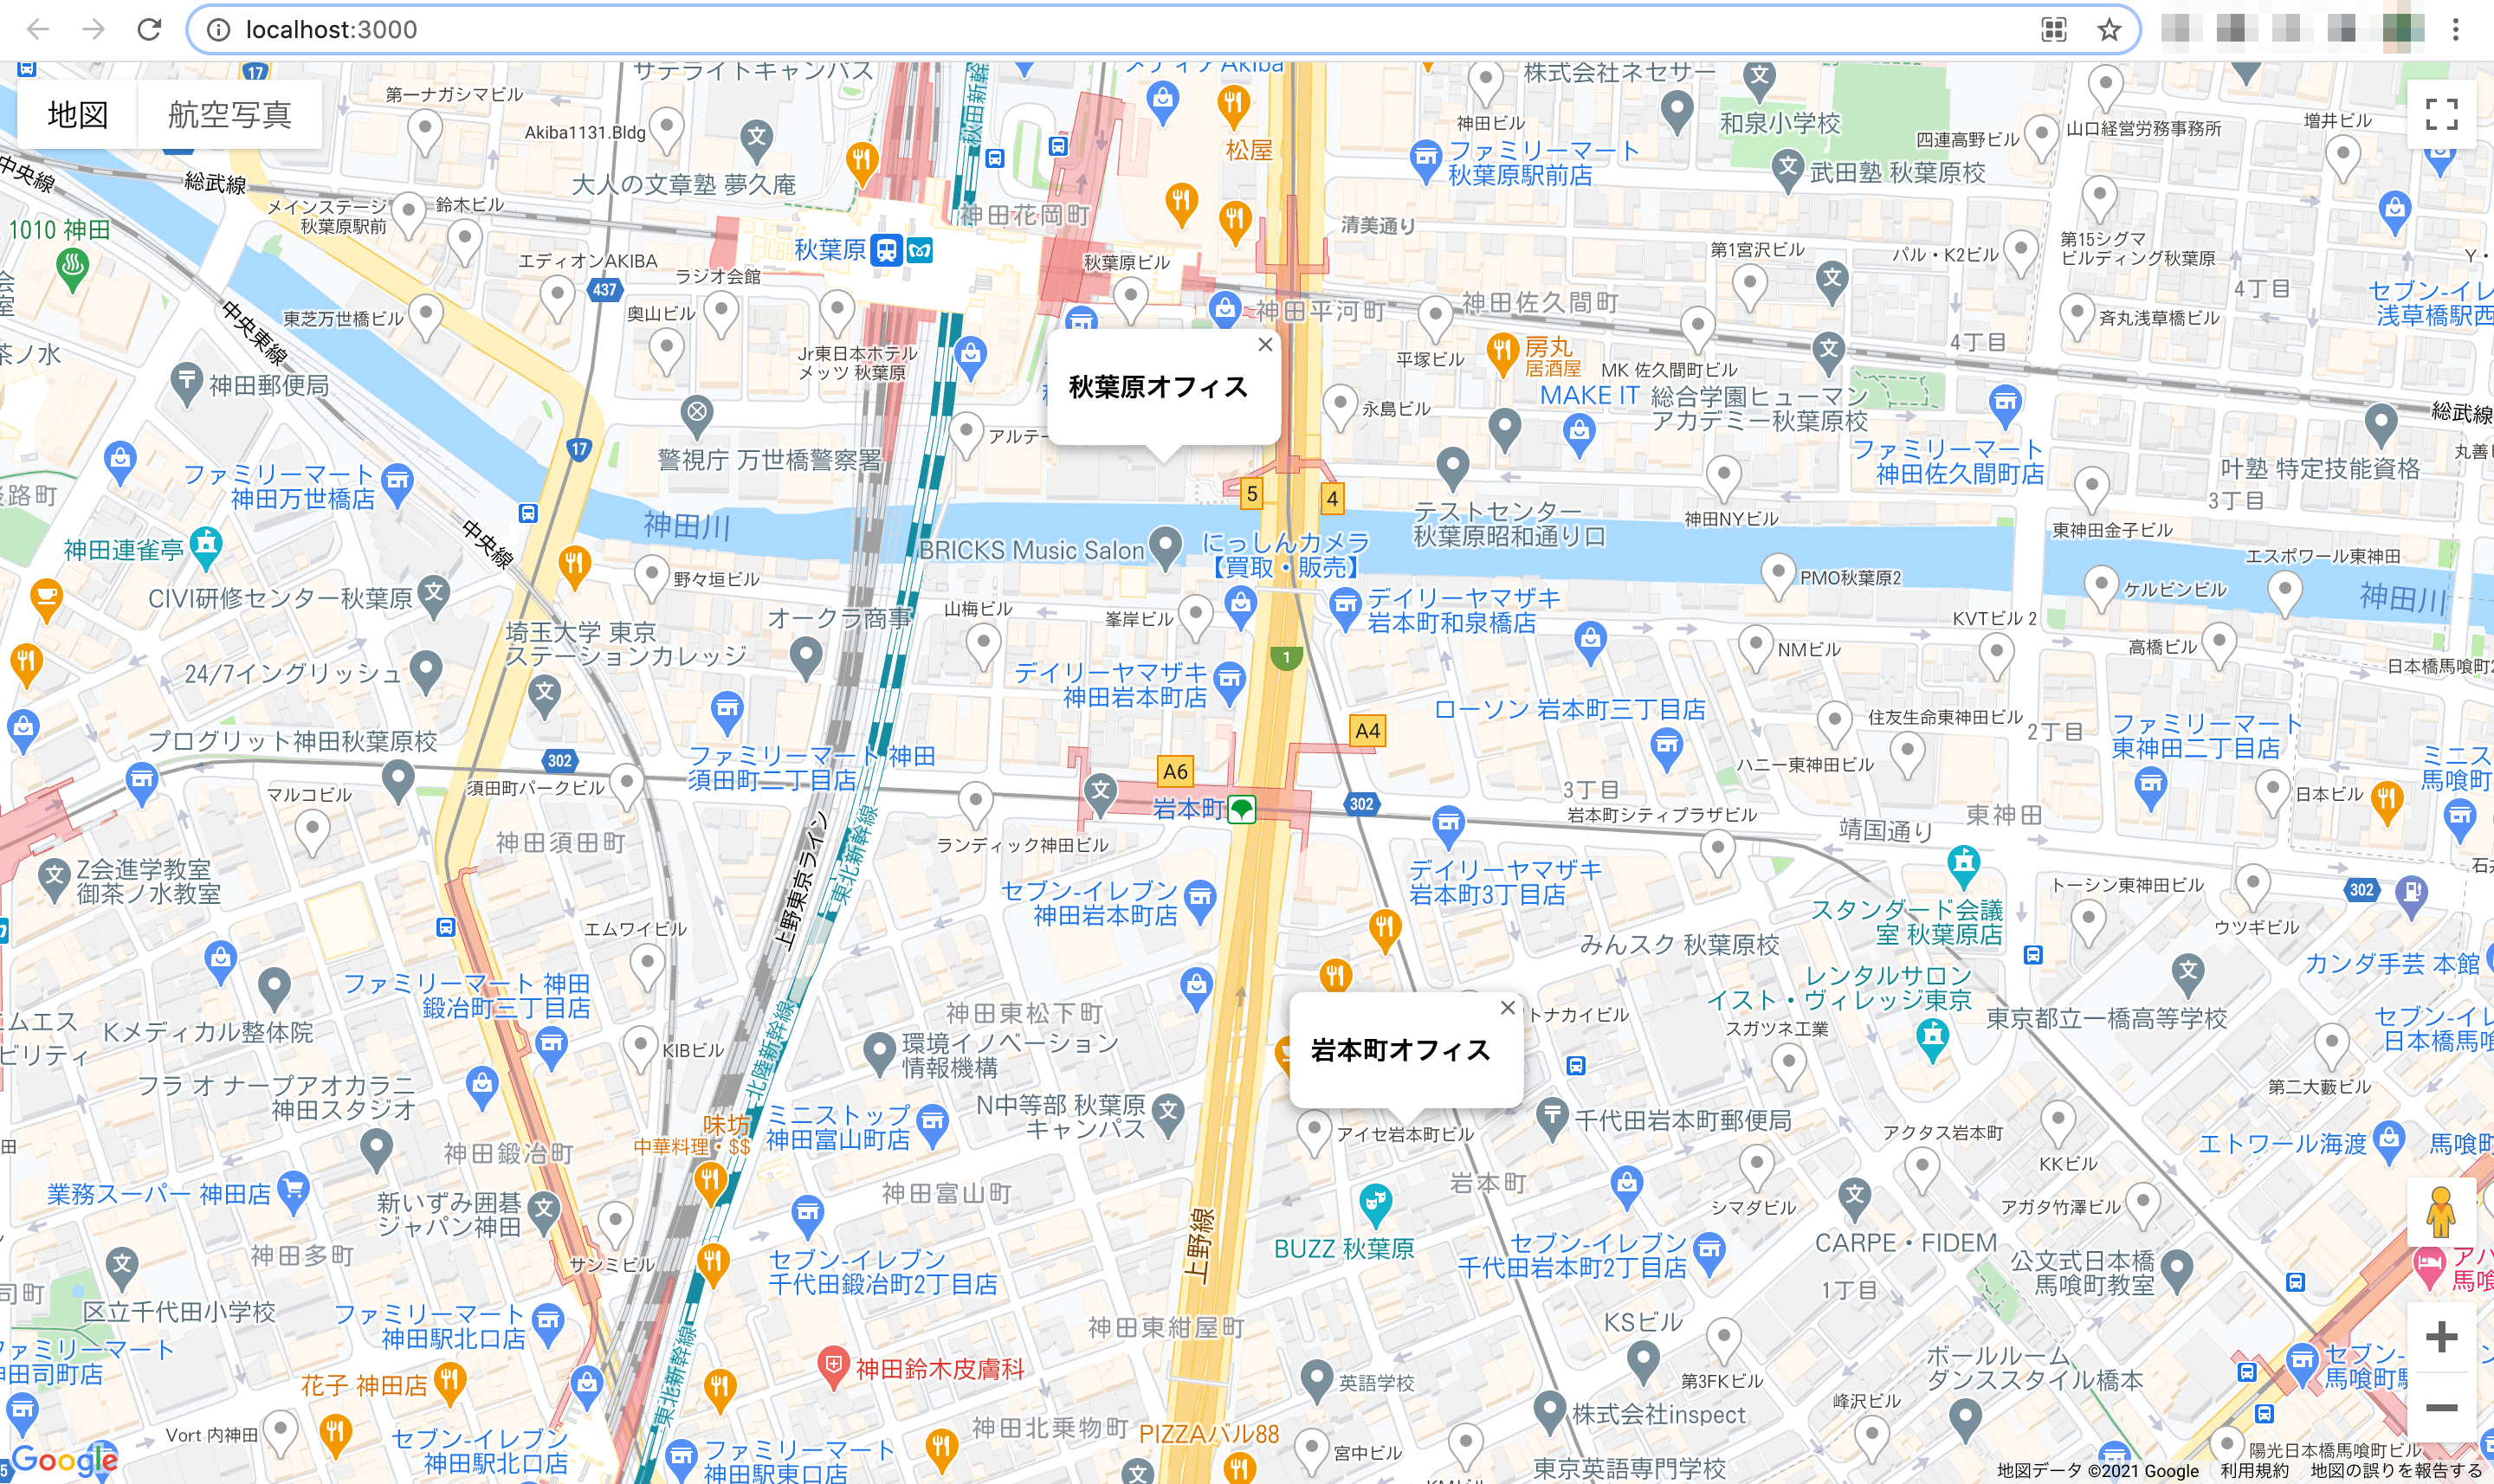
InfoWindowを使うことによりマップ上の指定した位置にバルーンを配置できます。
import { GoogleMap, LoadScript, InfoWindow } from "@react-google-maps/api";

const containerStyle = {
  height: "100vh",
  width: "100%",
};

const center = {
  lat: 35.69575,
  lng: 139.77521,
};

const positionAkiba = {
  lat: 35.69731,
  lng: 139.7747,
};

const positionIwamotocho = {
  lat: 35.69397,
  lng: 139.7762,
};

const divStyle = {
  background: "white",
  fontSize: 7.5,
};

const MyComponent = () => {
  return (
    <LoadScript googleMapsApiKey="API Key">
      <GoogleMap mapContainerStyle={containerStyle} center={center} zoom={17}>
        <InfoWindow position={positionAkiba}>
          <div style={divStyle}>
            <h1>秋葉原オフィス</h1>
          </div>
        </InfoWindow>
        <InfoWindow position={positionIwamotocho}>
          <div style={divStyle}>
            <h1>岩本町オフィス</h1>
          </div>
        </InfoWindow>
      </GoogleMap>
    </LoadScript>
  );
};

export default MyComponent;
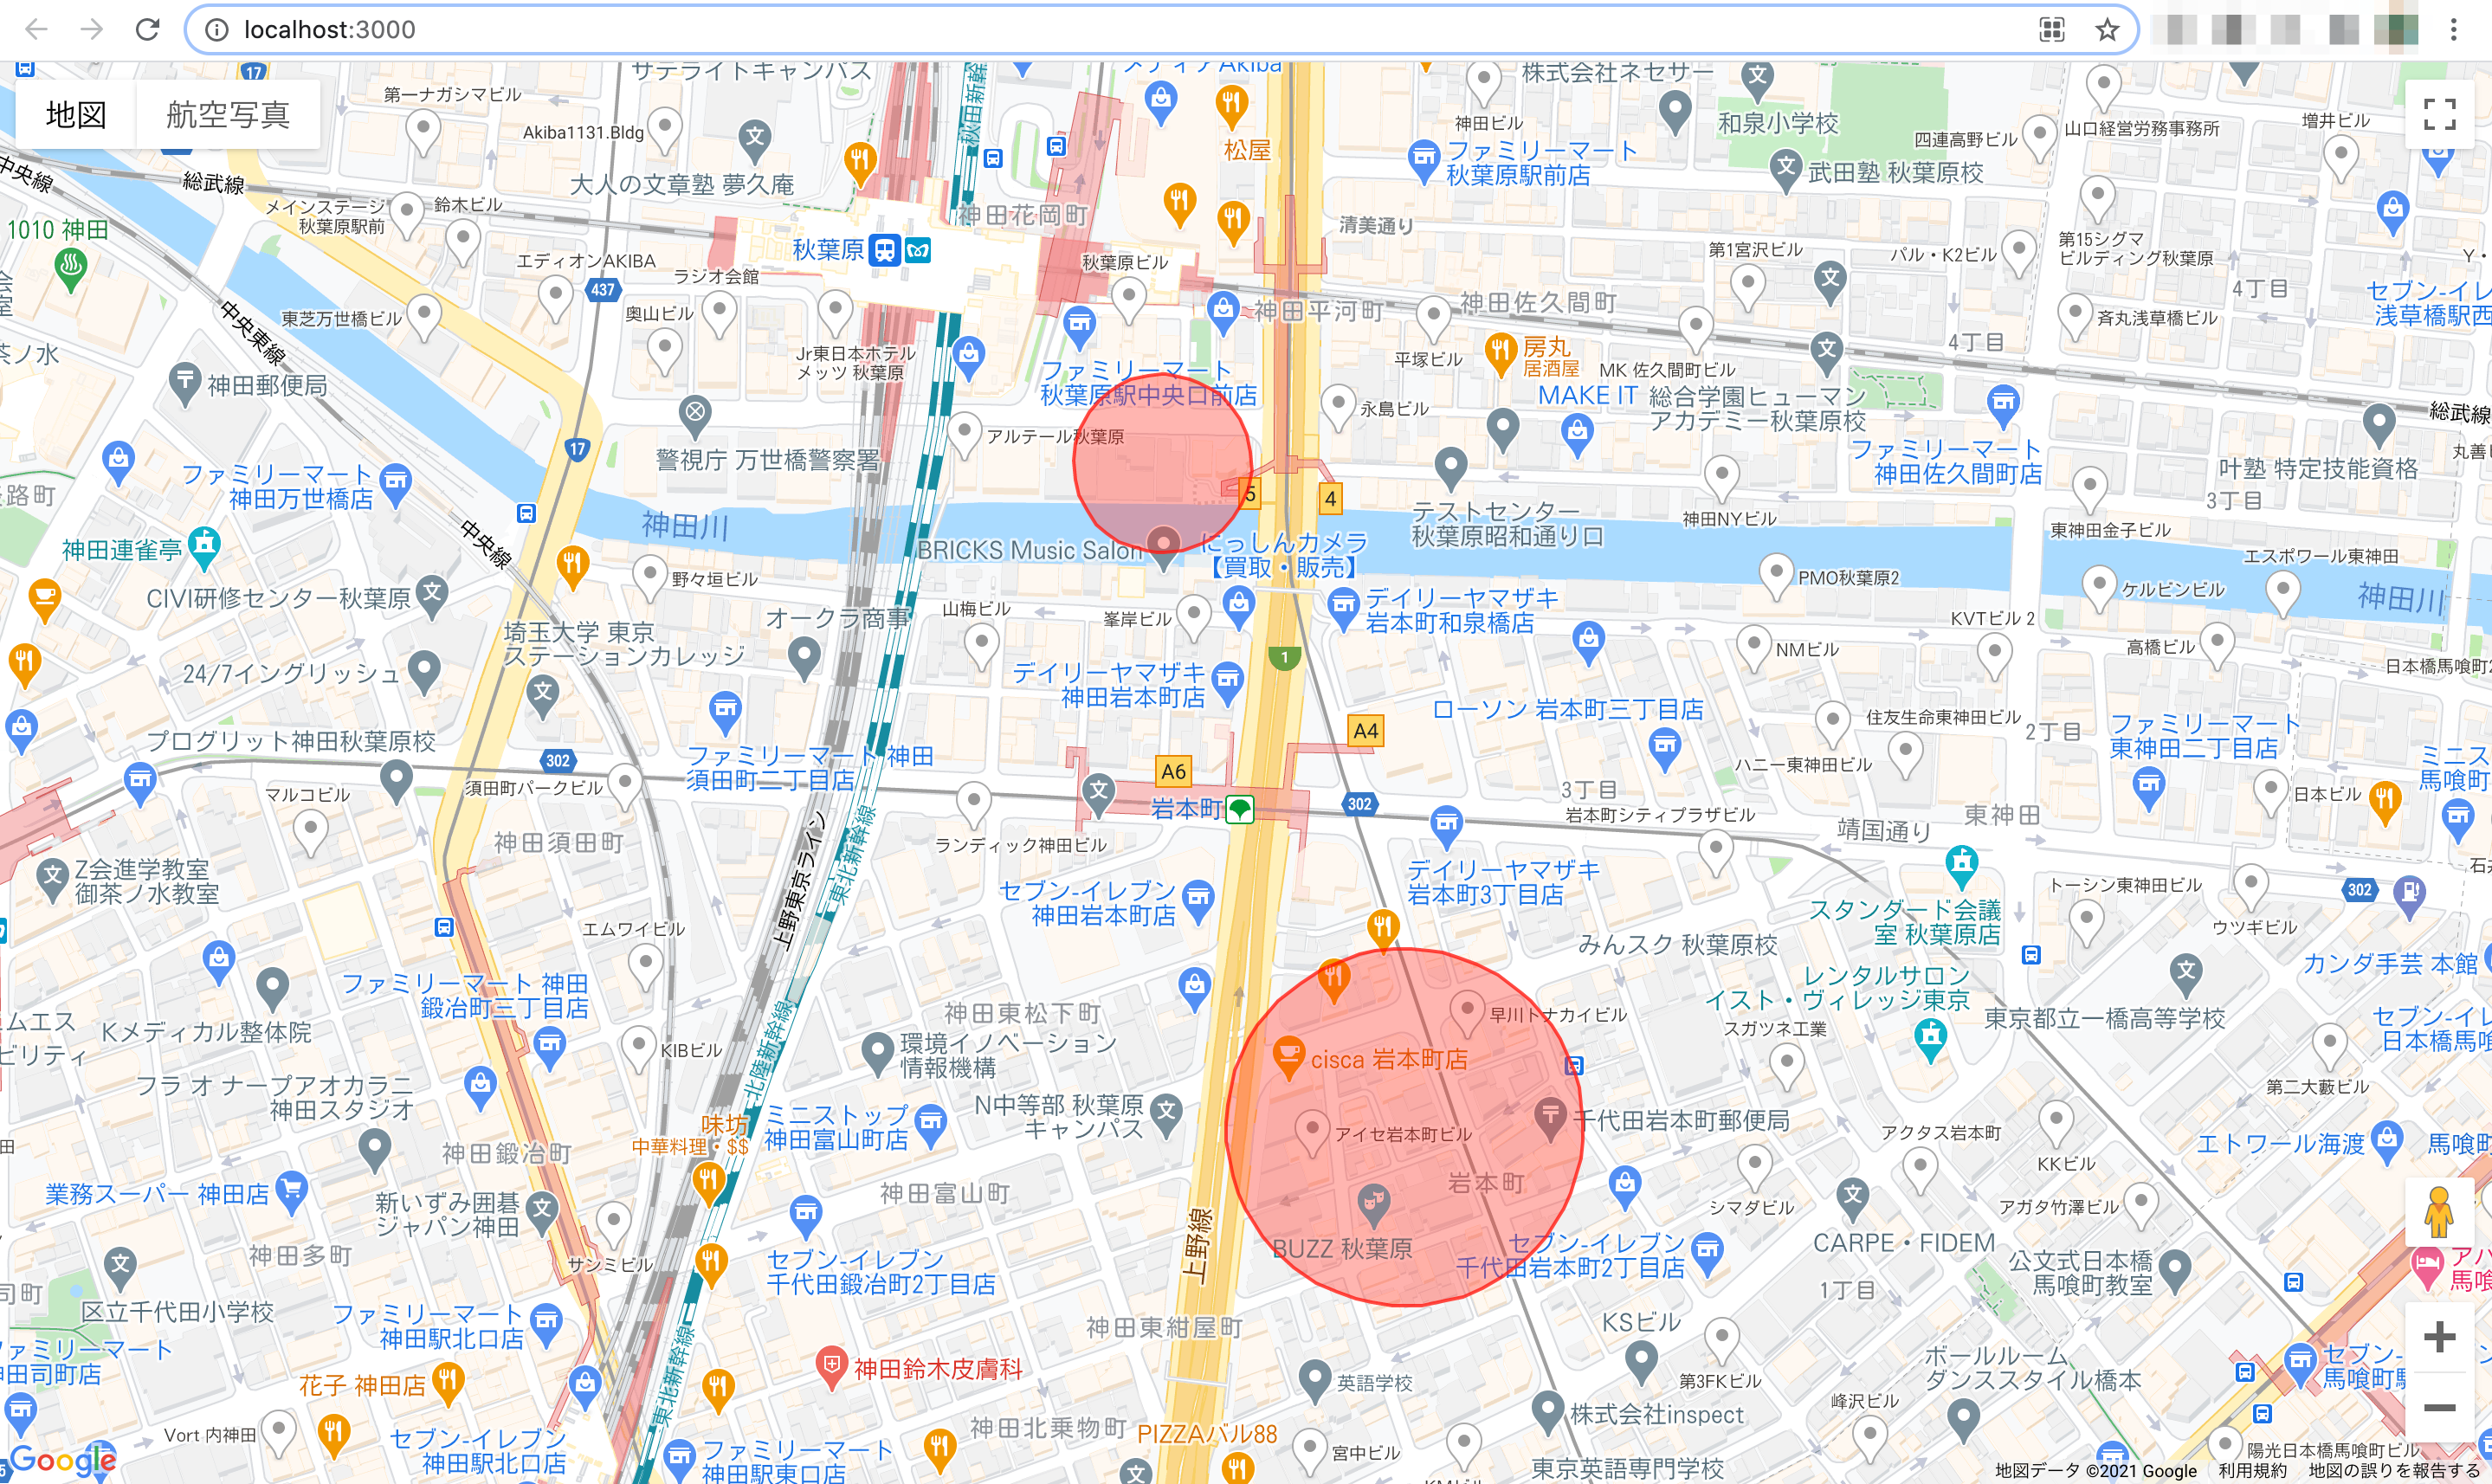
サークルを配置する
Circleを使うことによりマップ上に指定の位置・半径・スタイルのサークルを配置できます。
import { GoogleMap, LoadScript, Circle } from "@react-google-maps/api";

const containerStyle = {
  height: "100vh",
  width: "100%",
};

const center = {
  lat: 35.69575,
  lng: 139.77521,
};

const positionAkiba = {
  lat: 35.69731,
  lng: 139.7747,
};

const positionIwamotocho = {
  lat: 35.69397,
  lng: 139.7762,
};

const circleOptions = {
  strokeColor: "#FF0000",
  strokeOpacity: 0.8,
  strokeWeight: 2,
  fillColor: "#FF0000",
  fillOpacity: 0.35,
  clickable: false,
  draggable: false,
  editable: false,
  visible: true,
  radius: 30000,
  zIndex: 1,
};

const MyComponent = () => {
  return (
    <LoadScript googleMapsApiKey="API Key">
      <GoogleMap mapContainerStyle={containerStyle} center={center} zoom={17}>
        <Circle center={positionAkiba} radius={50} options={circleOptions} />
        <Circle
          center={positionIwamotocho}
          radius={100}
          options={circleOptions}
        />
      </GoogleMap>
    </LoadScript>
  );
};

export default MyComponent;
おわりに
@react-google-maps/apiを使用した地図アプリをローカルで起動してみました。
ドキュメントも整備されており他の同様のライブラリと比べてもとても取っつきやすく感じました。
参考
以上