Streamlining Ticket Assignments with Custom Triggers in Zendesk!
この記事は公開されてから1年以上経過しています。情報が古い可能性がありますので、ご注意ください。
Introduction.
In this blog post, we will walk you through the process of creating a trigger in Zendesk to automatically assign a person in charge when a ticket is created using a specific form. This can significantly streamline your workflow and ensure that tickets are promptly attended to by the right person.
Triggers Explained!
Triggers are business rules you define that run immediately after a ticket is created or updated and automatically perform actions if specified conditions are met.
Here are some uses for triggers:
- Notifying customers when you're out-of-office
- Sending customer satisfaction score follow-ups
- Routing your priority customers into a specialized support group
- Adding and removing tags
- Assigning tickets by channel
- Escalating tickets
Getting Started with Triggers!
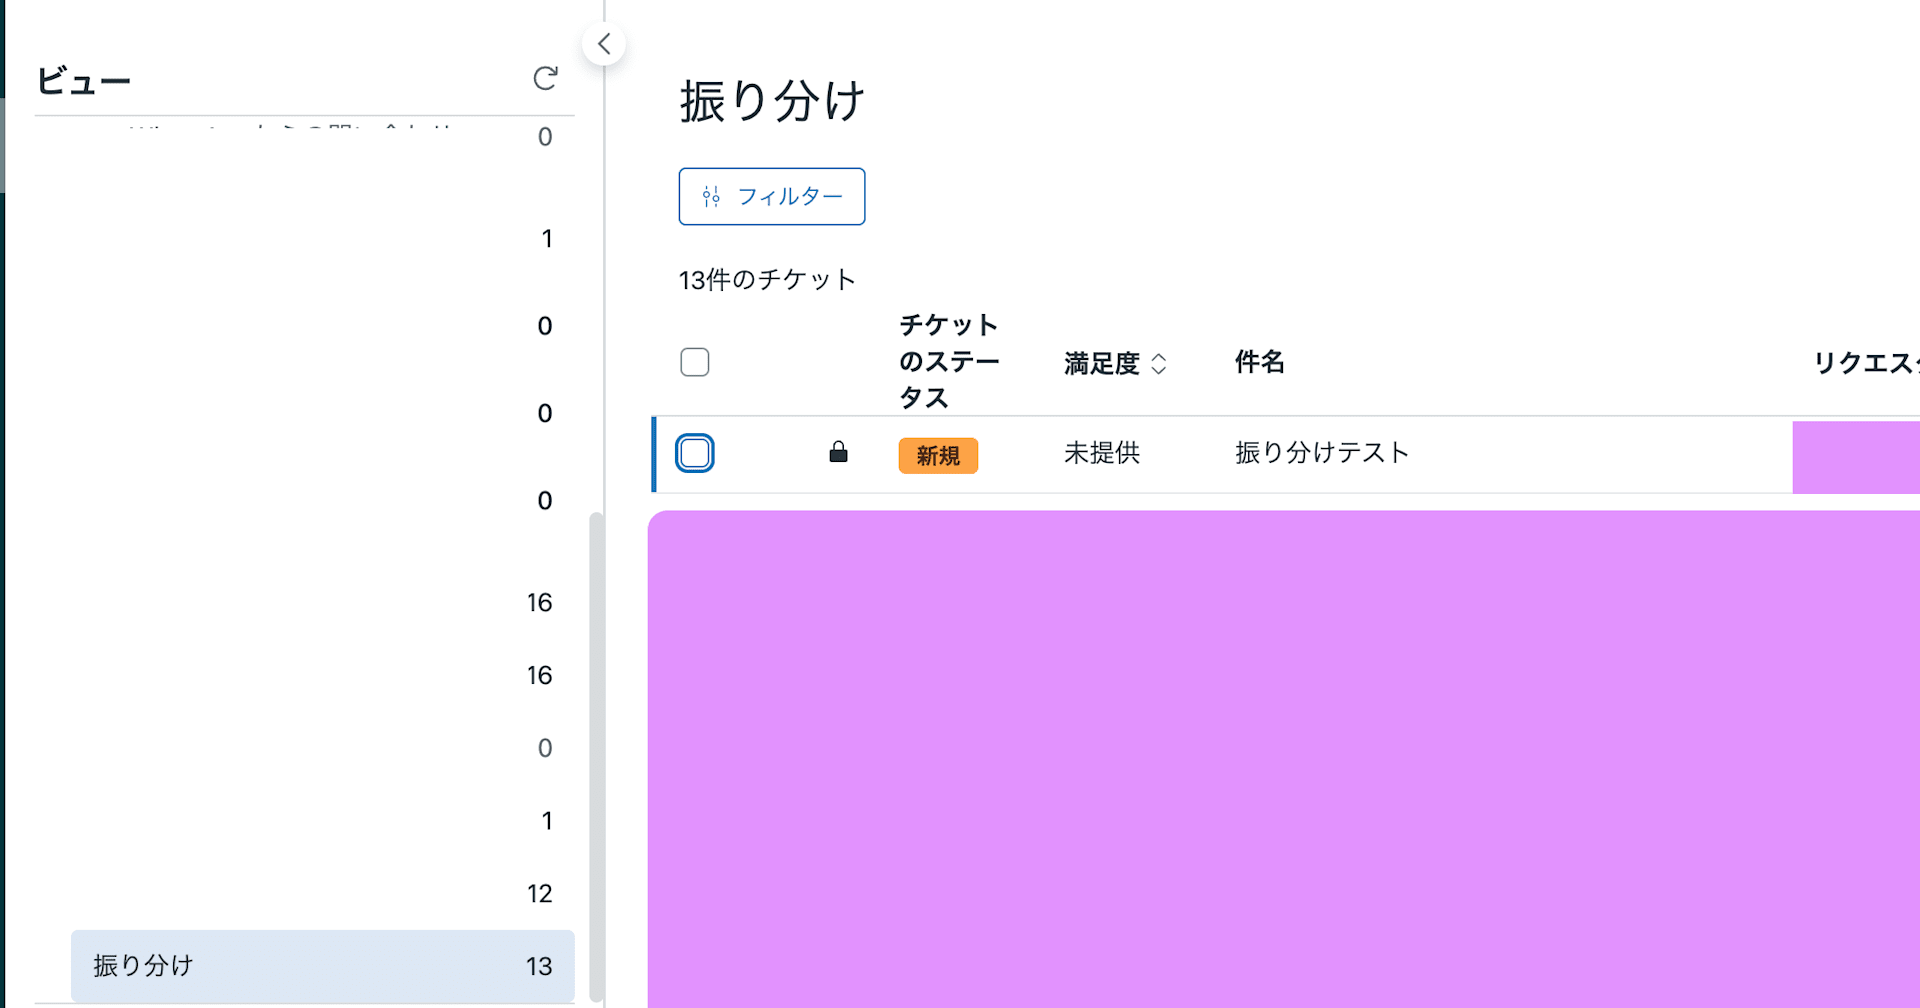
Consider the following scenario: Works when a ticket is created on the "Pooja Test" form. Please create the "Pooja Test" form yourself. The default fields are fine. The person in charge of the created ticket will be Ms. Pooja An email is sent to Ms. Pooja only, stating that the ticket has been created.
Step 1: Creating the "Pooja Test" Form.
First, we need to create a form named "Pooja Test". Here's how:
- Navigate to
Admin>Manage>Ticket Forms. - Click on
Add form. - Name the form "Pooja Test" and add any default fields as needed.
- Click
Save.

Step 2: Setting Ms. Pooja as the Person in Charge.
Next, we need to ensure that Ms. Pooja is set as an agent in your Zendesk:
- Go to
Admin>Manage>People. - Find Ms. Pooja's profile and open it.
- In the
Rolesection, set her role asAgent(or the appropriate role). - Click
Save.

Step 3: Creating a Trigger to Assign Tickets to Ms. Pooja.
Now, let's create a trigger that automatically assigns tickets created with the "Pooja Test" form to Ms. Pooja:
- Navigate to
Admin>Business Rules>Triggers. - Click on
Add trigger. - Name the trigger (eg, "Assign to Pooja").
- Under
Meet ALL of the following conditions, add:Ticket>Is>Created.Ticket>Form>Is>Pooja Test.
- Under
Actions, add:Assignee>Pooja.
- Click
Create.


Step 4: Creating a Trigger to Send an Email to Ms. Pooja.
Finally, we'll create a trigger that sends an email to Ms. Pooja when a ticket is assigned to her:
- Go to
Admin>Business Rules>Triggers. - Click
Add trigger. - Name the trigger (eg, "Email Pooja").
- Under
Meet ALL of the following conditions, add:Ticket>Is>Created.Assignee>Changed to>Pooja.
- Under
Actions, add:Email user>(Pooja's email).Email subject>New ticket created.Email body>A new ticket has been created and assigned to you..
- Click
Create.


Step 5: This is how the email appears if the trigger fires correctly:


Conclusion.
And that's it! With these steps, you've automated the process of assigning tickets and notifying the assignee. Please note that you need to have admin permissions to perform these actions, and the exact navigation and options may vary slightly depending on your Zendesk version and settings.
By leveraging Zendesk's powerful automation features, you can ensure a smooth, efficient workflow that helps your team provide excellent customer service. Happy ticketing!