Unity Sentisを使用して手書きで答える計算アプリを作ってみた
この記事は公開されてから1年以上経過しています。情報が古い可能性がありますので、ご注意ください。
ゲームソリューション部の えがわ です。
UnityのAIツールである、Sentisを使用して簡単なゲームを作ってみたいと思います。
Unity Sentisとは?
Unity SentisはONNX(Open Neural Network Exchange)形式の機械学習モデルをUnityで使用することができます。
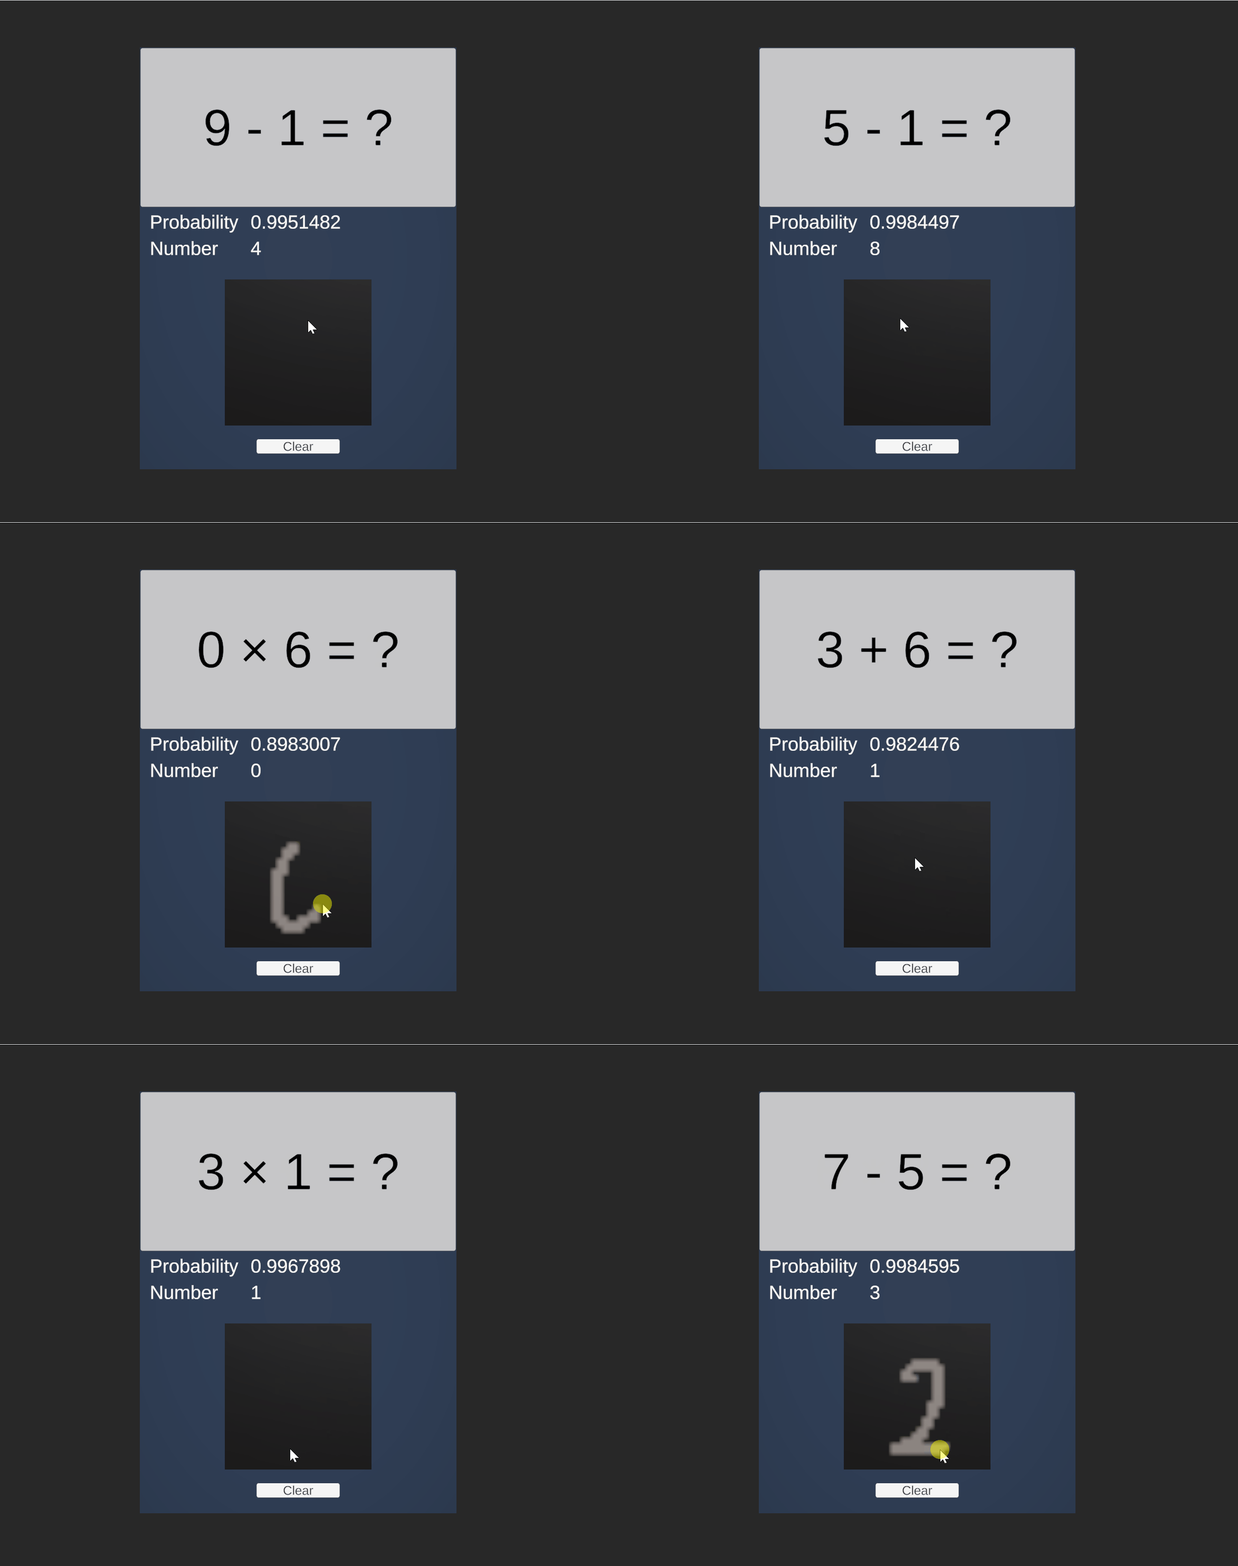
今回は公開されているMNISTを使用し、簡単な計算アプリケーションを作成してみます。
作成するゲーム
仕様は以下とします。
- 答えが一桁の計算をランダムで生成
- 答えは手書き
- 答えが一致した場合には次の問題を表示
完成系

ソースはこちらに置いておきます。
環境
- Unity: 6000.0.23f1
- Sentis: 2.1.0
作ってみる
計算アプリを作成していきます。
Unityの手順については記載いたしません。
Sentisを有効化
Package Managerからインストールします。
Install package by nameを選択し、com.unity.sentisを入力します。

無事にインストールされました。

数値を手書き
数値を手書きする処理を作成していきます。
28x28ピクセルのテクスチャ上にマウス入力で描画を行います。
描画はRaycastを使用してオブジェクト上の位置を検出し、その位置にブラシサイズに応じた円形の点を描画しています。
使用するモデルの都合上、黒地に白文字で記載する必要があります。
using UnityEngine;

[RequireComponent(typeof(MeshCollider))]
public class DrawingSystem : MonoBehaviour
{
    public float brushSize = 0.5f;
    public Color brushColor = Color.white;
    public Texture2D drawTexture { get; private set; }
    public bool isDrawing { get; private set; } = false;

    private Vector2 previousDrawPosition;

    void Start()
    {
        drawTexture = new Texture2D(28, 28);

        drawTexture.filterMode = FilterMode.Trilinear;

        for (int y = 0; y < drawTexture.height; y++)
        {
            for (int x = 0; x < drawTexture.width; x++)
            {
                drawTexture.SetPixel(x, y, Color.black);
            }
        }
        drawTexture.Apply();

        GetComponent<Renderer>().material.mainTexture = drawTexture;
    }

    void Update()
    {
        if (Input.GetMouseButton(0))
        {
            Ray ray = Camera.main.ScreenPointToRay(Input.mousePosition);
            RaycastHit hit;

            if (Physics.Raycast(ray, out hit) && hit.collider.gameObject == gameObject)
            {
                Vector2 drawPosition = new Vector2(
                    hit.textureCoord.x * drawTexture.width,
                    hit.textureCoord.y * drawTexture.height
                );

                if (isDrawing)
                {
                    DrawLine(previousDrawPosition, drawPosition);
                }
                else
                {
                    DrawPoint(drawPosition);
                    isDrawing = true;
                }

                previousDrawPosition = drawPosition;
                drawTexture.Apply();
            }
        }
        else
        {
            isDrawing = false;
        }
    }

    void DrawPoint(Vector2 position)
    {
        float radiusSquared = brushSize * brushSize;

        int minX = Mathf.FloorToInt(position.x - brushSize);
        int maxX = Mathf.CeilToInt(position.x + brushSize);
        int minY = Mathf.FloorToInt(position.y - brushSize);
        int maxY = Mathf.CeilToInt(position.y + brushSize);

        for (int y = minY; y <= maxY; y++)
        {
            for (int x = minX; x <= maxX; x++)
            {
                if (x >= 0 && x < drawTexture.width && y >= 0 && y < drawTexture.height)
                {
                    float distSquared = (x - position.x) * (x - position.x) +
                                      (y - position.y) * (y - position.y);

                    if (distSquared <= radiusSquared)
                    {
                        drawTexture.SetPixel(x, y, brushColor);
                    }
                }
            }
        }
    }

    void DrawLine(Vector2 start, Vector2 end)
    {
        float distance = Vector2.Distance(start, end);

        // 線を滑らかにするために、距離に応じて補間ポイントを増やす
        int steps = Mathf.Max(1, Mathf.CeilToInt(distance * 2));

        for (int i = 0; i <= steps; i++)
        {
            float t = i / (float)steps;
            Vector2 point = Vector2.Lerp(start, end, t);
            DrawPoint(point);
        }
    }

    public void ClearTexture()
    {
        for (int y = 0; y < drawTexture.height; y++)
        {
            for (int x = 0; x < drawTexture.width; x++)
            {
                drawTexture.SetPixel(x, y, Color.black);
            }
        }
        drawTexture.Apply();
    }
}
手書きした文字を判定する
判定するための処理を書いていきます。
全貌はこちら
using System.Collections;
using System.Collections.Generic;
using UnityEngine;
using Unity.Sentis;

public class MNISTEngine : MonoBehaviour
{
    [SerializeField]
    ModelAsset modelAsset;

    Model runtimeModel;
    Worker worker;

    private void Start()
    {
        Model sourceModel = ModelLoader.Load(modelAsset);

        FunctionalGraph graph = new FunctionalGraph();
        FunctionalTensor[] inputs = graph.AddInputs(sourceModel);
        FunctionalTensor[] outputs = Functional.Forward(sourceModel, inputs);
        FunctionalTensor softmax = Functional.Softmax(outputs[0]);

        runtimeModel = graph.Compile(softmax);

        worker = new Worker(runtimeModel, BackendType.GPUCompute);
    }

    public (float, int) GetMostLikelyDigitProbability(Texture2D drawableTexture)
    {
        using Tensor inputTensor = TextureConverter.ToTensor(drawableTexture, width: 28, height: 28, channels: 1);

        worker.Schedule(inputTensor);

        Tensor<float> outputTensor = worker.PeekOutput() as Tensor<float>;
        var outputArray = outputTensor.DownloadToNativeArray();

        float maxProbability = float.MinValue;
        int mostLikelyDigit = -1;

        for (int i = 0; i < outputArray.Length; i++)
        {
            float probability = outputArray[i];
            if (probability > maxProbability)
            {
                maxProbability = probability;
                mostLikelyDigit = i;
            }
        }

        inputTensor.Dispose();
        outputTensor.Dispose();

        return (maxProbability, mostLikelyDigit);
    }

    private void OnDisable()
    {
        worker.Dispose();
    }
}
モデルの入力テンソルを新たに作成したFunctionalGraphに登録し、その後の処理で使用できるようにしています。
出力テンソルに対してソフトマックス関数を適用し、確率ベースの出力を得るためのテンソルを生成しています。
Model sourceModel = ModelLoader.Load(modelAsset);

FunctionalGraph graph = new FunctionalGraph();
FunctionalTensor[] inputs = graph.AddInputs(sourceModel);
FunctionalTensor[] outputs = Functional.Forward(sourceModel, inputs);
FunctionalTensor softmax = Functional.Softmax(outputs[0]);
ソフトマックスを含む実行可能なモデルを作成し、そのモデルをGPU上で実行するためのワーカーを準備します。
このワーカーは、モデルにデータを入力して推論を実行する際に使用されます。
runtimeModel = graph.Compile(softmax);

worker = new Worker(runtimeModel, BackendType.GPUCompute);
入力画像テクスチャをテンソルに変換しモデルの実行を行っています。
そして、出力テンソルからデータを取得しネイティブ配列にダウンロードしています。
using Tensor inputTensor = TextureConverter.ToTensor(drawableTexture, width: 28, height: 28, channels: 1);

worker.Schedule(inputTensor);

Tensor<float> outputTensor = worker.PeekOutput() as Tensor<float>;
var outputArray = outputTensor.DownloadToNativeArray();
答えが一桁のランダムな計算
難しいことはしておらず、乱数を2つ作成し答えが一桁になるまでループさせています。
using UnityEngine;
using TMPro;

public class CalculationFormula : MonoBehaviour
{
    [SerializeField]
    TMP_Text formulaText;

    private int answer;
    private string[] operators = { "+", "-", "×", "÷" };
    private string currentFormula;

    private void GenerateFormula()
    {
        int num1, num2;
        string selectedOperator;
        bool validFormula = false;

        do
        {
            num1 = Random.Range(0, 10);
            num2 = Random.Range(1, 10);
            selectedOperator = operators[Random.Range(0, operators.Length)];

            switch (selectedOperator)
            {
                case "+":
                    answer = num1 + num2;
                    validFormula = answer < 10;
                    break;
                case "-":
                    answer = num1 - num2;
                    validFormula = answer >= 0 && answer < 10;
                    break;
                case "×":
                    answer = num1 * num2;
                    validFormula = answer < 10;
                    break;
                case "÷":
                    if (num1 >= num2 && num1 % num2 == 0)
                    {
                        answer = num1 / num2;
                        validFormula = answer < 10;
                    }
                    break;
            }
        }
        while (!validFormula);

        currentFormula = $"{num1} {selectedOperator} {num2} = ?";
        formulaText.text = currentFormula;
    }

    public string GetFormula()
    {
        return currentFormula;
    }

    public void Next()
    {
        GenerateFormula();
    }

    public bool IsCollect(int num)
    {
        return num == answer;
    }
}
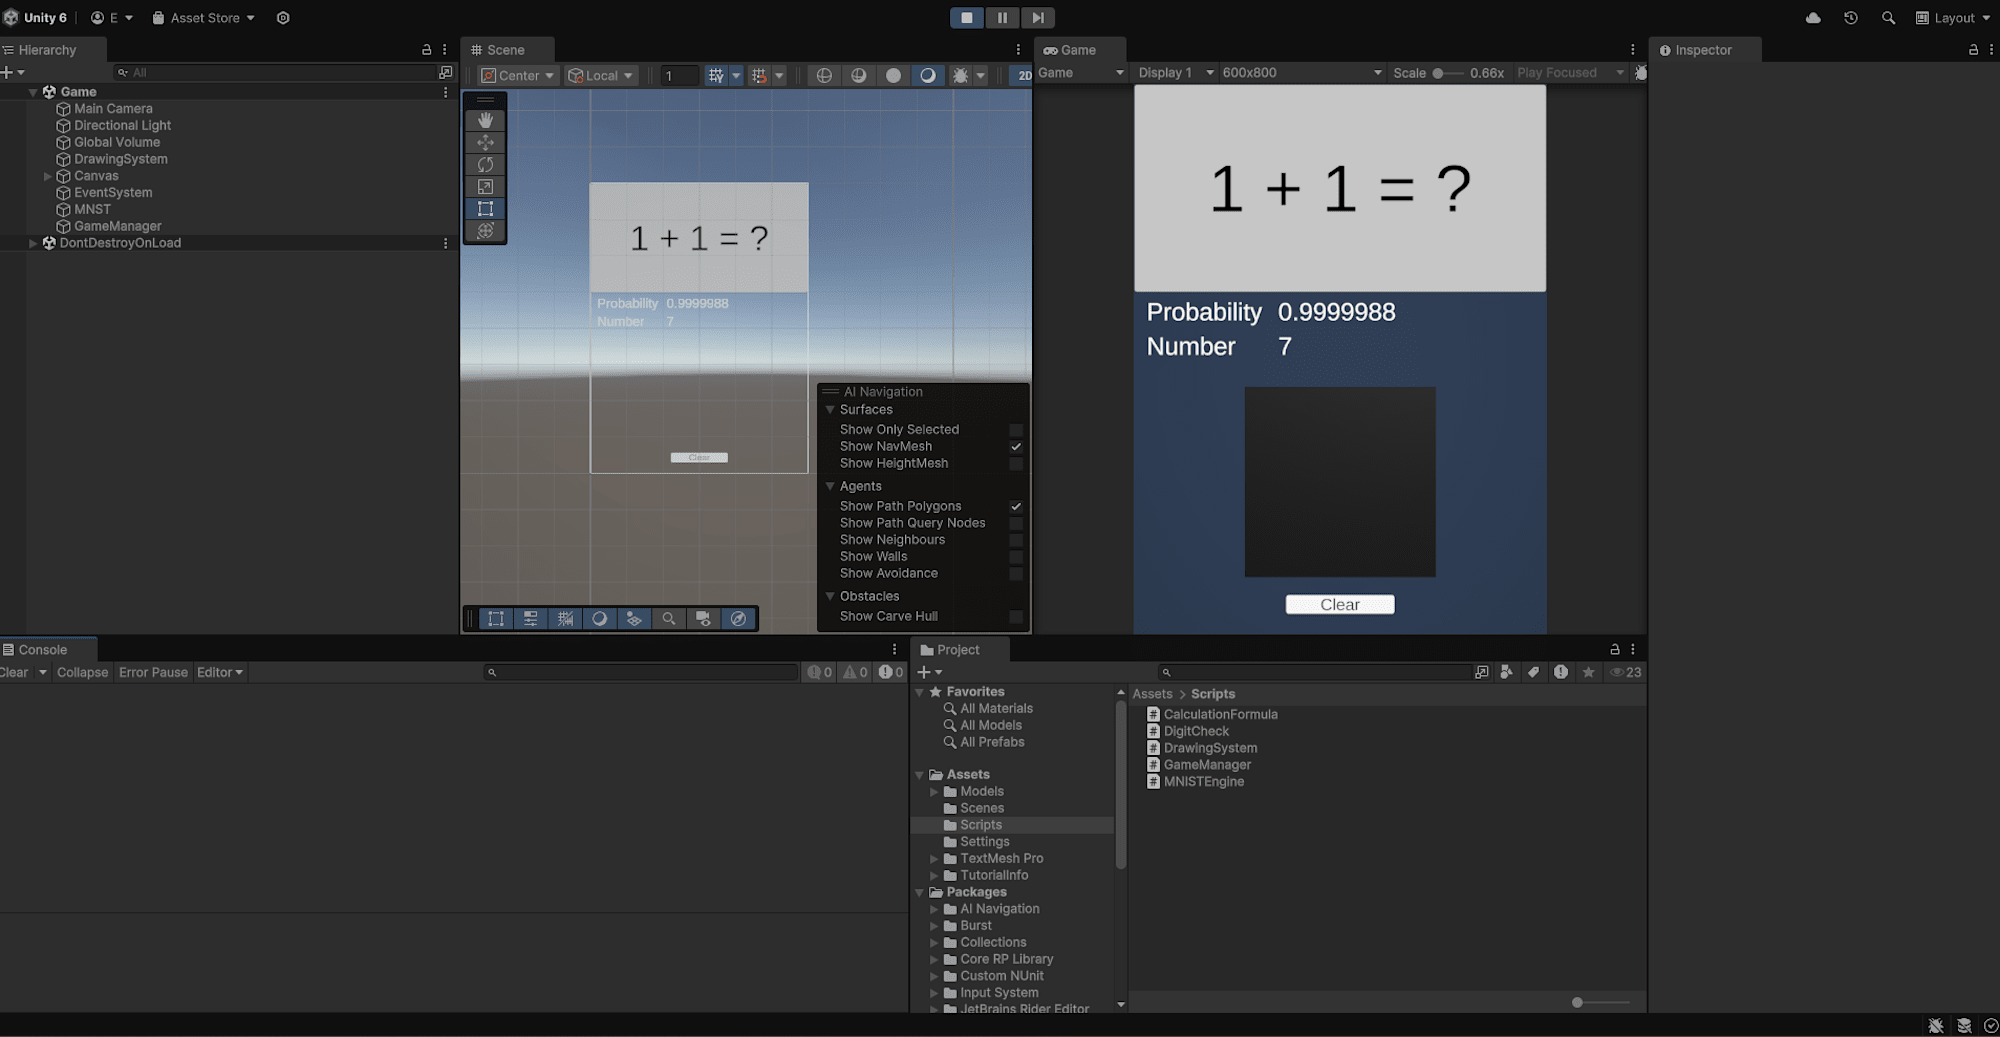
これを組み合わせてレイアウトを組んでいきます。

※実際のシーンファイルやレイアウト方法はこちらからダウンロードして確認してください。
さいごに
今回はUnity Sentisを使用して「手書きで答える計算アプリ」を作成してみました。
モデルの用意は必要ですがSentisを使用することで簡単にAIアプリを作成することができます。
この記事がどなたかの参考になれば幸いです。


