Vercel + Momento Topics で 2 人対戦ピンポンゲームをデプロイしてみた
はじめに
本記事では Vercel 上にデプロイできる最小構成の 2 人対戦ピンポンゲームを題材に、Momento Topics を使ったリアルタイム通信の組み立て方を紹介します。あわせて、デプロイ後の検証でゲストユーザー側の入力が欠落しやすかった点を課題として共有します。
Vercel とは
Vercel は Next.js を中心とした Web アプリケーションを、Git 連携で継続的にデプロイできるホスティング基盤です。フロントエンドだけでなく API (Route Handlers) も同じプロジェクト内で扱えるため、デモの検証がしやすい点が特徴です。
Vercel における Realtime 通信
Vercel の Functions は常駐プロセスではないため、WebSocket サーバーとしてコネクションを維持する用途においてはサポートされていません(参考)。Vercel 側も、WebSocket サーバー用途ではなく、クライアントが外部の Realtime 基盤へ subscribe し、Functions は publish 側に寄せる設計を案内しています(参考)。
Momento Topics とは
Momento Topics は Pub/Sub 型のリアルタイム配信を、サーバーレスで扱えるサービスです。Topics は fire-and-forget のモデルで、メッセージの永続化や配送保証を提供しない点が仕様として明記されています。
対象読者
- Vercel にデプロイできるリアルタイム通信の最小構成を知りたい方
- 2 クライアント (部屋主と参加者) のルーム型デモを短時間で作りたい方
参考
- Publish and Subscribe to Realtime Data on Vercel
- Do Vercel Serverless Functions support WebSocket connections?
- Momento Topics
- Get to know the Momento Web SDK
構成
今回のデモでは、リアルタイム通信を Momento Topics に任せつつ、ルーム管理と認可だけを Vercel 側の API で補います。Momento Topics 単体には、ルームの満員判定や host / guest の役割確定の仕組みがないため、誰がどの部屋の参加者かを Momento Cache に保存して判定する設計にしています。
Momento コンソールでの準備
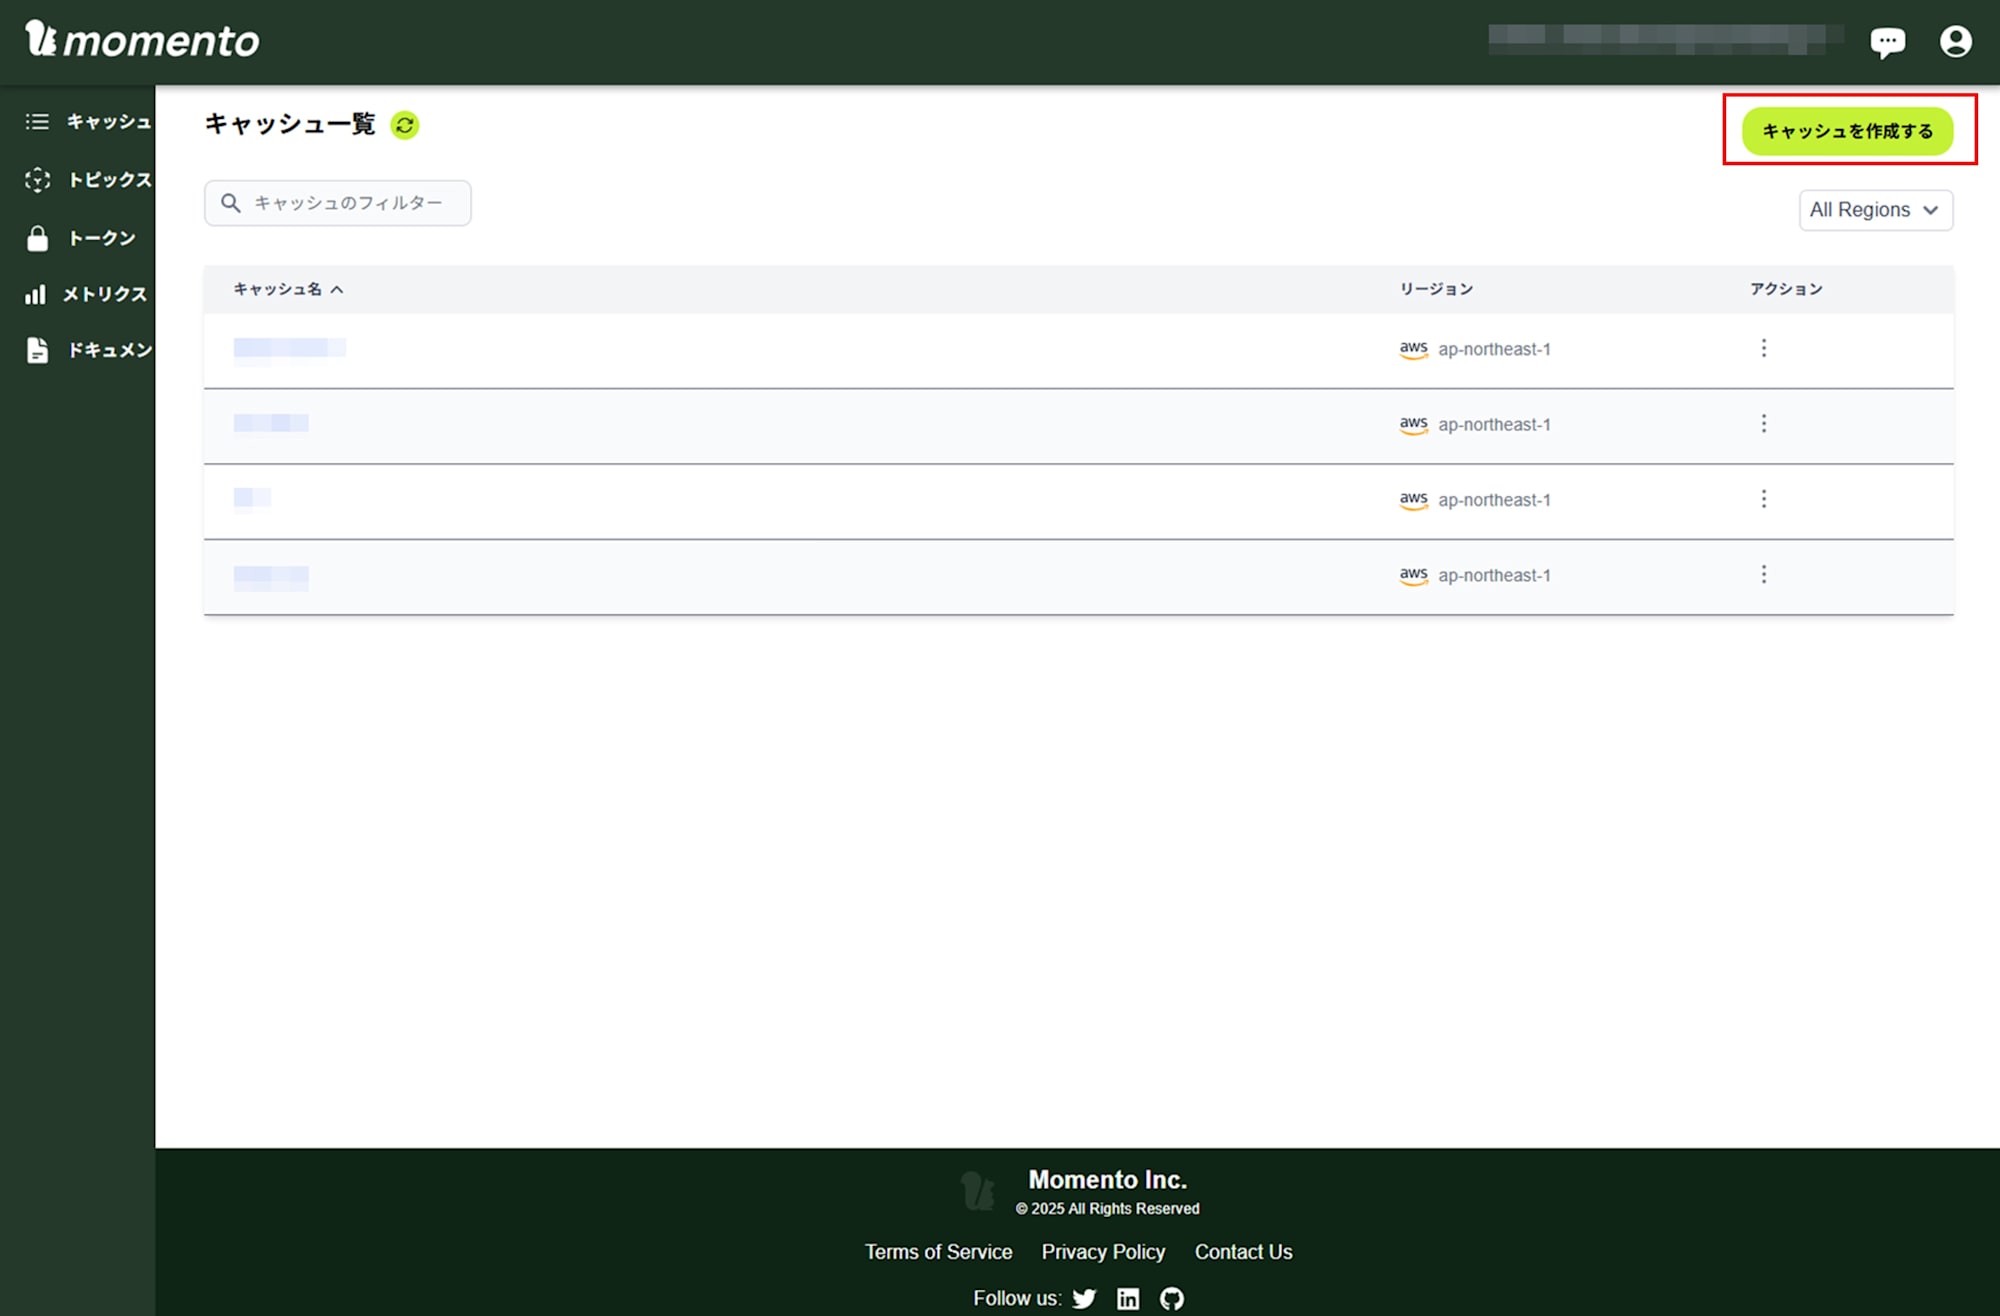
Momento コンソール でキャッシュを作成します。
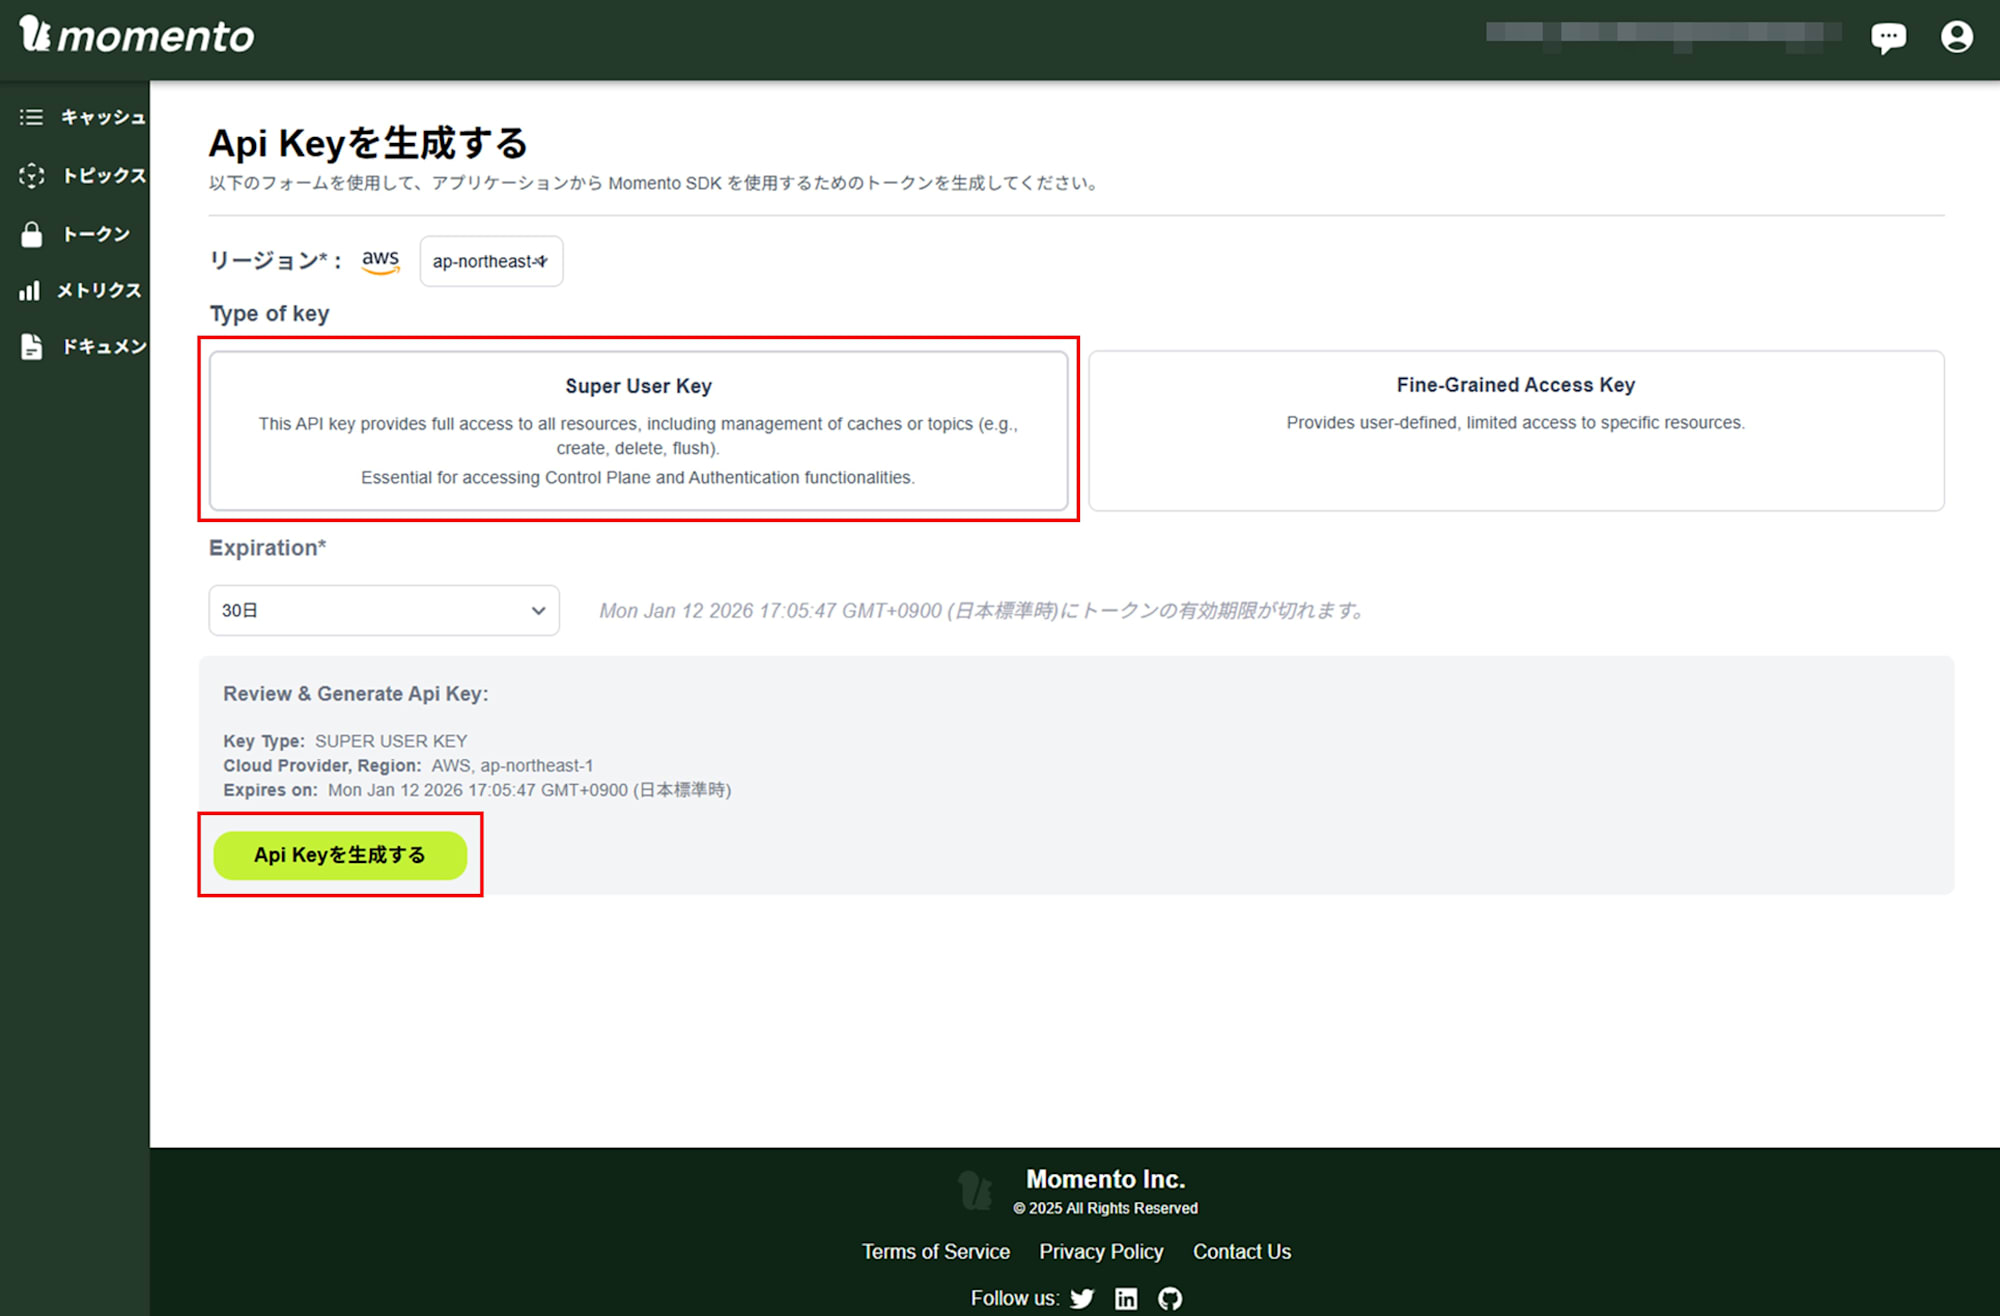
キャッシュや Topics 機能を使うための Super User Key を発行します。
Next.js アプリの実装
ルームを作る API を用意する
部屋主が create room するための入口を作ります。デモでは POST /api/rooms を呼ぶと roomId を返し、その roomId に対して host の clientId を Momento Cache に保存します。
app/api/rooms/route.ts より抜粋
import { nanoid } from "nanoid";
import { NextRequest, NextResponse } from "next/server";
import { setRoomHost } from "@/lib/momento";

export const runtime = "nodejs";

interface CreateRoomRequest {
  clientId: string;
}

export async function POST(request: NextRequest) {
  const body = (await request.json()) as CreateRoomRequest;
  const { clientId } = body;

  if (!clientId) {
    return NextResponse.json({ error: "clientId is required" }, { status: 400 });
  }

  const roomId = nanoid(8);

  // Register host in Momento Cache
  await setRoomHost(roomId, clientId);

  return NextResponse.json({ roomId });
}
フロント側は roomId を受け取ったら、後述の Momento 接続処理へ進みます。ここで重要なのは、Topics に参加できる前提条件を Vercel 側の API で確定させておくことです。これにより、トークン払い出し時の検証がシンプルになります。
ルームに参加する API を用意する
次に、参加者が join する入口を作ります。デモでは POST /api/rooms/join が host の存在を確認し、guest が未登録なら Momento Cache に guest の clientId を保存します。すでに guest がいる場合は 409 を返すことで、ルームが満員であることをフロントに伝えます。
app/api/rooms/join/route.ts より抜粋
import { NextRequest, NextResponse } from "next/server";
import { getRoomHost, getRoomGuest, setRoomGuest } from "@/lib/momento";

export const runtime = "nodejs";

interface JoinRoomRequest {
  roomId: string;
  clientId: string;
}

export async function POST(request: NextRequest) {
  const body = (await request.json()) as JoinRoomRequest;
  const { roomId, clientId } = body;

  if (!roomId || !clientId) {
    return NextResponse.json(
      { error: "roomId and clientId are required" },
      { status: 400 }
    );
  }

  // Check if room exists ( host is registered )
  const hostId = await getRoomHost(roomId);
  if (!hostId) {
    return NextResponse.json({ error: "Room not found" }, { status: 404 });
  }

  // Check if guest slot is already taken
  const existingGuest = await getRoomGuest(roomId);
  if (existingGuest) {
    return NextResponse.json({ error: "Room is full" }, { status: 409 });
  }

  // Register guest
  await setRoomGuest(roomId, clientId);

  return NextResponse.json({ success: true });
}
Topics 側で満員判定をしようとすると、到達保証のないメッセージに依存して状態がぶれやすくなります。ルームの役割確定は、API で一度確定させるほうがデモとして分かりやすく、扱いやすくなります。
トークン払い出し (Token Vending Machine) を入れる
Momento の API キー (MOMENTO_API_KEY) をブラウザへ渡さないために、Vercel 側で disposable token を発行する API を作ります。Momento の Web SDK でも、ブラウザ利用では token vending machine を用意し、短命トークンを払い出す構成が前提になります。
app/api/momento/token/route.ts より抜粋
import { NextRequest, NextResponse } from "next/server";
import { getRoomHost, getRoomGuest, generateRoomToken } from "@/lib/momento";

export const runtime = "nodejs";

interface TokenRequest {
  roomId: string;
  clientId: string;
  role: "host" | "guest";
}

export async function POST(request: NextRequest) {
  const body = (await request.json()) as TokenRequest;
  const { roomId, clientId, role } = body;

  if (!roomId || !clientId || !role) {
    return NextResponse.json(
      { error: "roomId, clientId, and role are required" },
      { status: 400 }
    );
  }

  // Verify the client is authorized for this room and role
  if (role === "host") {
    const hostId = await getRoomHost(roomId);
    if (!hostId || hostId !== clientId) {
      return NextResponse.json(
        { error: "Unauthorized: not the host of this room" },
        { status: 403 }
      );
    }
  } else {
    const guestId = await getRoomGuest(roomId);
    if (!guestId || guestId !== clientId) {
      return NextResponse.json(
        { error: "Unauthorized: not the guest of this room" },
        { status: 403 }
      );
    }
  }

  // Generate disposable token
  const tokenData = await generateRoomToken(roomId, clientId, role);

  return NextResponse.json(
    {
      authToken: tokenData.authToken,
      expiresAt: tokenData.expiresAt,
      endpoint: tokenData.endpoint,
    },
    { headers: { "Cache-Control": "no-store" } }
  );
}
トークン生成の実装は lib/momento.ts に寄せています。記事の範囲では、Topics の対象を paddle-game:{roomId} に固定し、publishsubscribe 権限を付与している点が分かれば十分です。
lib/momento.ts より抜粋
export async function generateRoomToken(
  roomId: string,
  clientId: string,
  role: "host" | "guest"
): Promise<{ authToken: string; expiresAt: number; endpoint: string }> {
  const authClient = getAuthClient();

  const topicName = `paddle-game:${roomId}`;

  const response = await authClient.generateDisposableToken(
    {
      permissions: [
        {
          role: "publishsubscribe",
          cache: CACHE_NAME,
          topic: topicName,
        },
      ],
    },
    ExpiresIn.seconds(TOKEN_TTL_SECONDS),
    { tokenId: `${role}:${clientId}` }
  );

  if (response.type !== GenerateDisposableTokenResponse.Success) {
    throw new Error(`Failed to generate token: ${response.toString()}`);
  }

  return {
    authToken: response.authToken,
    expiresAt: response.expiresAt.epoch(),
    endpoint: response.endpoint,
  };
}
ブラウザから Momento Topics に接続する
ブラウザ側では、まず POST /api/momento/token で disposable token を取得してから TopicClient を初期化し、paddle-game:{roomId} を subscribe します。
components/RealtimePaddleGame.tsx より抜粋
const connectToMomento = useCallback(
  async (roomIdToJoin: string, playerRole: Role) => {
    // Fetch disposable token from server
    const tokenRes = await fetch("/api/momento/token", {
      method: "POST",
      headers: { "Content-Type": "application/json" },
      body: JSON.stringify({ roomId: roomIdToJoin, clientId, role: playerRole }),
    });

    if (!tokenRes.ok) {
      const errorData = await tokenRes.json();
      throw new Error(errorData.error || "Failed to get token");
    }

    const tokenData = await tokenRes.json();

    // Create TopicClient ( Web SDK ) with disposable token
    const topicClient = new TopicClient({
      credentialProvider: CredentialProvider.fromString(tokenData.authToken),
    });
    topicClientRef.current = topicClient;

    const topicName = `paddle-game:${roomIdToJoin}`;
    topicNameRef.current = topicName;

    // Subscribe
    const subscribeResponse = await topicClient.subscribe(
      CACHE_NAME,
      topicName,
      {
        onItem: (item) => handleMessage(item.valueString()),
        onError: (err) => setError(err.message),
      }
    );

    if ("unsubscribe" in subscribeResponse) {
      subscriptionRef.current = subscribeResponse;
    } else {
      throw new Error("Failed to subscribe to topic");
    }

    // If guest, send join message after subscribing
    if (playerRole === "guest") {
      const joinMessage: JoinMessage = {
        type: "join",
        clientId,
        t: Date.now(),
      };
      await topicClient.publish(CACHE_NAME, topicName, JSON.stringify(joinMessage));
    }

    setRole(playerRole);
    setRoomId(roomIdToJoin);
    setPhase("waiting");
  },
  [clientId, cleanup]
);
guest は subscribe 後に join メッセージを publish し、host は join を受け取ったらゲーム開始 (start) を publish してティック処理を開始します。ここまでの流れを揃えると、Vercel 側は短い API 呼び出しだけで完結し、ブラウザ同士のリアルタイム通信は Topics に寄せられます。
メッセージ設計は host authoritative に寄せる
Topics は fire-and-forget で、永続化や配送保証がありません。そのため、落ちても次で回復できる設計に寄せると破綻しにくくなります。
このデモでは host がゲーム状態 (state) を一定間隔で publish し、guest は受け取った state を描画に反映します。state がたまに落ちても、次の state を受け取れば追いつけるため、デモとしての安定性を上げやすくなります。
components/RealtimePaddleGame.tsx より抜粋
const TICK_INTERVAL = 50; // 20 fps

// Host tick ( 抜粋 )
const message: StateMessage = {
  type: "state",
  state: { ...state },
  t: Date.now(),
};
topicClient.publish(CACHE_NAME, topicName, JSON.stringify(message));

setDisplayState({ ...state });
一方で、guest の入力は keydown / keyup のイベント発火時に input を publish する設計です。ここが今回の課題につながりました。
components/RealtimePaddleGame.tsx より抜粋
const handleKeyDown = (e: KeyboardEvent) => {
  if (role === "guest") {
    if (e.key === "ArrowUp") {
      guestInputRef.current.up = true;
      const inputMessage: InputTopicMessage = {
        type: "input",
        up: guestInputRef.current.up,
        down: guestInputRef.current.down,
        t: Date.now(),
      };
      topicClientRef.current?.publish(
        CACHE_NAME,
        topicNameRef.current,
        JSON.stringify(inputMessage)
      );
    }
    if (e.key === "ArrowDown") {
      guestInputRef.current.down = true;
      const inputMessage: InputTopicMessage = {
        type: "input",
        up: guestInputRef.current.up,
        down: guestInputRef.current.down,
        t: Date.now(),
      };
      topicClientRef.current?.publish(
        CACHE_NAME,
        topicNameRef.current,
        JSON.stringify(inputMessage)
      );
    }
  }
};

const handleKeyUp = (e: KeyboardEvent) => {
  if (role === "guest") {
    if (e.key === "ArrowUp") {
      guestInputRef.current.up = false;
      const inputMessage: InputTopicMessage = {
        type: "input",
        up: guestInputRef.current.up,
        down: guestInputRef.current.down,
        t: Date.now(),
      };
      topicClientRef.current?.publish(
        CACHE_NAME,
        topicNameRef.current,
        JSON.stringify(inputMessage)
      );
    }
    if (e.key === "ArrowDown") {
      guestInputRef.current.down = false;
      const inputMessage: InputTopicMessage = {
        type: "input",
        up: guestInputRef.current.up,
        down: guestInputRef.current.down,
        t: Date.now(),
      };
      topicClientRef.current?.publish(
        CACHE_NAME,
        topicNameRef.current,
        JSON.stringify(inputMessage)
      );
    }
  }
};
Vercel でのデプロイ
Vercel でプロジェクトを作成後、 GitHub リポジトリを指定して環境変数(今回は MOMENTO_API_KEY など)を設定し、デプロイします。

デプロイが完了したら発行された URL にアクセスし動作を確認します。
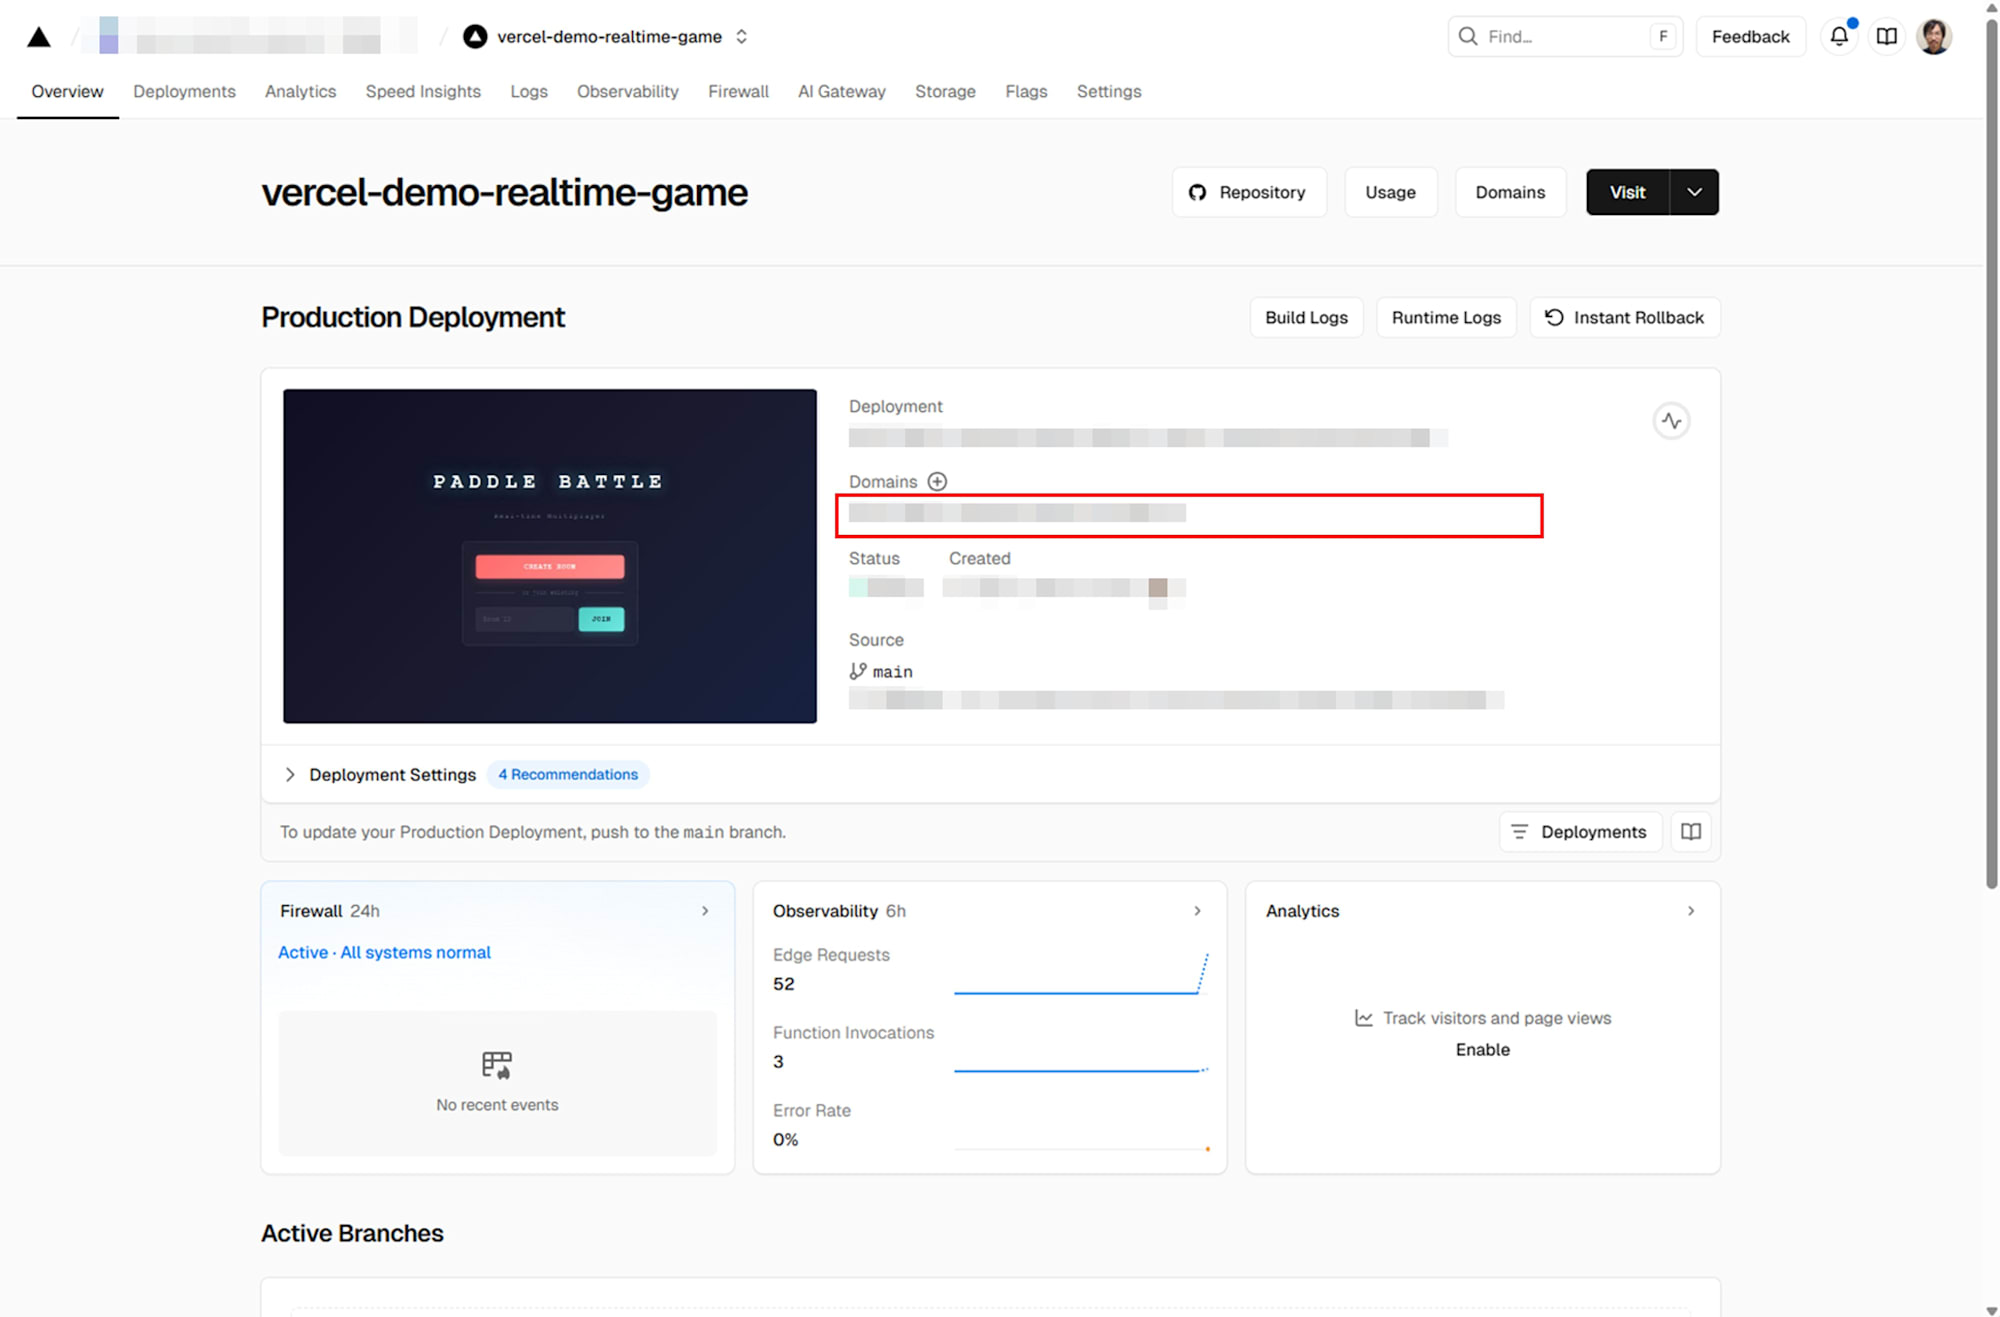
動作確認
Vercel から発行された URL にアクセスし、トップページが表示されることを確認しました。
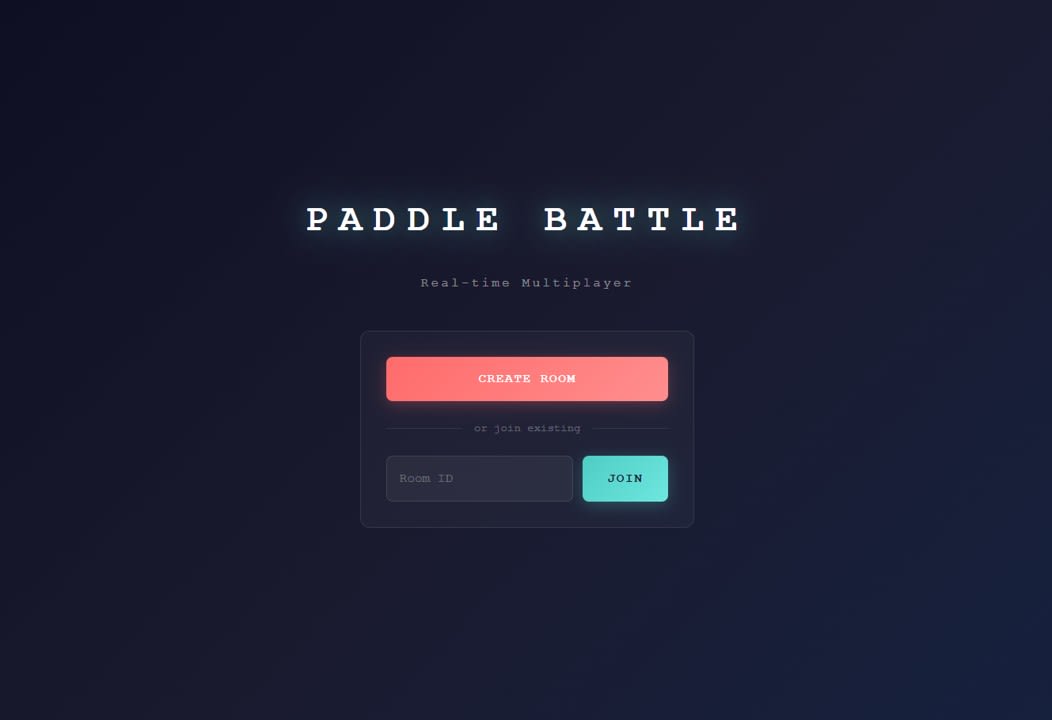
CREATE ROOM をクリックし、部屋番号が表示されることを確認しました。
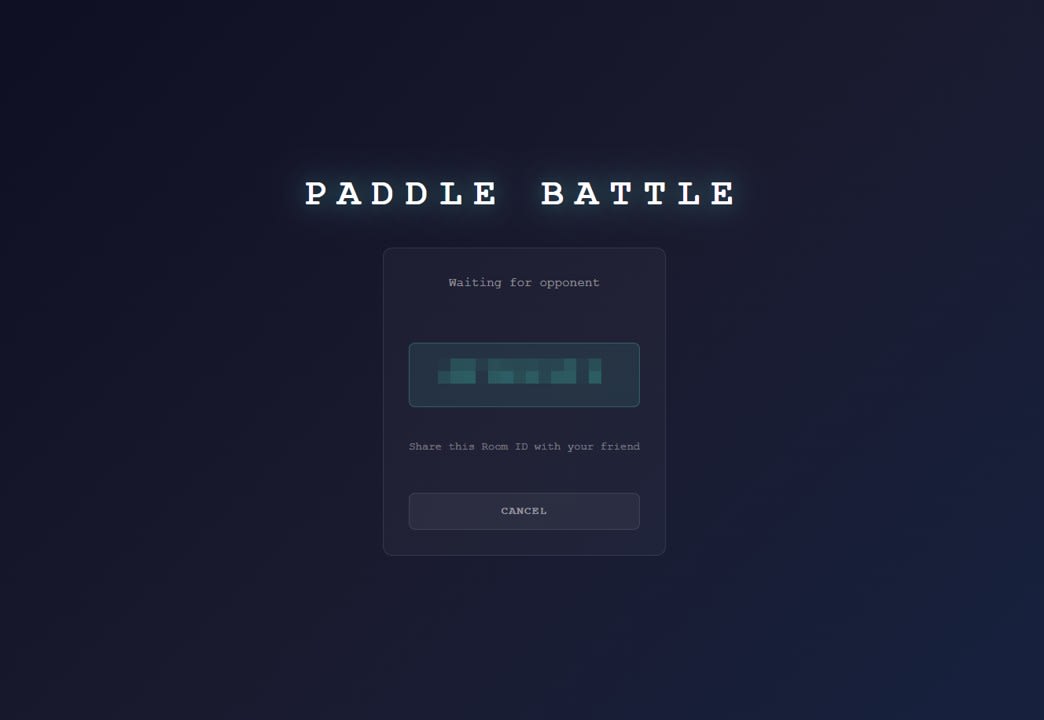
発行された番号を入力し、合流して対戦できることを確認しました。
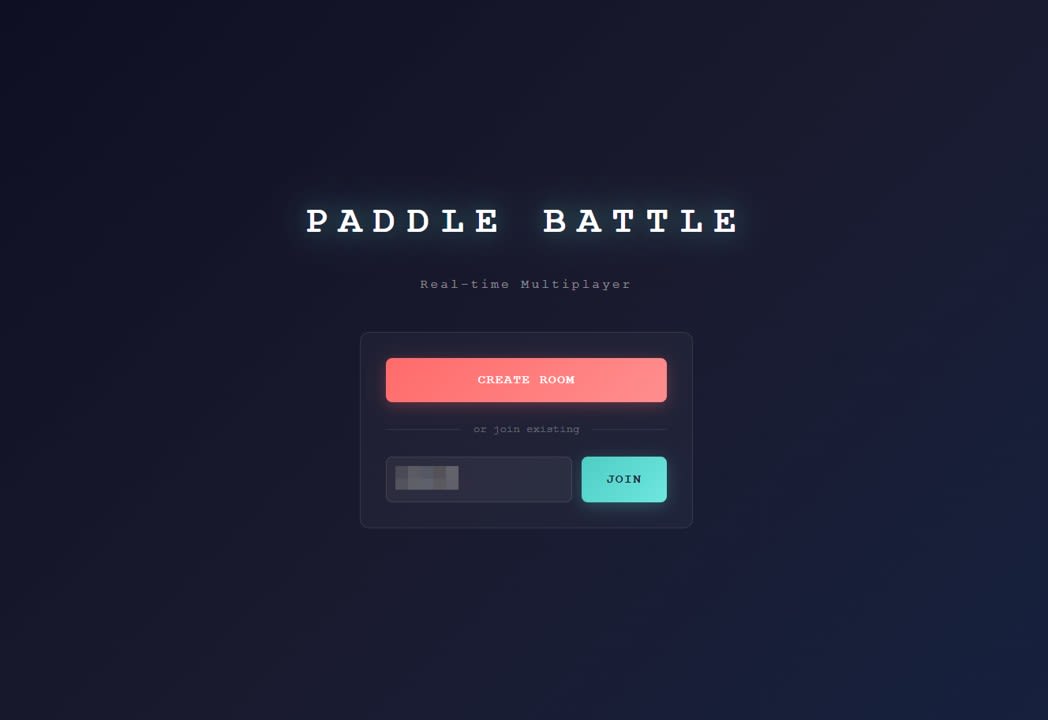
このとき、ホストユーザー側では問題なく動作した一方で、ゲストユーザー側で入力欠落が発生しやすいという現象が見られました。
考察
ゲストユーザー側で入力欠落が発生しやすかった理由と課題
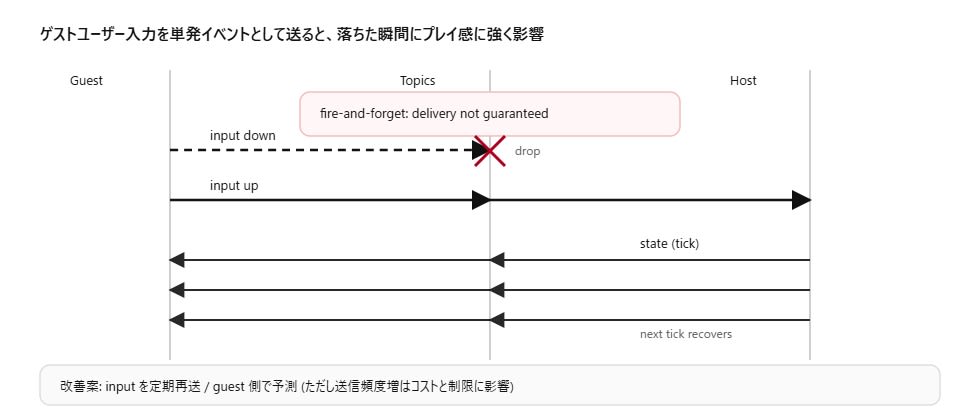
Momento Topics は fire-and-forget のため、メッセージの配送保証がありません。その前提に対して、今回の実装では guest の入力を keydown / keyup の単発イベントとして publish しています。
この組み合わせでは、たとえば keydown 側の input が落ちるだけで、押しているのに動かないように見えます。逆に keyup 側が落ちると、押しっぱなしの状態が残り続けるような挙動も起こり得ます。デプロイ後に体感として入力が効きづらくなったのは、この単発イベント設計が、ネットワーク環境の影響を受けやすかったためだと考えられます。
今回のデモでは host が定期的に state を publish するため、state 欠落は次の state で回復できます。一方、入力は定期再送ではないため回復しづらく、操作感に影響しやすい点が課題として残りました。
改善方針としては、入力を単発イベントではなく、押下状態を短周期で再送する方法や、 guest 側で自分のパドルを先に動かすローカル予測を入れる方法が考えられます。ただしメッセージ頻度を上げると、コストやレート制限の設計もセットで考える必要が出てきます。
まとめ
Vercel 上でリアルタイム対戦デモを作る場合、Vercel 単体で WebSocket サーバーを運用するより、外部の Realtime 基盤を組み合わせるほうが素直です。 Momento Topics は token vending machine で認証を分離しやすく、ルーム管理を Momento Cache と Vercel API で補うことで 2 人対戦の最小構成を組めます。一方で Topics は配送保証がないため、ゲストユーザーの入力を単発イベントとして送る設計だと欠落が操作感に影響しやすく、この点は課題として認識しておく必要があります。