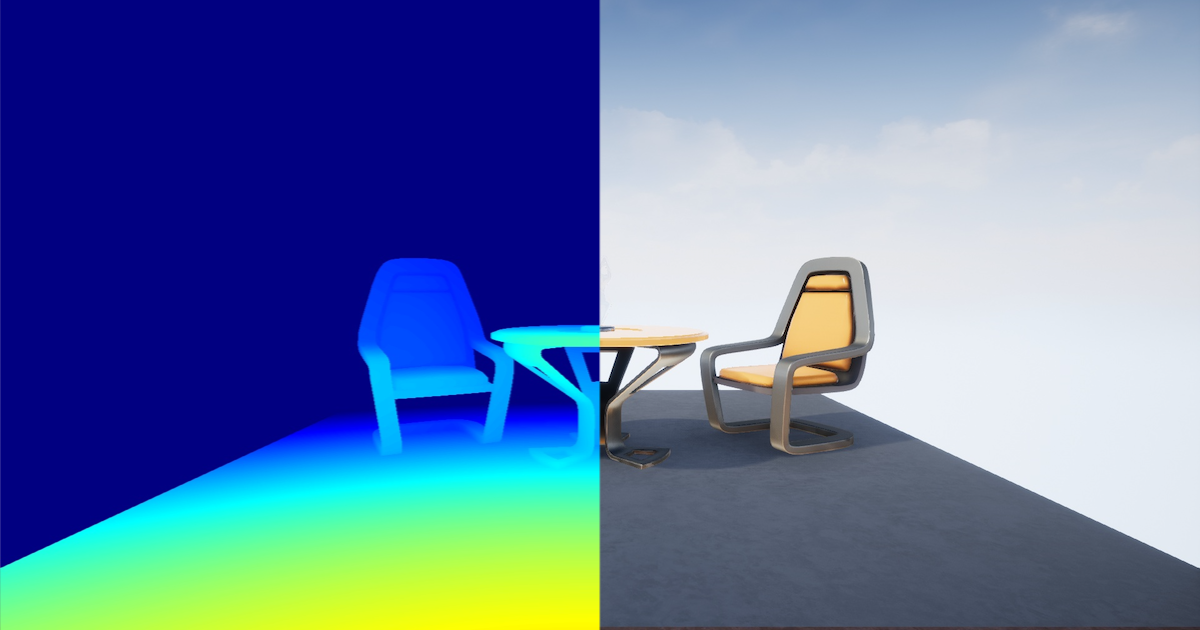
Unreal Engine 4をコンピュータビジョンのバーチャル実験室にするツールUnrealCVを使ってみた
この記事は公開されてから1年以上経過しています。情報が古い可能性がありますので、ご注意ください。
UnrealCV1 は、Epic Games 社のゲームエンジン Unreal Engine 4 (UE4) をコンピュータビジョンのバーチャル実験室にするプラグインを中心としたオープンソースのプロジェクトです。 UE4で開発したゲームにUnrealCVプラグインを組み込むことで、ゲーム外からバーチャル空間を操作したり、バーチャル空間内の画像(RGB,depthなど)を取得できるようになります。
本記事では、以下についてご紹介します。
- UnrealCVプラグインが組みこまれたデモアプリ(UE4ゲーム)を使ったUnrealCVの動作確認
- UnrealCVのPythonパッケージを使用して、Pythonスクリプトからデモアプリを操作する方法
デモアプリでUnrealCVを試してみる
UnrealCVの公式サイトで、UnrealCVプラグインを組み込んだデモ用UE4ゲームの実行ファイルが配布されていますのでまずこれを試してみます。 公式サイトのModel Zooから、”RealisticRendering"の実行ファイルをダウンロードします。執筆時の動作確認はWindows10環境で行ったので、"RealisticRendering-Win-0.3.10.zip"をダウンロードしました。
ダウンロードしたZIPを展開して、フォルダの中にある"RealisticRendering.exe"をダブルクリックすると以下のようなウィンドウが起動します。起動と同時にBGMも鳴りはじめるので、スピーカーの音量は事前に調整しておいたほうがいいかもしれません。

UE4コンソールからのUnrealCVコマンド実行
デモアプリにフォーカスが当たっている状態(BGMが鳴っている状態)で「`」キー(バッククォート)を押下すると、下図のように、ウィンドウ下部にUE4のゲーム内コンソールが起動します。ここからUnrealCVのコマンドを使うことができます。

vset /viewmode depth とコマンドを入力すると、深度情報(depth)イメージ表示モードへ切り替えることができます。

vset /viewmode normal とコマンド入力すると、面法線(surface normal)イメージ表示モードへ切り替えることができます。

vset /viewmode object_mask と入力すると、オブジェクトマスクイメージ表示モードへ切り替えることができます。

デモアプリ起動時点のRGBイメージ表示モードへは、vset /viewmode litコマンドで戻すことができます。利用可能なすべてのコマンドは、ここに記載されています。
PythonスクリプトからのUnrealCVコマンド実行
デモアプリが起動できて、UnrealCVのコマンドも動作することが確認できたので、ここからはPythonスクリプトからデモアプリにUnrealCVコマンドを送信して制御してみます。デモアプリは終了せずに、起動したままにしておきます。PythonスクリプトはJupyterLab上のJupyter Notebookで実行してみました。作成したJupyter Notebookの.ipynbはここに公開してあります。
まず、UnrealCV の Python パッケージをインストールします。2020年5月29日時点ではバージョン0.4.0がインストールされました。
pip install unrealcv
ゲームへの接続
unrealcvパッケージからclientモジュールをインポートして、起動中のデモアプリに接続します。
[IN]
from unrealcv import client
res = client.connect()

[OUT]
INFO:__init__:192:Got connection confirm: b'connected to RealisticRendering'
True
vget /unrealcv/status コマンドで現在のステータスを確認できます。
UnrealCVがゲームから取得するときの画像サイズは width と height で指定できるようになっていて、確認時は640x480でした。
これらはステータスの出力に含まれているパス上にある unrealcv.ini という設定ファイル上で指定するようになっていて、より大きな解像度を指定することも可能です。
[IN]
res = client.request('vget /unrealcv/status')
print(res)

[OUT]
Is Listening
Client Connected
9000
Configuration
Config file: C:/Users/hogehoge/Downloads/RealisticRendering/WindowsNoEditor/RealisticRendering/Binaries/Win64/unrealcv.ini
Port: 9000
Width: 640
Height: 480
FOV: 90.000000
EnableInput: true
EnableRightEye: false
イメージの取得と表示
次に、RGBイメージとdepthイメージを取得してみます。 UnrealCVクライアントからはバイト列が返されるので、これをnumpy配列に変換して使用します。
[IN]
import PIL.Image as Image
from io import BytesIO
import numpy as np
import cv2

def color_frame(client):
    res = client.request(f'vget /camera/0/lit png')
    img = Image.open(BytesIO(res))
    npy = np.asarray(img)[:,:,:3]
    return npy

def depth_frame(client, alpha=10.0):
    res = client.request(f'vget /camera/0/depth npy')
    npy = np.load(BytesIO(res))
    npy = cv2.applyColorMap(cv2.convertScaleAbs(npy, alpha=alpha), cv2.COLORMAP_JET)
    return npy

color = color_frame(client)
print(color.shape)
depth = depth_frame(client, alpha=20.0)
print(depth.shape)

[OUT]
(480, 640, 3)
(480, 640, 3)
numpy配列として取得したRGBイメージとdepthイメージを表示してみます。 depthイメージは見栄えを良くするためにカラーマップを適用してあります。
import matplotlib.pyplot as plt

fig = plt.figure()
fig.set_dpi(150)

subplot = fig.add_subplot(1, 2, 1)
plt.imshow(color)
subplot.set_title('RGB')

subplot = fig.add_subplot(1, 2, 2)
plt.imshow(depth)
subplot.set_title('depth')

カメラのコントロール
UnrealCVからカメラの位置・角度を制御することもできます。まず現在の状態を確認します。 location は x -> y -> zの順番、rotationはpitch -> yaw -> roll2の順番で出力されます。
[IN]
res = client.request(f'vget /camera/0/location')
print(res)
res = client.request(f'vget /camera/0/rotation')
print(res)

[OUT]
-106.195 437.424 96.858
0.001 -92.000 0.000
カメラの位置と角度を変更して、RGBイメージとdepthイメージを再取得してみます。
location = '-106.195 0.424 96.858' # x y z
rotation = '0.0 0.0 0.0' # pitch yaw roll
res = client.request(f'vset /camera/0/location {location}')
res = client.request(f'vset /camera/0/rotation {rotation}')

color = color_frame(client)
depth = depth_frame(client, alpha=20.0)
fig = plt.figure()
fig.set_dpi(150)

subplot = fig.add_subplot(1, 2, 1)
plt.imshow(color)
subplot.set_title('RGB')

subplot = fig.add_subplot(1, 2, 2)
plt.imshow(depth)
subplot.set_title('depth')

ゲーム内オブジェクトのコントロール
vget /objectsコマンドで、ゲーム内に配置されたオブジェクトのIDを取得できます。
結果はオブジェクトのIDがスペース区切られた文字列として返されます。
[IN]
res = client.request('vget /objects')
print(res)

[OUT]
Carpet_5 SM_CoffeeTable_14 Couch_13 SM_Room_7 SM_Room_OuterShell_14 SM_Couch_1seat_5 Mug_22 EditorPlane_23 EditorPlane_24 EditorPlane_25 EditorPlane_26 EditorPlane_27 Mug_30 EditorPlane_31
*** snip ***
BookLP_173 BookLP_174 BookLP_175 BookLP_176 BookLP_177 BookLP_178 BookLP_179 BookLP_181 BookLP_182 EditorSkySphere_4 Player
以下の画像中央にあるカウチ(オブジェクトIDCouch_13)の座標を取得してみます。

[IN]
res = client.request('vget /object/Couch_13/location')
print(res)

[IN]
185.00 -5.00 0.00
オブジェクトごとに、表示・非表示をコントロールすることもできます。 以下のコマンドで、先程座標を取得したカウチを非表示にしてみます。
res = client.request('vset /object/Couch_13/hide')
color = color_frame(client)
plt.imshow(color)

非表示にしたカウチを再度表示する時は以下のコマンドを実行します。
res = client.request('vset /object/Couch_13/show')
color = color_frame(client)
plt.imshow(color)
ゲームからの切断
以下のコマンドでゲームからクライアントを切断します。
[IN]
res = client.disconnect()
print(res)

[OUT]
None
まとめ
Unreal Engine 4をコンピュータビジョンのバーチャル実験室にするツールUnrealCVをデモアプリで使ってみました。 次のステップとして、自作のUE4プロジェクトにUnrealCVを組み込んでいろいろ実験してみます。
UnrealCVの開発者によって書かれた論文3も公開されていますので、興味のあるかたはこちらもぜひ読んでみてください。
参考:記事執筆時の動作確認環境
- Windows 10
- Python 3.7
- JupyterLab 2.1.2
- UnrealCV 0.4.0


